- Jewelry-Making Supplies ▾
Design Jewelry with Confidence!
Seed Beads
Thread, Wire, & Stringing Materials
Athenacast Findings & Components
Everything Else
- Kits & Collections ▾
Assemble Your World
Kits & Collections
- Subscriptions ▾
Want monthly Beading Happiness?
Subscriptions
- Learn to Make ▾
Want to learn more?
- Discounts & Deals ▾
Explore Today's Promotions!
- Jewelry-Making Supplies
- Kits & Collections
- Subscriptions
- Learn to Make
- Discounts & Deals
-
Seed Beads
Thread, Wire, & Stringing Materials
Findings & Components
Everything Else
-
Kits & Collections
-
Subscriptions
- Home
- Resources
- Authors & Designers
- Meet Author & Designer: Anna Tonnesen
- Pattern With Love Knotted Net …
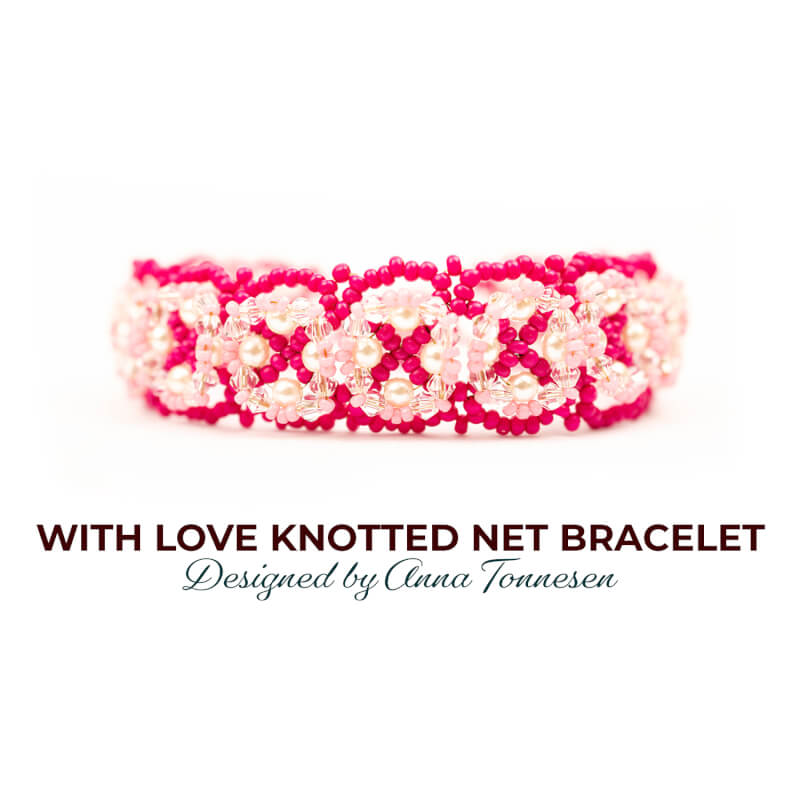
Pattern With Love Knotted Net Bracelet

Step 2: Watch the
Video Tutorial
Step 2: Watch the
Video Tutorial
Step 3: Need More Help? Follow these Steps
Step 3: Need More Help? Follow these Steps

Quick Project Steps
Quick Project Steps
Step 4: Pick Your Own Colors
Step 4: Pick Your Own Colors
Step 5: Need Any Extra Materials?
Step 5: Need Any Extra Materials?
Step 5: Need Any Extra Materials?
Step 5: Need Any Extra Materials?
Step 6: Choose Your Next Project
Step 6: Choose Your Next Project
Step 6: Choose Your Next Project
Step 6: Choose Your Next Project
- Glasgow Rose Embroidered Pendant - DIY Jewelry Making Tutorial by PotomacBeads
- Glasgow Rose Embroidered Pendant - DIY Jewelry Making Tutorial by PotomacBeads
- Comet Earrings - DIY Jewelry Making Tutorial by PotomacBeads
- Flower Gem Earrings - DIY Jewelry Making Tutorial by PotomacBeads
- Embroidered Rings - DIY Jewelry Making Tutorial by PotomacBeads
Join Our Growing Community
Join Our Growing Community


Our Testimonials
Our Testimonials
- 55762 (83.7%)
- 4781 (11.4%)
- 3283 (4.1%)
- 229 (0.4%)
- 126 (0.4%)
- Favorite Reviews
- Highest to Lowest
- Newest to Oldest
- All Ratings
- 5 ★ Reviews
- 4 ★ Reviews
- 3 ★ Reviews
- 2 ★ Reviews
- 1 ★ Reviews
Loading...
Only Visible on Admin Mode
Item Description
Designer's Material List
Project Steps
Highest Quality
Products
100% Money
Back Guarantee
Fast
Shipping
Best Teaching &
Customer Service
You'll want these emails...
Get Free Projects & Inspiration
Get Free Projects & Inspiration
- Bullet 1
- Bullet 2
- Bullet 3
Copyright © PotomacBeads


