Need a little help with memory wire? This video is shows how to design with memory wire as well as the basics of cutting the memory wire, curling the ends, and adding charms to the look.
Prepare Memory Wire: Cut the memory wire to the desired number of loops based on wrist size, using memory wire cutters to avoid damage.
Design Selection: Choose a design pattern for your bracelet, whether it's a single bracelet with mixed materials or separate bracelets for each material type.
Bend the Ends: Curl one end of the memory wire to prevent beads from slipping off, using round nose pliers to create a small, closed loop.
Add Beads and Charms: String beads onto the wire in your chosen pattern, pushing them down towards the looped end. Optionally, add charms with head pins for additional decoration.
Finalize the Design: Once all beads are added, curl the other end of the wire to secure the design. If desired, add more charms for a personalized touch.
Wear Your Creation: Enjoy wearing your memory wire bracelet, which can be easily put on and taken off by coiling around the wrist.
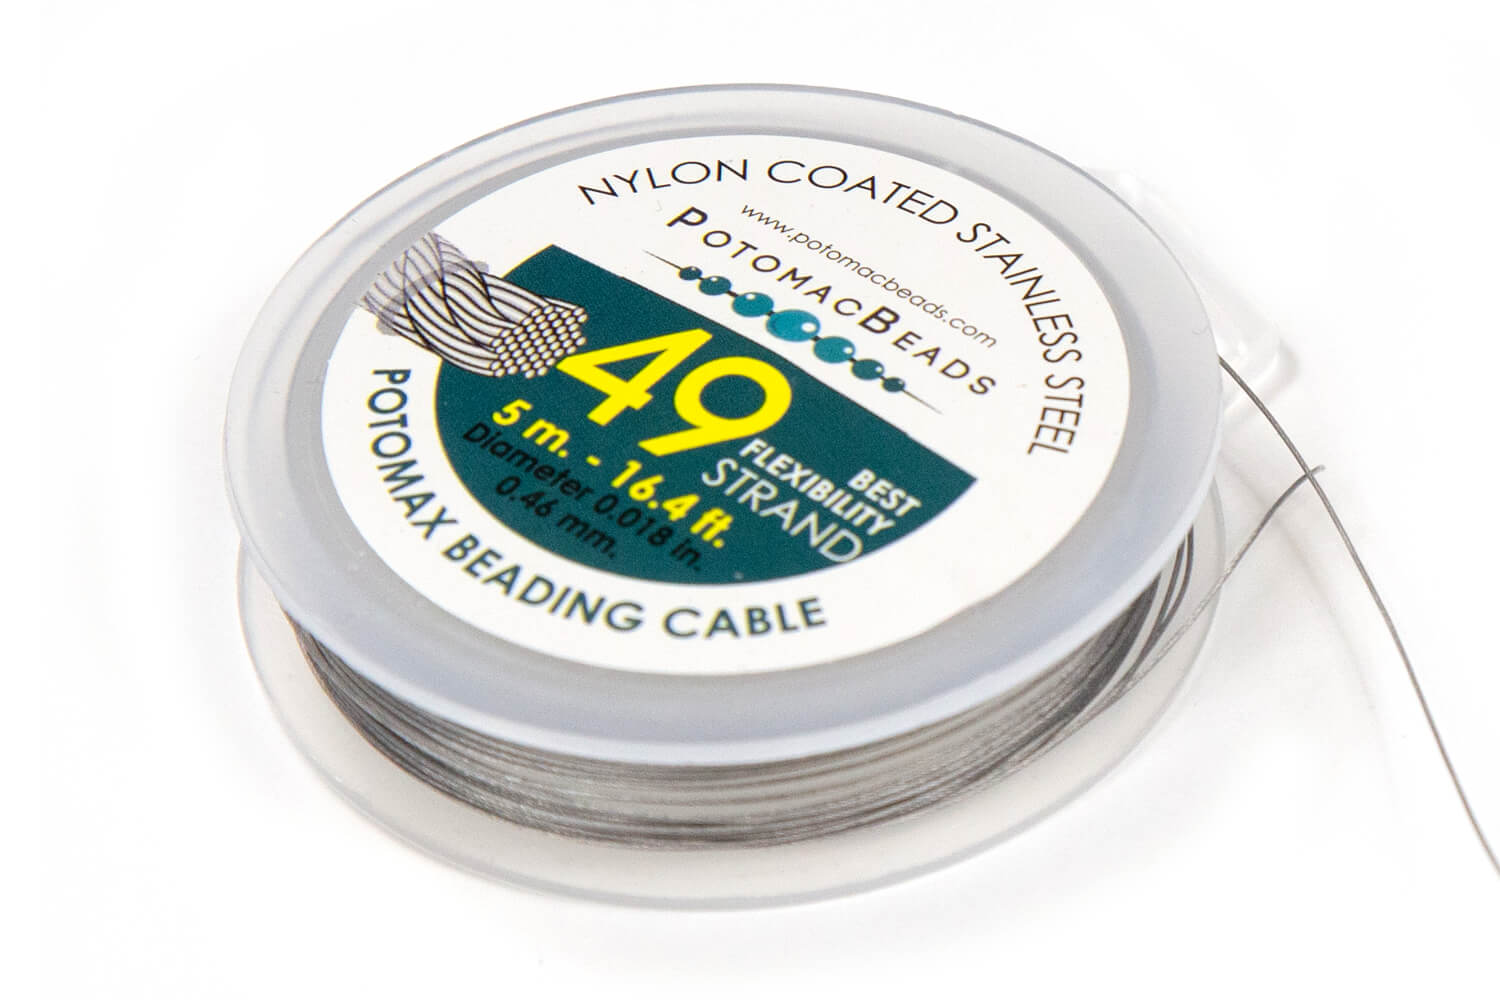
Bring your Czech glass beads to life with this necklace of dancing and floating flashes of color. All you need is stainless steel beading wire, crimp tubes, a clasp, and any collection of Czech glass beads to make this on beat necklace.
Technique learned:CrimpingBasic Beading
Bring your Czech glass beads to life with this necklace of dancing and floating flashes of color. All you need is stainless steel beading wire, crimp tubes, a clasp, and any collection of Czech glass beads to make this on beat necklace.
Technique learned:
Glasgow Rose Embroidered Pendant - DIY Jewelry Making Tutorial by PotomacBeads
Glasgow Rose Embroidered Pendant - DIY Jewelry Making Tutorial by PotomacBeads
Watch Anna Tonnesen as she provides detailed step by step tutorial instructions to learn to embroider with beads. Create the Glasgow Rose pendant or create your own masterpiece of DIY jewelry following this project tutorial. Learn how to lay out your embroidery project, cut and shape your surface, sew on beads, apply the backing and seem the sides of the piece.
Comet Earrings - DIY Jewelry Making Tutorial by PotomacBeads
Flower Gem Earrings - DIY Jewelry Making Tutorial by PotomacBeads
Embroidered Rings - DIY Jewelry Making Tutorial by PotomacBeads
Always a pleasure, Allie, thank you for all your videos too!
Share
Cindy L.
04-30-25
Fast and easy, not a long wait
Share
Jennifer P.
04-30-25
Great ordering experience.
Share
Eugenia B.
04-30-25
Easy process.
Share
Laurie W.
04-30-25
Easy to use
Share
Linda E.
04-30-25
They make it easy to order, have comparable prices, and many choices including beads not found in other stores. Also love the designs and the fact there is a pattern for each.
Share
Pamela L.
04-30-25
Products are easy to find on the website. Large selection of beads and good sales. I have had some log in issues. I have also had issues with bead quality. Some aren’t drilled all the way and the color flaked off of lined beads.
Share
Marta L.
04-29-25
Un poco complicado buscar lo que queria. Los items no estan organizados por su misma clase..
Share
Loading...
Only Visible on Admin Mode
Item Description
Need a little help with memory wire? This video is shows how to design with memory wire as well as the basics of cutting the memory wire, curling the ends, and adding charms to the look.
Designer's Material List
The designer's suggested colors & materials:
BeadTec Memory Wire 2.25" Silver, 4 Loops
Potomac Pearls - Bronze 6mm, ~ 29
Czech Glass Faceted Round Beads - Light Topaz & Rosaline Swirl Pale AB Full 5mm, 23 Beads
Prepare Memory Wire: Cut the memory wire to the desired number of loops based on wrist size, using memory wire cutters to avoid damage.
Design Selection: Choose a design pattern for your bracelet, whether it's a single bracelet with mixed materials or separate bracelets for each material type.
Bend the Ends: Curl one end of the memory wire to prevent beads from slipping off, using round nose pliers to create a small, closed loop.
Add Beads and Charms: String beads onto the wire in your chosen pattern, pushing them down towards the looped end. Optionally, add charms with head pins for additional decoration.
Finalize the Design: Once all beads are added, curl the other end of the wire to secure the design. If desired, add more charms for a personalized touch.
Wear Your Creation: Enjoy wearing your memory wire bracelet, which can be easily put on and taken off by coiling around the wrist.
Bullet 1
Bullet 2
Bullet 3
You must be logged in to access the wishlist feature.