• Jewelry-Making Supplies
  • Kits & Collections
  • Subscriptions
  • Learn to Make
  • Discounts & Deals

Mixed Media Maui Bracelet Tutorial

  • Picture of Accessories, Jewelry, Necklace, Bead, Bead Necklace, Ornament, Bracelet
  • Picture of Accessories, Finger, Hand, Jewelry, Necklace, Bead, Bead Necklace, Ornament
  • Picture of Accessories, Bracelet, Jewelry, Ornament, Person
  • Picture of Accessories, Bracelet, Jewelry, Ornament
  • Picture of Accessories, Jewelry, Necklace, Bead, Bead Necklace, Ornament, Art, Handicraft, Bracelet
Want to learn to make your own coiled wire spacers and make an adjustable bracelet? Check out this Mixed Media Maui bracelet to learn both of these techniques as well as basic knotting, burning and tying of nylon knotting cord. Join Allie in these step by step instructions to create the prefect summer bracelet design featured in the Potomac Beads best Bead Box Kit edition.

Step 1: Choose Your Materials

Step 2: Watch the 
Video Tutorial

Mixed Media Maui Bracelet Tutorial
The designer's suggested colors & materials:
  • BeadTec Knotting Cord - Brown ~ 4 Feet
  • Potomax Jeweler's Wire 24 Gauge Round - Non-Tarnish Silver 30 Feet ~ 5 Feet
  • Miyuki Seed Beads - Silver Lined Emerald AB 8/0 ~ 1 Gram
  • Czech Faceted Round Beads - Crystal AB 8mm | Pack of 25 ~ 10 Beads
  • Czech Pressed Bicone Beads - Crystal Apricot 4mm ~ 20 Beads
  • Step 3: Need More Help? Follow these Steps

    steps

    Quick Project Steps

    The Mixed Media Maui bracelet combines the amazing look of the original, Maui Beach Bracelet with new techniques and materials. Learn to create your own metal spacer beads using 24 gauge wire and round nose pliers. After the bracelet is completed, add more knotting cords to create an adjustable slip knot design. 1. Cut 12" of 24 gauge wire and pick up your round nose pliers. Hold the very end of the wire between the jaws of the pliers and begin to wrap the wire up the shaft of the bottom jaw of the pliers by turning your wrist. 2. After finishing your metal coiled spacer beads, cut 4 equal parts of knotting cord in 12-14 inch sections. Watch the Mixed Media Maui Bracelet Design video to see how to add beads onto your cord as well as knot the ends and make the lengths equal. 3. After tying all of the cord ends together, add the additional piece of cord and tie it around the other ends to create a split knot using a square knot. Once you are done with the square stitch burn off the ends of the design to finish off the bracelet. Vintage Lucite flower beads highlight the flow and movement of these lightweight statement earrings. Adjust the length of chain, size of beads, and colors to make more of these new summer earrings.

    Step 5: Need Any Extra Materials?

    • PotomacBeads Stainless Steel Beading Cable Wire 49 Strand .018" (5 Meters)
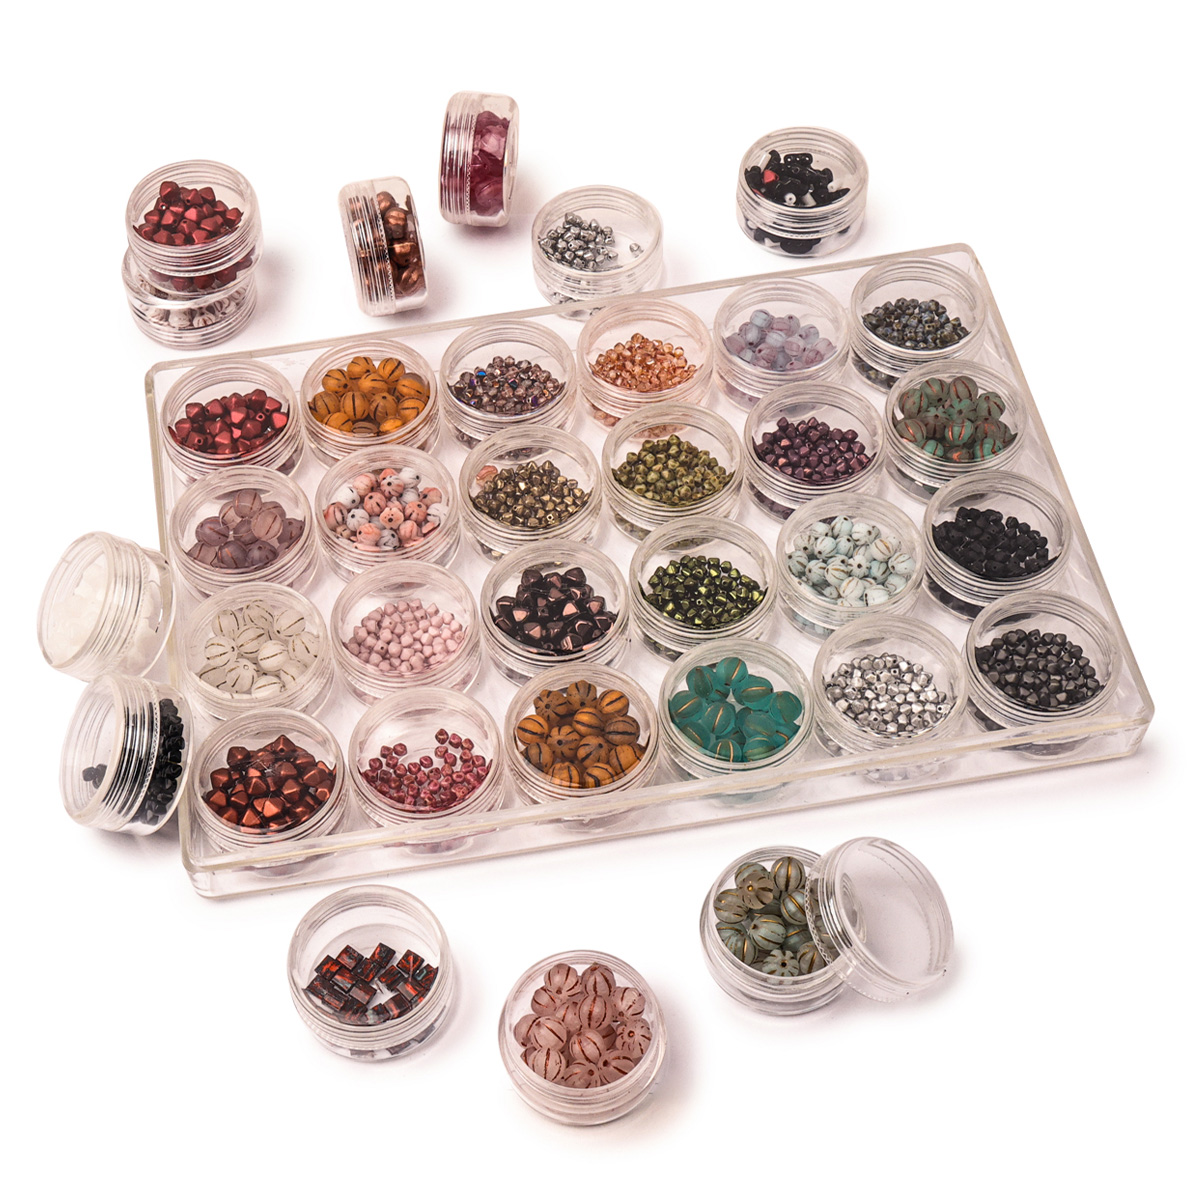
    • BeadTec Clear Rectangular Acrylic Storage Box With 24 Screw Top Vials
    • Athenacast Wire Guard Protectors - 4.5x4mm Premium RealSilver Plated Stainless Steel | Pack of 100
    • Bead Board: Flocked U-Channel Beading Design Board

    Step 5: Need Any Extra Materials?

    BeadTec Beading Ruler | Advanced | 6x3"
    Mixed Media Maui Bracelet Tutorial
    PotomacBeads Pliers - Round Nose Pliers

    Step 6: Choose Your Next Project

    • Bring your Czech glass beads to life with this necklace of dancing and floating flashes of color. All you need is stainless steel beading wire, crimp tubes, a clasp, and any collection of Czech glass beads to make this on beat necklace. Technique learned:CrimpingBasic Beading
    • Crimping
    • Basic Beading

    Step 6: Choose Your Next Project

    • Glasgow Rose Embroidered Pendant - DIY Jewelry Making Tutorial by PotomacBeads
    • Glasgow Rose Embroidered Pendant - DIY Jewelry Making Tutorial by PotomacBeads

    Watch Anna Tonnesen as she provides detailed step by step tutorial instructions to learn to embroider with beads. Create the Glasgow Rose pendant or create your own masterpiece of DIY jewelry following this project tutorial. Learn how to lay out your embroidery project, cut and shape your surface, sew on beads, apply the backing and seem the sides of the piece.
    • Comet Earrings - DIY Jewelry Making Tutorial by PotomacBeads
    • Flower Gem Earrings - DIY Jewelry Making Tutorial by PotomacBeads
    • Embroidered Rings - DIY Jewelry Making Tutorial by PotomacBeads

    Join Our Growing Community

    Community profile photo 1
    Community profile photo 2
    Community profile photo 3
    Community profile photo 4

    Our Testimonials

    • 5
      5636 (83.7%)
    • 4
      763 (11.3%)
    • 3
      275 (4.1%)
    • 2
      31 (0.5%)
    • 1
      25 (0.4%)
    95% of customers rate this company 4- or 5-stars
    Newest to Oldest
    • Favorite Reviews
    • Highest to Lowest
    • Newest to Oldest
    All Ratings
    • All Ratings
    • 5 ★ Reviews
    • 4 ★ Reviews
    • 3 ★ Reviews
    • 2 ★ Reviews
    • 1 ★ Reviews
    Anthony V. Verified Customer
    04-03-25

    was easy

    Leslie M. Verified Customer
    04-03-25

    Easy to find what I needed

    Tracy C. Verified Customer
    04-03-25

    I have enjoyed the site, and have my first order coming in the mail. I watch on you tube, and decided to subscribe to both boxes.

    Sherry B. Verified Customer
    04-03-25

    Love your patterns and beads. Enjoy all the tutorials thank you

    Sharee B. Verified Customer
    04-03-25

    I have a hard time visually watching some of the tutorials. The white background fades out the beads and I can't see the instructions. I am a visual person and I need to see what is going on. I really like patterns.

    Terrie C. Verified Customer
    04-03-25

    Excellent experience!!

    Jacqueline P. Verified Customer
    04-03-25

    Great

    James H. Verified Customer
    04-03-25

    Cool!

    Patricia J. Verified Customer
    04-03-25

    I have had to cut back in orders due to budget issues, however, i just love a new bracelet or earrings and the budget goes under the table.  I just love Potomac Beads products Allie you are a great teacher.  Thank you

    Virginia A. Verified Customer
    04-03-25

    very pleasant

    Only Visible on Admin Mode

    Item Description

    Want to learn to make your own coiled wire spacers and make an adjustable bracelet? Check out this Mixed Media Maui bracelet to learn both of these techniques as well as basic knotting, burning and tying of nylon knotting cord. Join Allie in these step by step instructions to create the prefect summer bracelet design featured in the Potomac Beads best Bead Box Kit edition.

    Designer's Material List

    The designer's suggested colors & materials:
  • BeadTec Knotting Cord - Brown ~ 4 Feet
  • Potomax Jeweler's Wire 24 Gauge Round - Non-Tarnish Silver 30 Feet ~ 5 Feet
  • Miyuki Seed Beads - Silver Lined Emerald AB 8/0 ~ 1 Gram
  • Czech Faceted Round Beads - Crystal AB 8mm | Pack of 25 ~ 10 Beads
  • Czech Pressed Bicone Beads - Crystal Apricot 4mm ~ 20 Beads
  • Project Steps

    The Mixed Media Maui bracelet combines the amazing look of the original, Maui Beach Bracelet with new techniques and materials. Learn to create your own metal spacer beads using 24 gauge wire and round nose pliers. After the bracelet is completed, add more knotting cords to create an adjustable slip knot design. 1. Cut 12" of 24 gauge wire and pick up your round nose pliers. Hold the very end of the wire between the jaws of the pliers and begin to wrap the wire up the shaft of the bottom jaw of the pliers by turning your wrist. 2. After finishing your metal coiled spacer beads, cut 4 equal parts of knotting cord in 12-14 inch sections. Watch the Mixed Media Maui Bracelet Design video to see how to add beads onto your cord as well as knot the ends and make the lengths equal. 3. After tying all of the cord ends together, add the additional piece of cord and tie it around the other ends to create a split knot using a square knot. Once you are done with the square stitch burn off the ends of the design to finish off the bracelet. Vintage Lucite flower beads highlight the flow and movement of these lightweight statement earrings. Adjust the length of chain, size of beads, and colors to make more of these new summer earrings.