Pattern - Chantilly Lace Pendant

  • Picture of Accessories, Pendant, Jewelry, Necklace with text POTOMACBEADS Chantilly Lace Pendant Pat...
It's back to work perfecting your Hubble Stitch as Allie incorporates it in the latest Chantilly Lace Pendant. After Hubbling together Potomac Crystal Rondelle Beads, you will use ladder stitch for bringing in Miyuki Bugles around the outside edges. Your finished piece will be topped off with Potomac Crystal Ovals in Setting to give the pendant a "pop" while maintaining its dainty touch along your neckline!

Step 1: Choose Your Materials

Step 2: Watch the 
Video Tutorial

Pattern - Chantilly Lace Pendant

Step 3: Need More Help? Follow these Steps

steps

Quick Project Steps

Prepare Your Materials: Gather all the beads, thread, and needle listed in the materials section. Begin with the Hubble Stitch: Start by threading your needle with .006 Wildfire beading thread and attaching a stop bead. Follow the tutorial to create the base of the pendant using the Hubble stitch with 1.5x2mm Potomac Crystal Rondelles. Incorporate Crystals and Bugles: Add Miyuki Bugles and additional crystals to the design, following the specific instructions for placement and technique. Apply Ladder Stitch: Use the ladder stitch to attach Miyuki Bugles around the edges of the pendant for a polished look. Assemble the Pendant: Carefully assemble the pendant, ensuring all components are securely in place. Add Finishing Touches: Complete your pendant by adding the Potomac Crystal Ovals in Setting for an elegant finish.

Step 4: Pick Your Own Colors

Step 5: Need Any Extra Materials?

Step 5: Need Any Extra Materials?

Potomacbeads Beading Ruler | Advanced | 6x3"
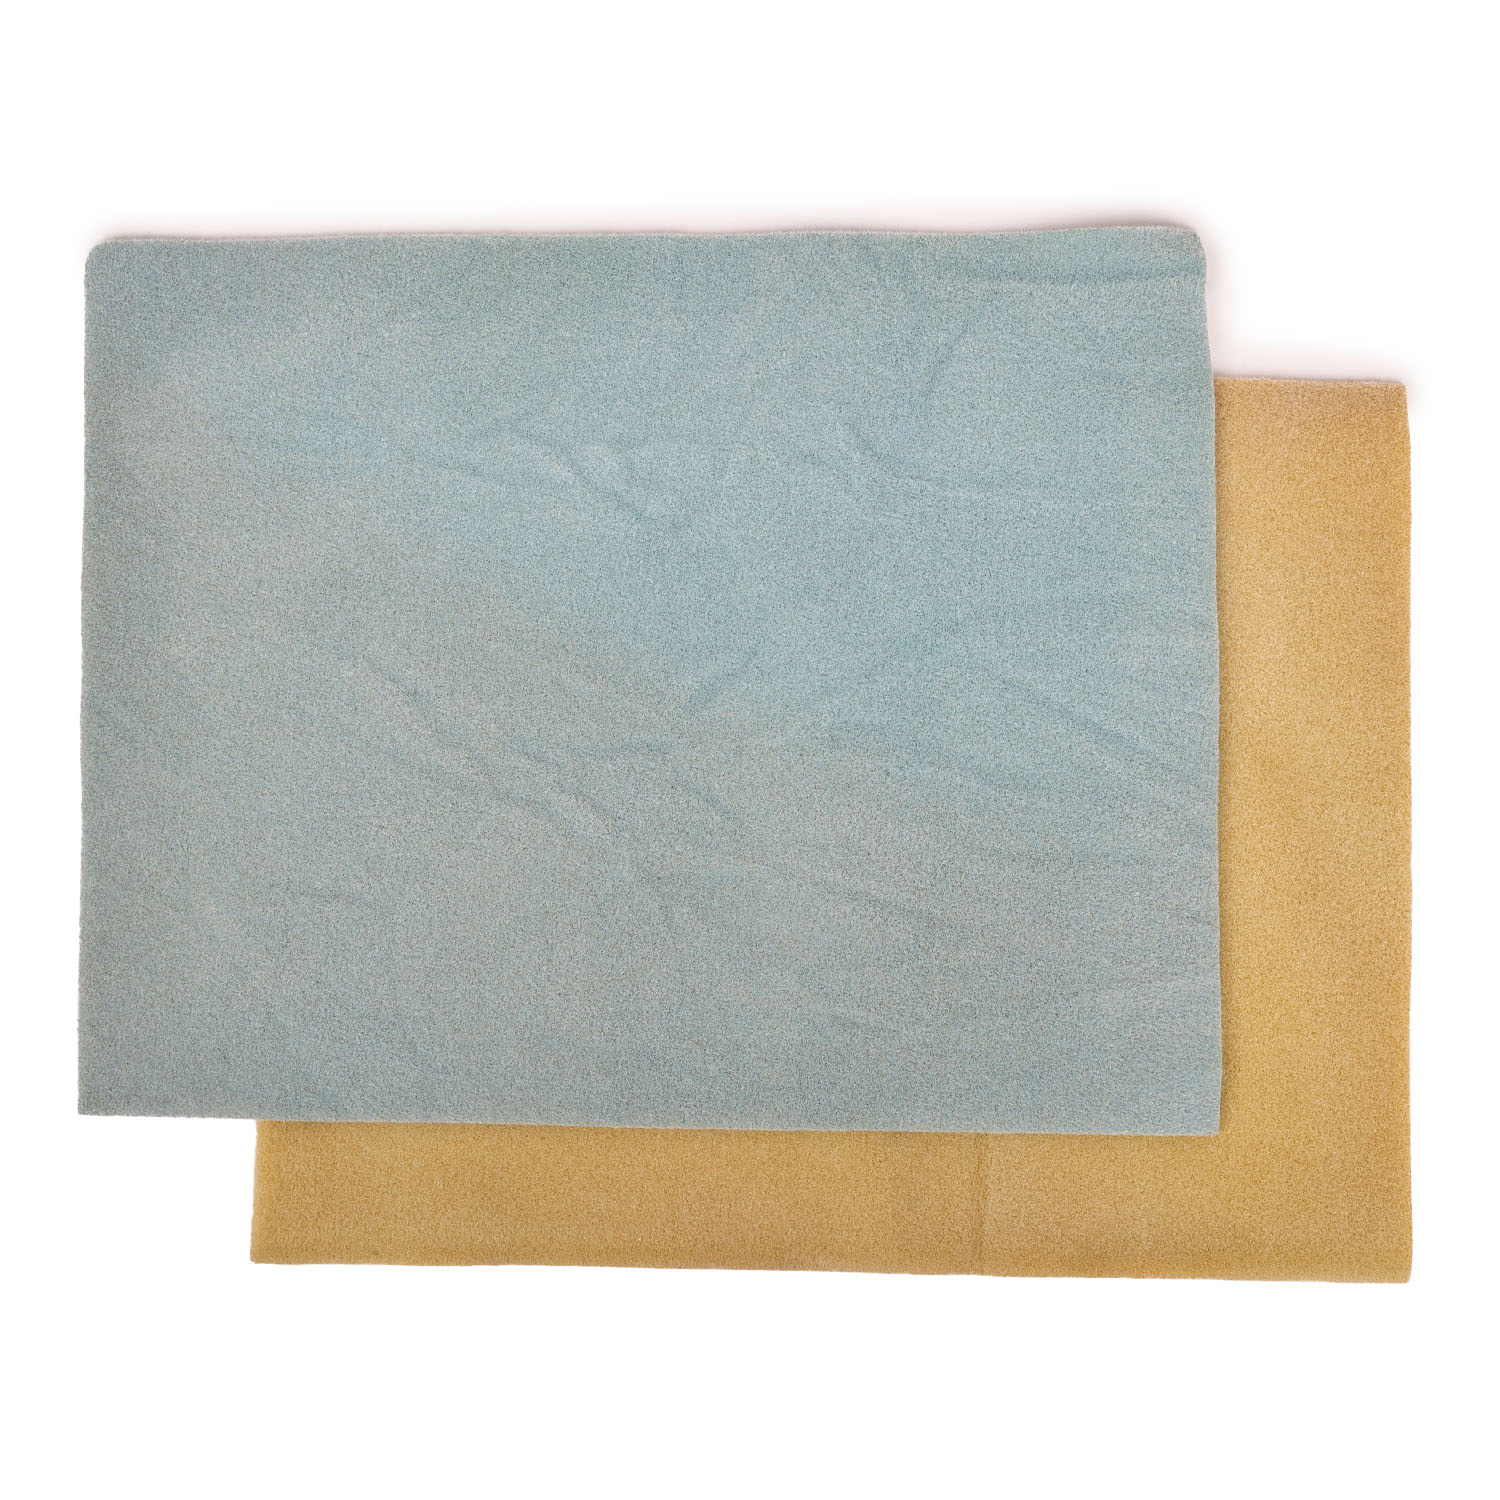
Beading Mat - Beading Design Mat
PotomacBeads Pliers - Round Nose Pliers

Step 6: Choose Your Next Project

Step 6: Choose Your Next Project

  • Glasgow Rose Embroidered Pendant - DIY Jewelry Making Tutorial by PotomacBeads
  • Glasgow Rose Embroidered Pendant - DIY Jewelry Making Tutorial by PotomacBeads

Watch Anna Tonnesen as she provides detailed step by step tutorial instructions to learn to embroider with beads. Create the Glasgow Rose pendant or create your own masterpiece of DIY jewelry following this project tutorial. Learn how to lay out your embroidery project, cut and shape your surface, sew on beads, apply the backing and seem the sides of the piece.
  • Comet Earrings - DIY Jewelry Making Tutorial by PotomacBeads
  • Flower Gem Earrings - DIY Jewelry Making Tutorial by PotomacBeads
  • Embroidered Rings - DIY Jewelry Making Tutorial by PotomacBeads

Join Our Growing Community

Community profile photo 1
Community profile photo 2
Community profile photo 3
Community profile photo 4

Our Testimonials

Only Visible on Admin Mode

Item Description

It's back to work perfecting your Hubble Stitch as Allie incorporates it in the latest Chantilly Lace Pendant. After Hubbling together Potomac Crystal Rondelle Beads, you will use ladder stitch for bringing in Miyuki Bugles around the outside edges. Your finished piece will be topped off with Potomac Crystal Ovals in Setting to give the pendant a "pop" while maintaining its dainty touch along your neckline!

Designer's Material List

Project Steps

Prepare Your Materials: Gather all the beads, thread, and needle listed in the materials section. Begin with the Hubble Stitch: Start by threading your needle with .006 Wildfire beading thread and attaching a stop bead. Follow the tutorial to create the base of the pendant using the Hubble stitch with 1.5x2mm Potomac Crystal Rondelles. Incorporate Crystals and Bugles: Add Miyuki Bugles and additional crystals to the design, following the specific instructions for placement and technique. Apply Ladder Stitch: Use the ladder stitch to attach Miyuki Bugles around the edges of the pendant for a polished look. Assemble the Pendant: Carefully assemble the pendant, ensuring all components are securely in place. Add Finishing Touches: Complete your pendant by adding the Potomac Crystal Ovals in Setting for an elegant finish.