Bridgette shows how to make three easy, breezy Summer Anklets in PotomacBeads' daily video tutorial. These three styles are great for the beach or for summer picnics and are effortless to make for beginning beaders. They are also great for using any beads you may have on stock!
Cluster Anklet:
Cut 8.5 inches of chain. Use jump rings to attach clusters of Miyuki drops at intervals along the chain. Finish with a clasp.
Wrap Anklet:
String 4mm round gemstones on a thread, securing them with wire guards at both ends. Attach a clasp and a charm for added embellishment. This design can also function as a necklace.
Crystal and Chain Anklet:
String 2x1.5mm crystals to a desired length, secure with wire guards. Connect one end to a chain and finish with a clasp. Optionally, add charms for decoration.
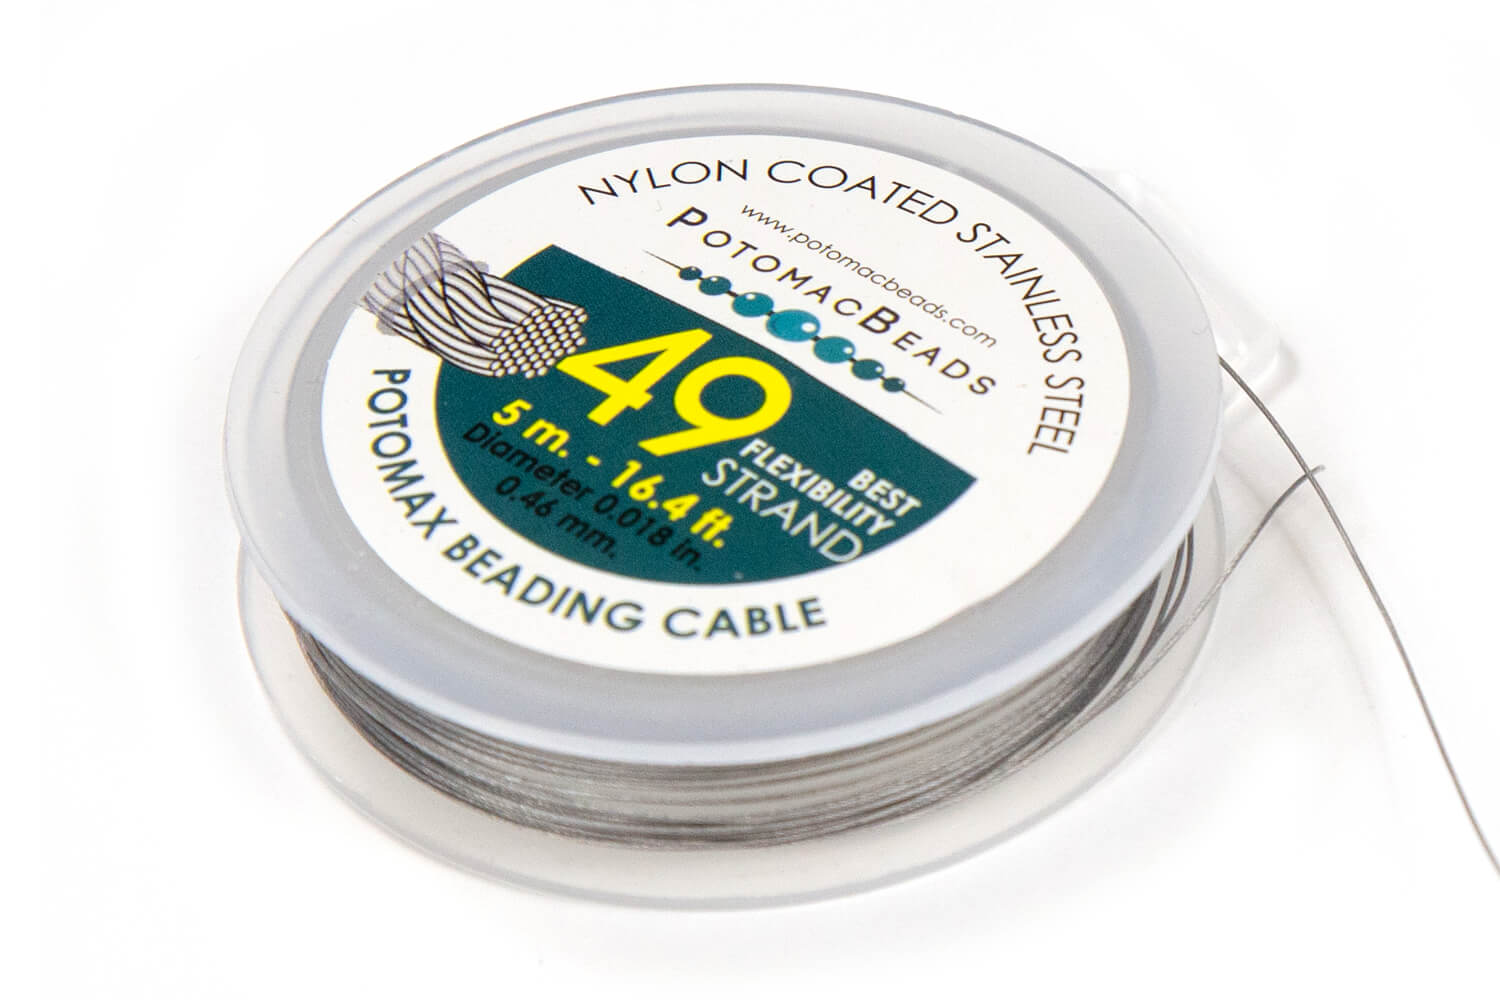
Bring your Czech glass beads to life with this necklace of dancing and floating flashes of color. All you need is stainless steel beading wire, crimp tubes, a clasp, and any collection of Czech glass beads to make this on beat necklace.
Technique learned:CrimpingBasic Beading
Bring your Czech glass beads to life with this necklace of dancing and floating flashes of color. All you need is stainless steel beading wire, crimp tubes, a clasp, and any collection of Czech glass beads to make this on beat necklace.
Technique learned:
Glasgow Rose Embroidered Pendant - DIY Jewelry Making Tutorial by PotomacBeads
Glasgow Rose Embroidered Pendant - DIY Jewelry Making Tutorial by PotomacBeads
Watch Anna Tonnesen as she provides detailed step by step tutorial instructions to learn to embroider with beads. Create the Glasgow Rose pendant or create your own masterpiece of DIY jewelry following this project tutorial. Learn how to lay out your embroidery project, cut and shape your surface, sew on beads, apply the backing and seem the sides of the piece.
Comet Earrings - DIY Jewelry Making Tutorial by PotomacBeads
Flower Gem Earrings - DIY Jewelry Making Tutorial by PotomacBeads
Embroidered Rings - DIY Jewelry Making Tutorial by PotomacBeads
Bridgette shows how to make three easy, breezy Summer Anklets in PotomacBeads' daily video tutorial. These three styles are great for the beach or for summer picnics and are effortless to make for beginning beaders. They are also great for using any beads you may have on stock!
Designer's Material List
The Designer’s suggested colors and materials:
Chain (8.5 inches)
4mm jump rings
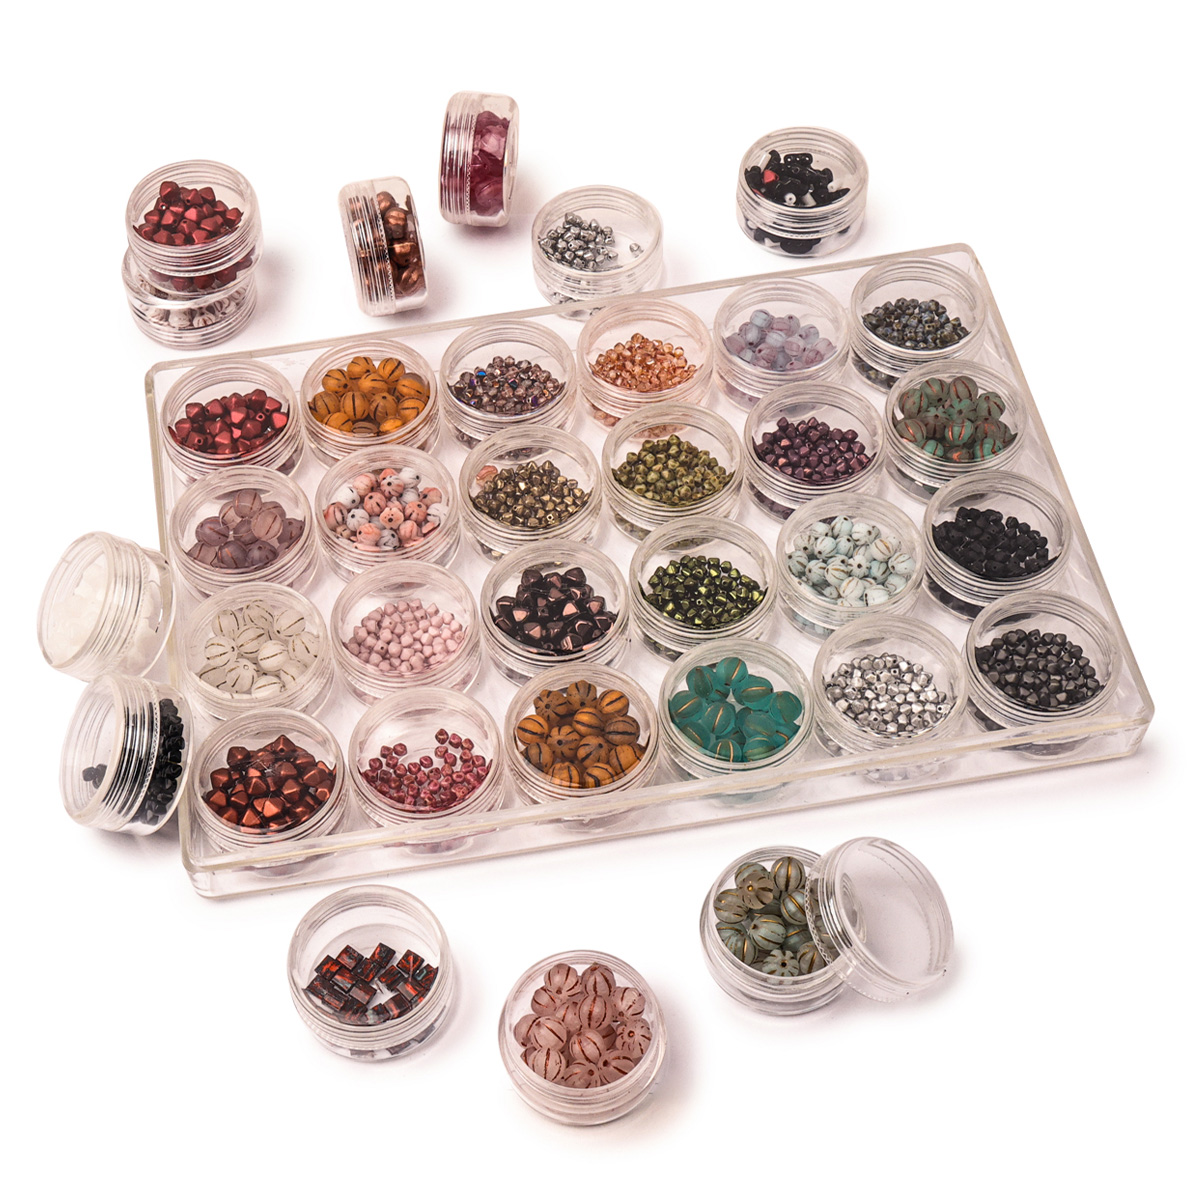
Miyuki drops in various colors
Wire guards
4mm round gemstones in two colors
SS24 chatons and chaton settings
Loctite glue
2x1.5mm crystals
Needle and thread
Project Steps
Cluster Anklet:
Cut 8.5 inches of chain. Use jump rings to attach clusters of Miyuki drops at intervals along the chain. Finish with a clasp.
Wrap Anklet:
String 4mm round gemstones on a thread, securing them with wire guards at both ends. Attach a clasp and a charm for added embellishment. This design can also function as a necklace.
Crystal and Chain Anklet:
String 2x1.5mm crystals to a desired length, secure with wire guards. Connect one end to a chain and finish with a clasp. Optionally, add charms for decoration.
Bullet 1
Bullet 2
Bullet 3
You must be logged in to access the wishlist feature.