The Greta Bracelet is bringing all the 1920's & 30's glam into a basic beaded bracelet! Based on a quick stringing technique, this is one jewelry-making design that perfect for every day or a special night on the town! Choose to add a subtle sparkle effect to the finished project or convert it into a necklace with a pair of earrings!! Plus, you can get this project as a kit!
Start with a thread on a size 10 needle, string a Czech Faceted Rondelle, followed by a Metallic Chocolate 11/0 seed bead, two 3mm Czech Glass Rounds, a 4mm Potomac Crystal Round, and repeat the pattern, ending with a Czech Faceted Rondelle.
After completing the pattern seven times, attach a wire guard and one side of the magnetic clasp.
Continue the pattern on the opposite side, ensuring each strand is tightly pulled to create a puffy appearance around the bracelet.
Repeat the process, adding strands until you achieve the desired width (six strands recommended).
Upon completing the final strand, tie off the ends and trim any excess thread.
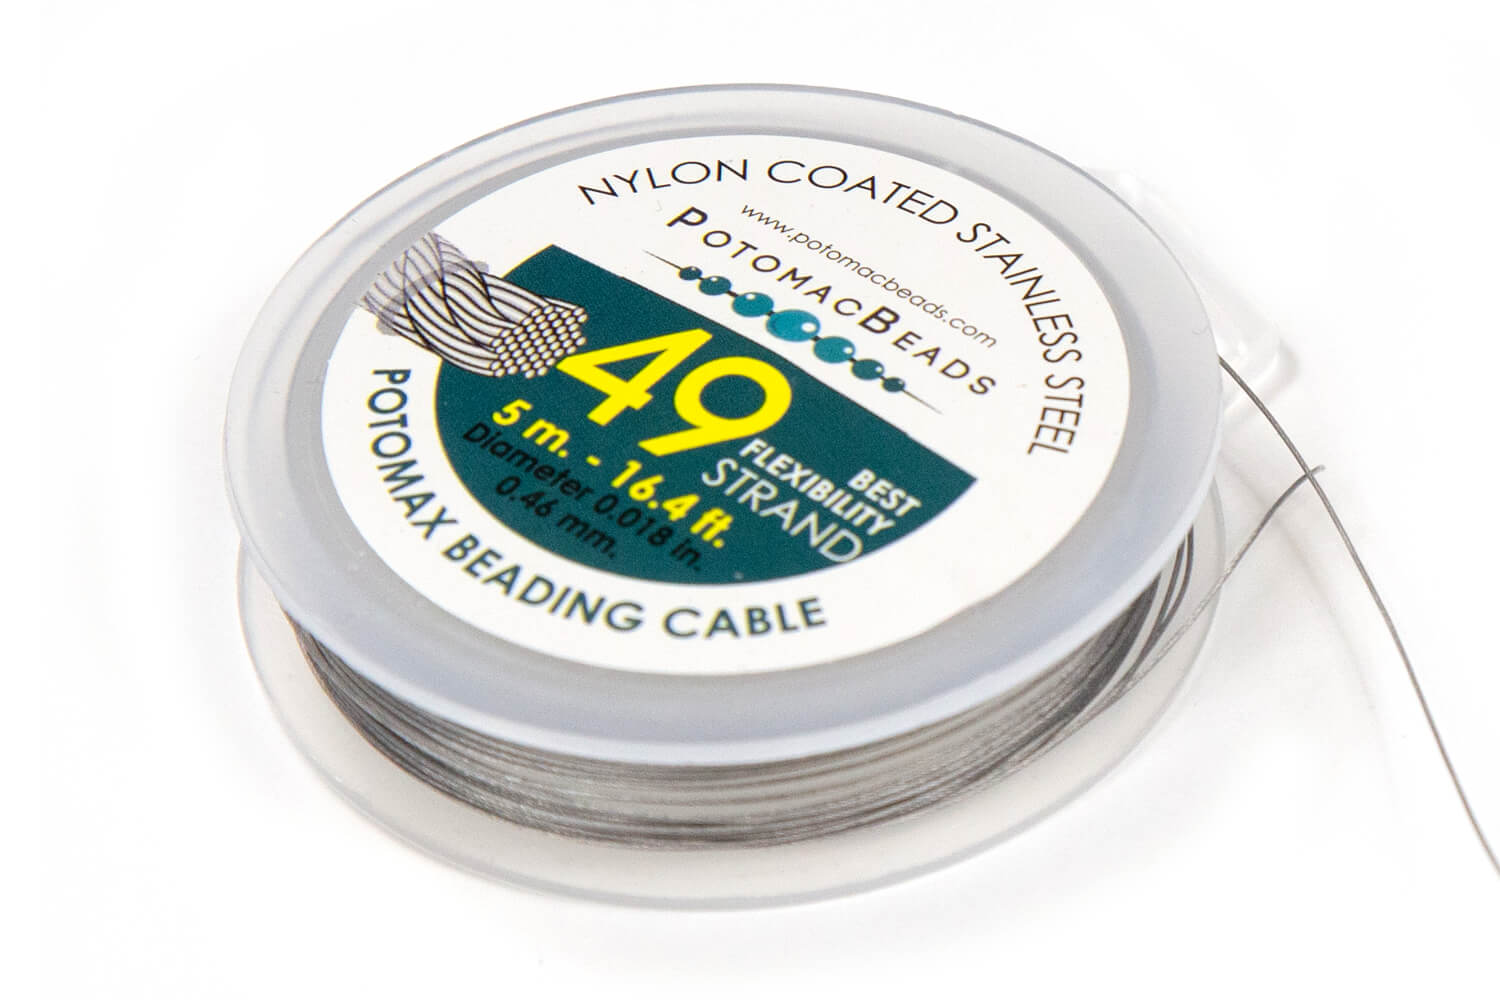
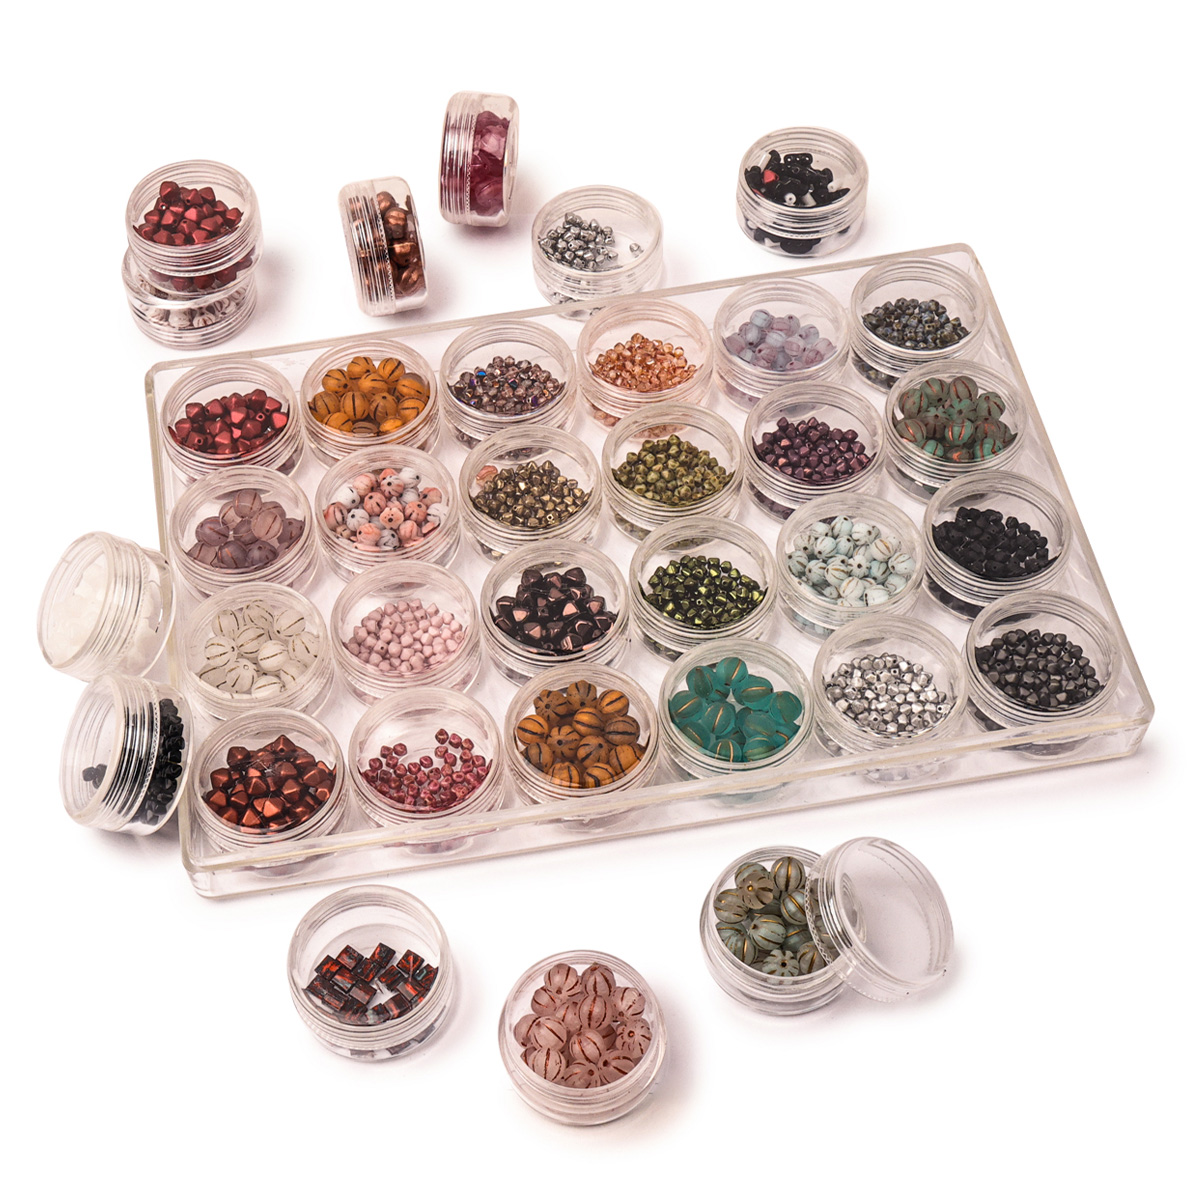
Bring your Czech glass beads to life with this necklace of dancing and floating flashes of color. All you need is stainless steel beading wire, crimp tubes, a clasp, and any collection of Czech glass beads to make this on beat necklace.
Technique learned:CrimpingBasic Beading
Bring your Czech glass beads to life with this necklace of dancing and floating flashes of color. All you need is stainless steel beading wire, crimp tubes, a clasp, and any collection of Czech glass beads to make this on beat necklace.
Technique learned:
Glasgow Rose Embroidered Pendant - DIY Jewelry Making Tutorial by PotomacBeads
Glasgow Rose Embroidered Pendant - DIY Jewelry Making Tutorial by PotomacBeads
Watch Anna Tonnesen as she provides detailed step by step tutorial instructions to learn to embroider with beads. Create the Glasgow Rose pendant or create your own masterpiece of DIY jewelry following this project tutorial. Learn how to lay out your embroidery project, cut and shape your surface, sew on beads, apply the backing and seem the sides of the piece.
Comet Earrings - DIY Jewelry Making Tutorial by PotomacBeads
Flower Gem Earrings - DIY Jewelry Making Tutorial by PotomacBeads
Embroidered Rings - DIY Jewelry Making Tutorial by PotomacBeads
Great shopping experience found some needed items for beading and making of necklaces and bracelets
Share
Grant W.
03-26-25
Great experience
Share
Rich M.
03-26-25
Just what I needed at a reasonable price.
Share
Consuelo F.
03-25-25
If I need anything for my beading projects PotomacBeads is where I go
Share
Bonnie M.
03-25-25
Glad to finally find this item
Share
V. C.
03-25-25
The last package I purchased was for a bracelet which I love. The quality of everything was so nice.
Share
ROBERTA O.
03-25-25
I love your patterns and products. Also, shipping is good.
Share
Alice H.
03-25-25
When I do shop here, everything is just so simple and everything goes quickly!
Share
Loading...
Only Visible on Admin Mode
Item Description
The Greta Bracelet is bringing all the 1920's & 30's glam into a basic beaded bracelet! Based on a quick stringing technique, this is one jewelry-making design that perfect for every day or a special night on the town! Choose to add a subtle sparkle effect to the finished project or convert it into a necklace with a pair of earrings!! Plus, you can get this project as a kit!
Designer's Material List
The designer's suggested colors & materials for ~7.5-inch (19cm) wrist:
Start with a thread on a size 10 needle, string a Czech Faceted Rondelle, followed by a Metallic Chocolate 11/0 seed bead, two 3mm Czech Glass Rounds, a 4mm Potomac Crystal Round, and repeat the pattern, ending with a Czech Faceted Rondelle.
After completing the pattern seven times, attach a wire guard and one side of the magnetic clasp.
Continue the pattern on the opposite side, ensuring each strand is tightly pulled to create a puffy appearance around the bracelet.
Repeat the process, adding strands until you achieve the desired width (six strands recommended).
Upon completing the final strand, tie off the ends and trim any excess thread.
Bullet 1
Bullet 2
Bullet 3
You must be logged in to access the wishlist feature.