Mosaic Embroidered Pumpkin Ornament & Oil Diffuser Tutorial

  • Picture of Accessories, Art, Handicraft, Jewelry
  • Picture of Accessories, Jewelry, Locket, Pendant
  • Picture of Accessories, Jewelry, Necklace
  • Picture of Accessories, Earring, Jewelry, Art, Handicraft, Necklace
  • Picture of Art, Handicraft, Accessories, Jewelry, Locket, Pendant
Create a stunning mosaic embroidered pumpkin ornament that doubles as an oil diffuser! Using a wooden pumpkin form and an array of colorful seed beads, this DIY jewelry-making tutorial by PotomacBeads takes you step-by-step through the process of beading, embroidery, and assembly. Ideal for beginners and experienced crafters, this project uses materials like Miyuki Seed Beads (11/0 and 15/0), Czech glass beads, and Potomac Crystal Navettes. Watch and learn how to make your own holiday decoration or personalized handmade gift!

Step 1: Choose Your Materials

Step 2: Watch the 
Video Tutorial

Mosaic Embroidered Pumpkin Ornament & Oil Diffuser Tutorial
The designer's suggested colors & materials:
  • BeadTec Pendant Ornament Laser Cut | Pumpkin Wood Form & Felt Backing, 1 piece
  • Miyuki Seed Beads - Duracoat Opaque Kumquat 11/0, ~ 7 grams
  • Miyuki Seed Beads - Matte Metallic Patina Iris 11/0, ~2 grams
  • Czech Round Beads - Ancient Gold 3mm, ~ 80 beads
  • Potomac Crystal Navettes (in Settings) - Topaz 7x15mm, 1 bead
  • Table Cut Buttons - Opaque Orange Travertine, 1 bead
  • Czech Glass Smooth Rondelles 3x6mm - Crystal & Orange, ~ 20 beads
  • Czech Glass Puffed Oval Beads - Orange Swirl 9x12mm, 3 beads
  • Czech Glass Bicone Beads - Tangerine 5mm, ~ 20 beads
  • Potomac Crystal Bicone Beads 2mm OR 3mm, ~ 100 beads
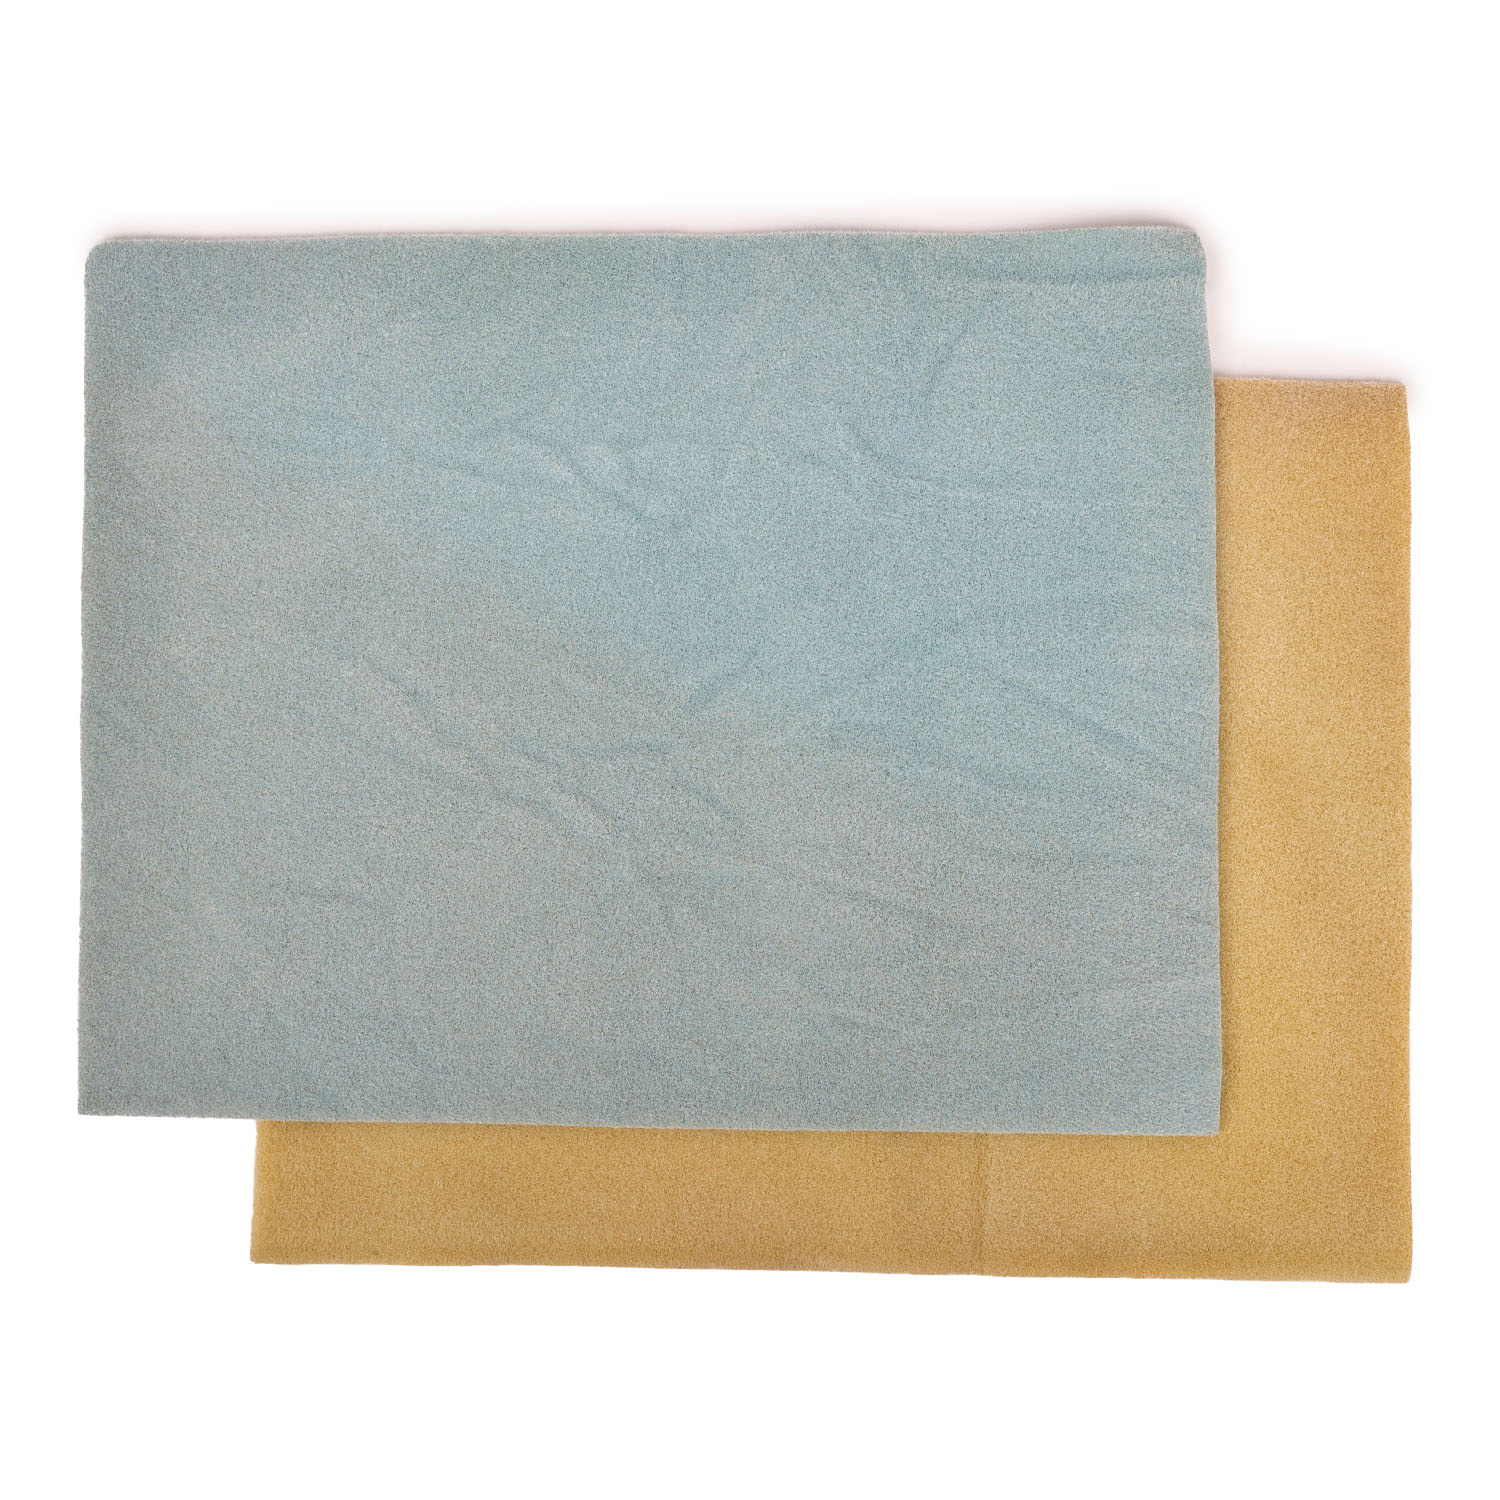
  • BeadTec Vegan Leather Embroidery Backing - Cognac 10"x6", 1 sheet
  • E6000 Glue
  • Step 3: Need More Help? Follow these Steps

    steps

    Quick Project Steps

    Step 1: Set up your materials, including the wooden pumpkin form and felt backing. Step 2: Apply a small amount of E6000 glue to the wooden form and attach the felt backing. Let it dry. Step 3: Begin sewing the 11/0 and 15/0 Miyuki Seed Beads onto the felt in a desired pattern. Step 4: Incorporate larger beads like Czech Round Beads and Crystal Navettes for visual interest. Step 5: Continue beading until the design is complete, ensuring all beads are securely attached. Step 6: Add the final embellishments and leave spaces if you plan to use it as an oil diffuser. Step 7: Stitch the backing securely to the wooden base and finish off any loose threads.

    Step 5: Need Any Extra Materials?

    • Potomacbeads Beading Ruler | Ultimate | Crystal | 9x3"
    • Thread Zap II
    • BeadTec Beading Needles Sizes 10, 11, 12 | Mix Pack of 6
    • Plastic Caliper Tool - White
    • BeadTec DragonThread - Crystal/White | Size 6 (Medium) | 50 Meter Spool
    • BeadTec DragonThread - Green | Size 6 (Medium) | 50 Meter Spool

    Step 5: Need Any Extra Materials?

    Potomacbeads Beading Ruler | Advanced | 6x3"
    Beading Mat - Beading Design Mat
    PotomacBeads Pliers - Round Nose Pliers

    Step 6: Choose Your Next Project

    • Learn how to create beautiful and artistic RounDuo Bangle Stacker Bracelets in this DIY jewelry-making tutorial. Using RounDuo or RounDuo Mini beads paired with 11/0, 15/0, and 8/0 seed beads, this video will guide you through each step, from selecting materials to finishing with a clasp or continuous bangle design.

      Read More

    Step 6: Choose Your Next Project

    • Glasgow Rose Embroidered Pendant - DIY Jewelry Making Tutorial by PotomacBeads
    • Glasgow Rose Embroidered Pendant - DIY Jewelry Making Tutorial by PotomacBeads

    Watch Anna Tonnesen as she provides detailed step by step tutorial instructions to learn to embroider with beads. Create the Glasgow Rose pendant or create your own masterpiece of DIY jewelry following this project tutorial. Learn how to lay out your embroidery project, cut and shape your surface, sew on beads, apply the backing and seem the sides of the piece.
    • Comet Earrings - DIY Jewelry Making Tutorial by PotomacBeads
    • Flower Gem Earrings - DIY Jewelry Making Tutorial by PotomacBeads
    • Embroidered Rings - DIY Jewelry Making Tutorial by PotomacBeads

    Join Our Growing Community

    Community profile photo 1
    Community profile photo 2
    Community profile photo 3
    Community profile photo 4

    Our Testimonials

    Only Visible on Admin Mode

    Item Description

    Create a stunning mosaic embroidered pumpkin ornament that doubles as an oil diffuser! Using a wooden pumpkin form and an array of colorful seed beads, this DIY jewelry-making tutorial by PotomacBeads takes you step-by-step through the process of beading, embroidery, and assembly. Ideal for beginners and experienced crafters, this project uses materials like Miyuki Seed Beads (11/0 and 15/0), Czech glass beads, and Potomac Crystal Navettes. Watch and learn how to make your own holiday decoration or personalized handmade gift!

    Designer's Material List

    The designer's suggested colors & materials:
  • BeadTec Pendant Ornament Laser Cut | Pumpkin Wood Form & Felt Backing, 1 piece
  • Miyuki Seed Beads - Duracoat Opaque Kumquat 11/0, ~ 7 grams
  • Miyuki Seed Beads - Matte Metallic Patina Iris 11/0, ~2 grams
  • Czech Round Beads - Ancient Gold 3mm, ~ 80 beads
  • Potomac Crystal Navettes (in Settings) - Topaz 7x15mm, 1 bead
  • Table Cut Buttons - Opaque Orange Travertine, 1 bead
  • Czech Glass Smooth Rondelles 3x6mm - Crystal & Orange, ~ 20 beads
  • Czech Glass Puffed Oval Beads - Orange Swirl 9x12mm, 3 beads
  • Czech Glass Bicone Beads - Tangerine 5mm, ~ 20 beads
  • Potomac Crystal Bicone Beads 2mm OR 3mm, ~ 100 beads
  • BeadTec Vegan Leather Embroidery Backing - Cognac 10"x6", 1 sheet
  • E6000 Glue
  • Project Steps

    Step 1: Set up your materials, including the wooden pumpkin form and felt backing. Step 2: Apply a small amount of E6000 glue to the wooden form and attach the felt backing. Let it dry. Step 3: Begin sewing the 11/0 and 15/0 Miyuki Seed Beads onto the felt in a desired pattern. Step 4: Incorporate larger beads like Czech Round Beads and Crystal Navettes for visual interest. Step 5: Continue beading until the design is complete, ensuring all beads are securely attached. Step 6: Add the final embellishments and leave spaces if you plan to use it as an oil diffuser. Step 7: Stitch the backing securely to the wooden base and finish off any loose threads.