In this quick and easy wire working tutorial from PotomacBeads, Allie shows how to make the Floating Wire Necklace. Using jewelry-making pliers and memory wire, plus some 14mm beads, she designs a simple but eye-catching necklace. This is a great tutorial to get started with wire working or to use up any leftover beads you may have on hand.
Memory wire (bracelet or necklace wire, avoid ring wire)
Wide jaw pliers, round nose pliers, chain nose pliers (optional: nylon jaw pliers)
Memory wire cutters
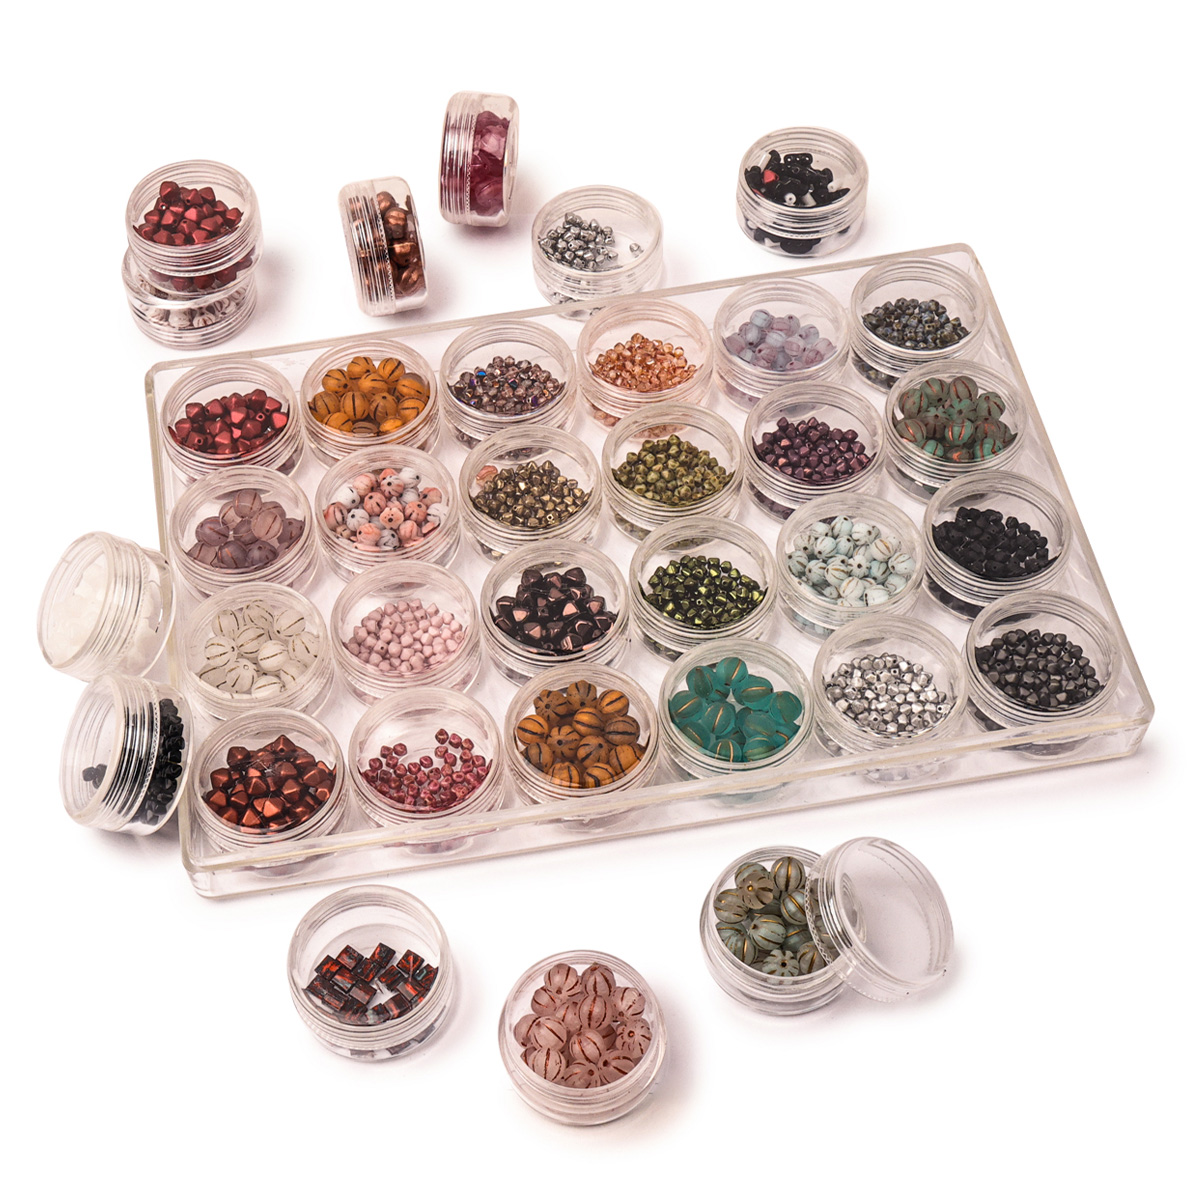
Beads (14mm recommended, varied sizes and colors for design flexibility)
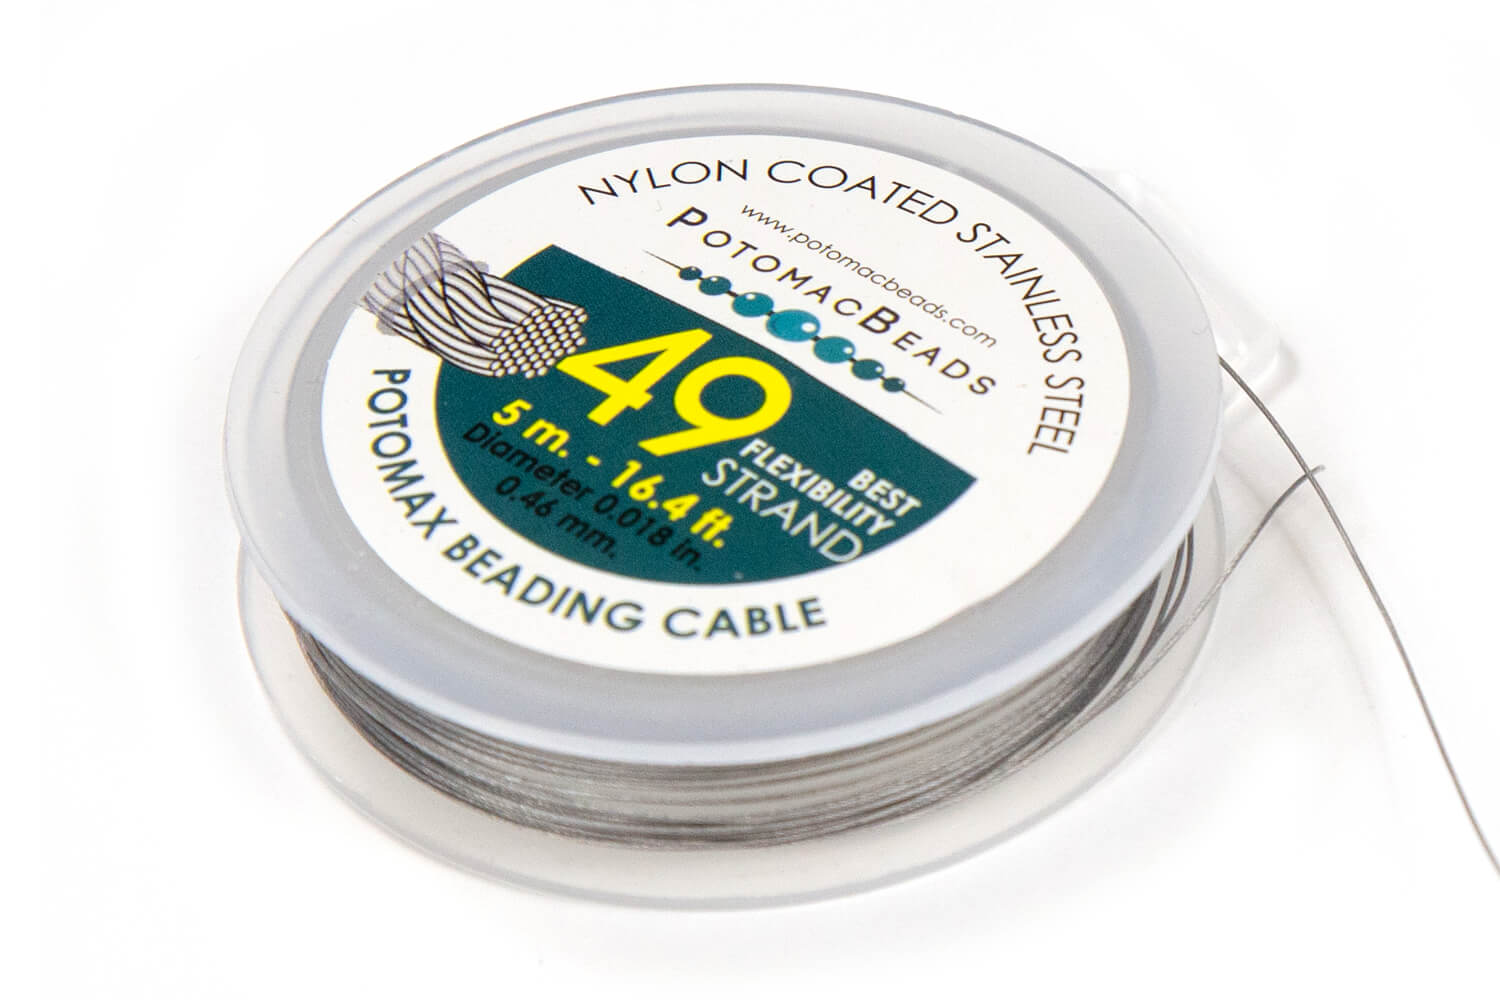
Beading wire or cable (Beadalon .018 in gold color for the example)
Chinese knotting cord (or any cord of choice)
Step 3: Need More Help? Follow these Steps
Quick Project Steps
Prepare Your Materials: Gather memory wire, cutters, pliers, beads, and cord.
Cut Memory Wire: Use memory wire cutters to cut a length of wire, avoiding ring wire for easier handling.
Shape the Wire: Use wide jaw pliers to bend the wire into desired shapes (e.g., triangles or squares).
Make Loops: Create loops at the ends of the wire segments to hold the beads and cord.
Assemble the Necklace: Thread beads and wire segments onto the beading wire or cord, arranging them in a visually pleasing manner.
Finish with Slip Knots: Create adjustable slip knots at the ends of the cord for an easy-to-wear design.
Bring your Czech glass beads to life with this necklace of dancing and floating flashes of color. All you need is stainless steel beading wire, crimp tubes, a clasp, and any collection of Czech glass beads to make this on beat necklace.
Technique learned:CrimpingBasic Beading
Bring your Czech glass beads to life with this necklace of dancing and floating flashes of color. All you need is stainless steel beading wire, crimp tubes, a clasp, and any collection of Czech glass beads to make this on beat necklace.
Technique learned:
Glasgow Rose Embroidered Pendant - DIY Jewelry Making Tutorial by PotomacBeads
Glasgow Rose Embroidered Pendant - DIY Jewelry Making Tutorial by PotomacBeads
Watch Anna Tonnesen as she provides detailed step by step tutorial instructions to learn to embroider with beads. Create the Glasgow Rose pendant or create your own masterpiece of DIY jewelry following this project tutorial. Learn how to lay out your embroidery project, cut and shape your surface, sew on beads, apply the backing and seem the sides of the piece.
Comet Earrings - DIY Jewelry Making Tutorial by PotomacBeads
Flower Gem Earrings - DIY Jewelry Making Tutorial by PotomacBeads
Embroidered Rings - DIY Jewelry Making Tutorial by PotomacBeads
I have been shopping with Potomac Beads for years. There are many colors that are exclusive to them along with bead shapes. I also get compliments on their patterns.
Share
Brendalee D.
04-17-25
Long time customer Keep doing what you are doing
Share
Alicia M.
04-17-25
Glad you had what I needed.
Share
Vickie H.
04-17-25
It’s great.
Share
Linda D.
04-17-25
Quick and easy
Share
Andromeda P.
04-17-25
Always quick and easy but way too hard to decide because there are too many great choices
Share
Diana Y.
04-17-25
Rey easy to navigate and quick processing for payment
Share
Marcia T.
04-17-25
Great shop!
Share
Loading...
Only Visible on Admin Mode
Item Description
In this quick and easy wire working tutorial from PotomacBeads, Allie shows how to make the Floating Wire Necklace. Using jewelry-making pliers and memory wire, plus some 14mm beads, she designs a simple but eye-catching necklace. This is a great tutorial to get started with wire working or to use up any leftover beads you may have on hand.
Designer's Material List
The Designer’s suggested colors and materials:
Memory wire (bracelet or necklace wire, avoid ring wire)
Wide jaw pliers, round nose pliers, chain nose pliers (optional: nylon jaw pliers)
Memory wire cutters
Beads (14mm recommended, varied sizes and colors for design flexibility)
Beading wire or cable (Beadalon .018 in gold color for the example)
Chinese knotting cord (or any cord of choice)
Project Steps
Prepare Your Materials: Gather memory wire, cutters, pliers, beads, and cord.
Cut Memory Wire: Use memory wire cutters to cut a length of wire, avoiding ring wire for easier handling.
Shape the Wire: Use wide jaw pliers to bend the wire into desired shapes (e.g., triangles or squares).
Make Loops: Create loops at the ends of the wire segments to hold the beads and cord.
Assemble the Necklace: Thread beads and wire segments onto the beading wire or cord, arranging them in a visually pleasing manner.
Finish with Slip Knots: Create adjustable slip knots at the ends of the cord for an easy-to-wear design.
Bullet 1
Bullet 2
Bullet 3
You must be logged in to access the wishlist feature.