Tereza revisits a basic beading technique - stringing pearls - in her latest beading and jewelry making tutorial from PotomacBeads. This is great information if you want to make your own pearl necklace, or fix a piece of family heirloom jewelry.
Prepare the End: Start by threading a knot cover onto the silk cord, tie a knot (or double for security), apply a dab of glue, and let it dry before closing the knot cover.
Stringing Pearls: Slide a pearl down to the knot cover, tie an overhand knot right after the pearl, ensuring it’s tight and close to the pearl.
Continue Knotting: Repeat the process for each pearl, ensuring knots are tight and pearls are evenly spaced.
Adjusting Length and Straightness: After stringing, adjust the strand by pulling gently to ensure the length is even and the pearls lie straight.
Finishing the Necklace: Repeat the process for the second strand, ensuring both strands are of equal length. Finish by attaching knot covers and clasps to both ends.
Final Touches: Make any necessary adjustments to ensure the necklace fits perfectly. Trim any excess cord and ensure all components are securely fastened.
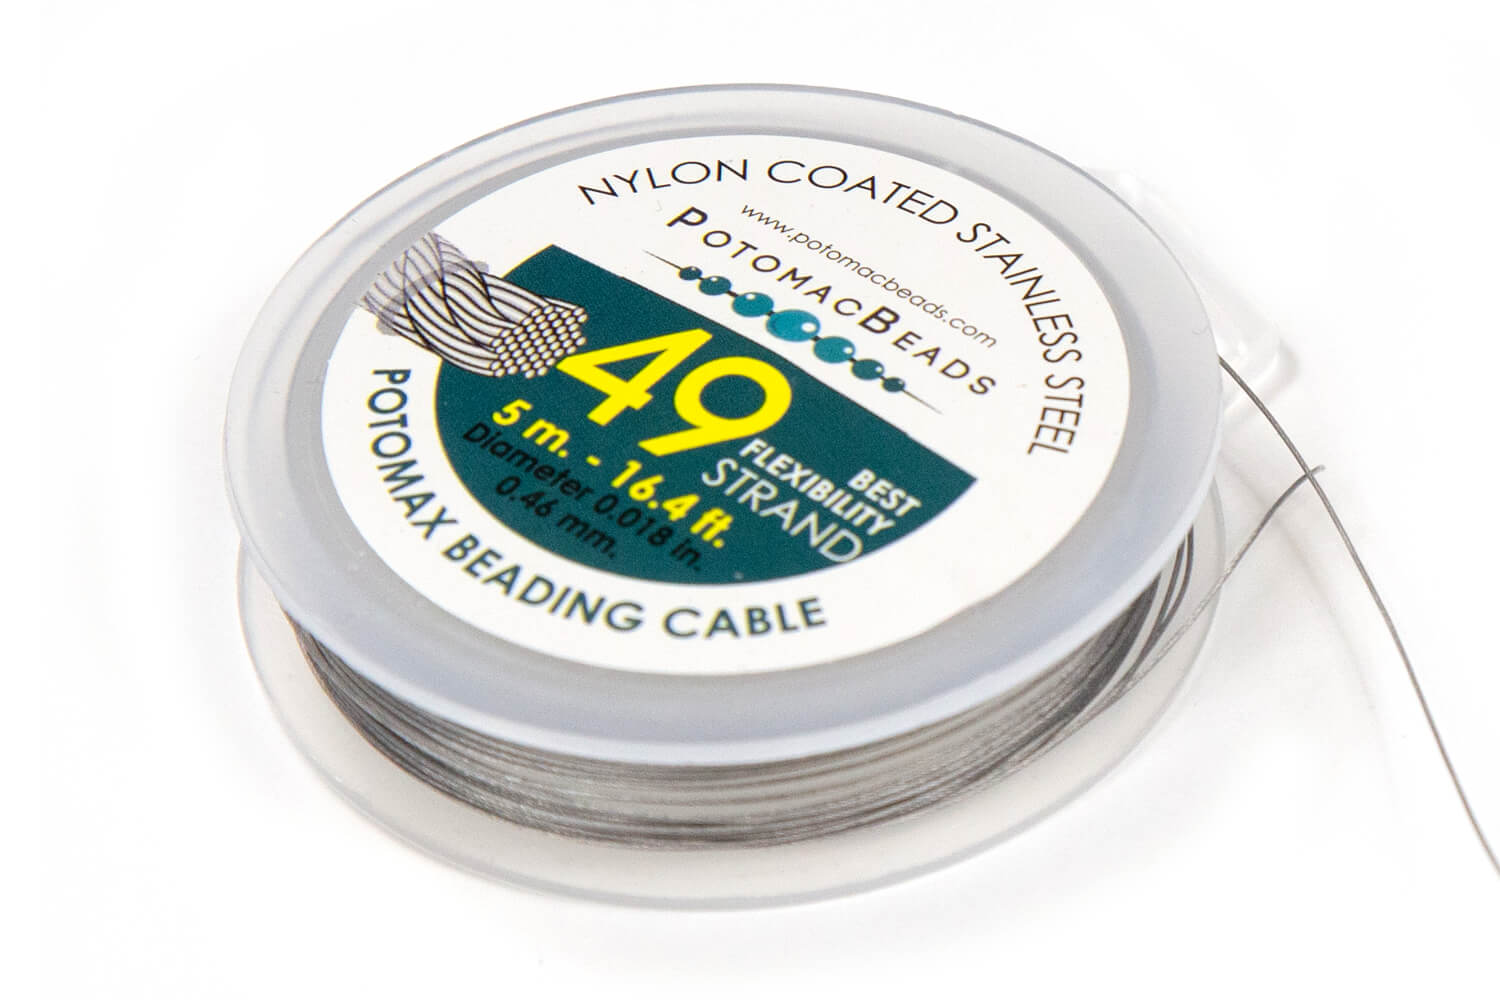
Bring your Czech glass beads to life with this necklace of dancing and floating flashes of color. All you need is stainless steel beading wire, crimp tubes, a clasp, and any collection of Czech glass beads to make this on beat necklace.
Technique learned:CrimpingBasic Beading
Bring your Czech glass beads to life with this necklace of dancing and floating flashes of color. All you need is stainless steel beading wire, crimp tubes, a clasp, and any collection of Czech glass beads to make this on beat necklace.
Technique learned:
Glasgow Rose Embroidered Pendant - DIY Jewelry Making Tutorial by PotomacBeads
Glasgow Rose Embroidered Pendant - DIY Jewelry Making Tutorial by PotomacBeads
Watch Anna Tonnesen as she provides detailed step by step tutorial instructions to learn to embroider with beads. Create the Glasgow Rose pendant or create your own masterpiece of DIY jewelry following this project tutorial. Learn how to lay out your embroidery project, cut and shape your surface, sew on beads, apply the backing and seem the sides of the piece.
Comet Earrings - DIY Jewelry Making Tutorial by PotomacBeads
Flower Gem Earrings - DIY Jewelry Making Tutorial by PotomacBeads
Embroidered Rings - DIY Jewelry Making Tutorial by PotomacBeads
I have always loved looking at the finished products and free tutorials
Share
Kathleen M.
04-27-25
Found what I was looking for
Share
Diann A.
04-27-25
Nice selection. Disappointed that some basic seed beads have been out of stock for a long while and the clasps that I need are no longer in stock.
Share
Char O.
04-27-25
Great videos on how to make jewelry! Great ideas, love the kits. Potomac Beads is my store to purchase jewelry making items.
Share
Debora G.
04-26-25
Great shopping experience! Easy to find what I’m looking for and smooth checkout process.
Share
Caree C.
04-26-25
love their patterns
Share
Miriam F.
04-26-25
Very difficult to use drop down menu at the top of the page. I had to go to the site map at the bottom of the page to look for kits, etc.
Share
Tracie D.
04-26-25
.
Share
Irene K.
04-26-25
I found things I want to embellish polymer clay hearts.
Share
Loading...
Only Visible on Admin Mode
Item Description
Tereza revisits a basic beading technique - stringing pearls - in her latest beading and jewelry making tutorial from PotomacBeads. This is great information if you want to make your own pearl necklace, or fix a piece of family heirloom jewelry.
Prepare the End: Start by threading a knot cover onto the silk cord, tie a knot (or double for security), apply a dab of glue, and let it dry before closing the knot cover.
Stringing Pearls: Slide a pearl down to the knot cover, tie an overhand knot right after the pearl, ensuring it’s tight and close to the pearl.
Continue Knotting: Repeat the process for each pearl, ensuring knots are tight and pearls are evenly spaced.
Adjusting Length and Straightness: After stringing, adjust the strand by pulling gently to ensure the length is even and the pearls lie straight.
Finishing the Necklace: Repeat the process for the second strand, ensuring both strands are of equal length. Finish by attaching knot covers and clasps to both ends.
Final Touches: Make any necessary adjustments to ensure the necklace fits perfectly. Trim any excess cord and ensure all components are securely fastened.
Bullet 1
Bullet 2
Bullet 3
You must be logged in to access the wishlist feature.