Mommy and Me Pearl Bracelet Tutorial

  • Picture of Accessories, Jewelry, Bracelet, Necklace
  • Picture of Accessories, Bracelet, Jewelry
  • Picture of Accessories, Finger, Hand, Person, Bracelet, Jewelry
  • Picture of Accessories, Bracelet, Jewelry
  • Picture of Accessories, Bracelet, Jewelry
  • Picture of Face, Head, Photography, Portrait, Accessories, Bracelet, Jewelry, Necklace, Finger, Blou...
  • Picture of Accessories, Jewelry, Necklace
Learn how to create a beautiful "Mommy and Me" bracelet set with this step-by-step beading tutorial by Ally from Toic Beads. Using pink pearls, crystals, and 15/0 seed beads, this DIY jewelry-making project is perfect for beginners and experienced crafters alike. Follow along to make matching bracelets for you and your child, featuring secure infinite knot clasps and charming heart accents. Gather your materials, including size 8 Dragon thread, and start crafting your own personalized bracelet set today!

Step 1: Choose Your Materials

Step 2: Watch the 
Video Tutorial

Mommy and Me Pearl Bracelet Tutorial
The designer's suggested colors & materials:
  • Potomac Pearls - Rose 4mm, ~ 25 Beads
  • Potomac Pearls - Rose 6mm, ~ 25 Beads
  • Potomac Crystal Bicone Beads - Light Rose AB 4mm, ~ 44 Beads
  • Potomac Crystal Bicone Beads - Light Rose AB 2mm, 38 Beads
  • Miyuki Seed Beads - Duracoat Galvanized Gold 15/0, 2 Grams
  • Athenacast Metal Charms Heart | 6x7mm | Real 24k Gold Plated, 2 Pieces
  • Claspgarten Infinity Rings Box Push Clasp | 13x7mm | 1-Strand | Real 23k Gold Plated, 2 Pieces
  • Step 3: Need More Help? Follow these Steps

    steps

    Quick Project Steps

    Gather Materials: Collect all the beads, thread, clasp, and charm. Start with a Stop Bead: Add a stop bead to your Dragon Thread. First Bead Addition: String one 4mm bicone, one 15/0 seed bead, one 6mm pearl, one 15/0 seed bead, and another 4mm bicone. Reverse Thread Direction: Add a 15/0 seed bead, go back through the pearl, and position the beads. Create Floral Pattern: Add a 15/0 seed bead, a 4mm bicone, another 15/0 seed bead, and go through the previous bicone. Repeat to complete the flower. Add Right Angle Weave Unit: Add 15/0 seed beads, a pearl, and more bicones to create the right angle weave. Repeat Pattern: Continue the floral and right angle weave pattern until desired length. Add Clasp and Charm: Attach the clasp and charm using seed beads and reinforce by looping the thread multiple times. Finish and Secure Thread: Tie off the thread with a sewers knot, burn the ends with a thread burner. Final Touches: Ensure all beads are secure and the bracelet fits well

    Step 5: Need Any Extra Materials?

    Step 5: Need Any Extra Materials?

    Potomacbeads Beading Ruler | Advanced | 6x3"
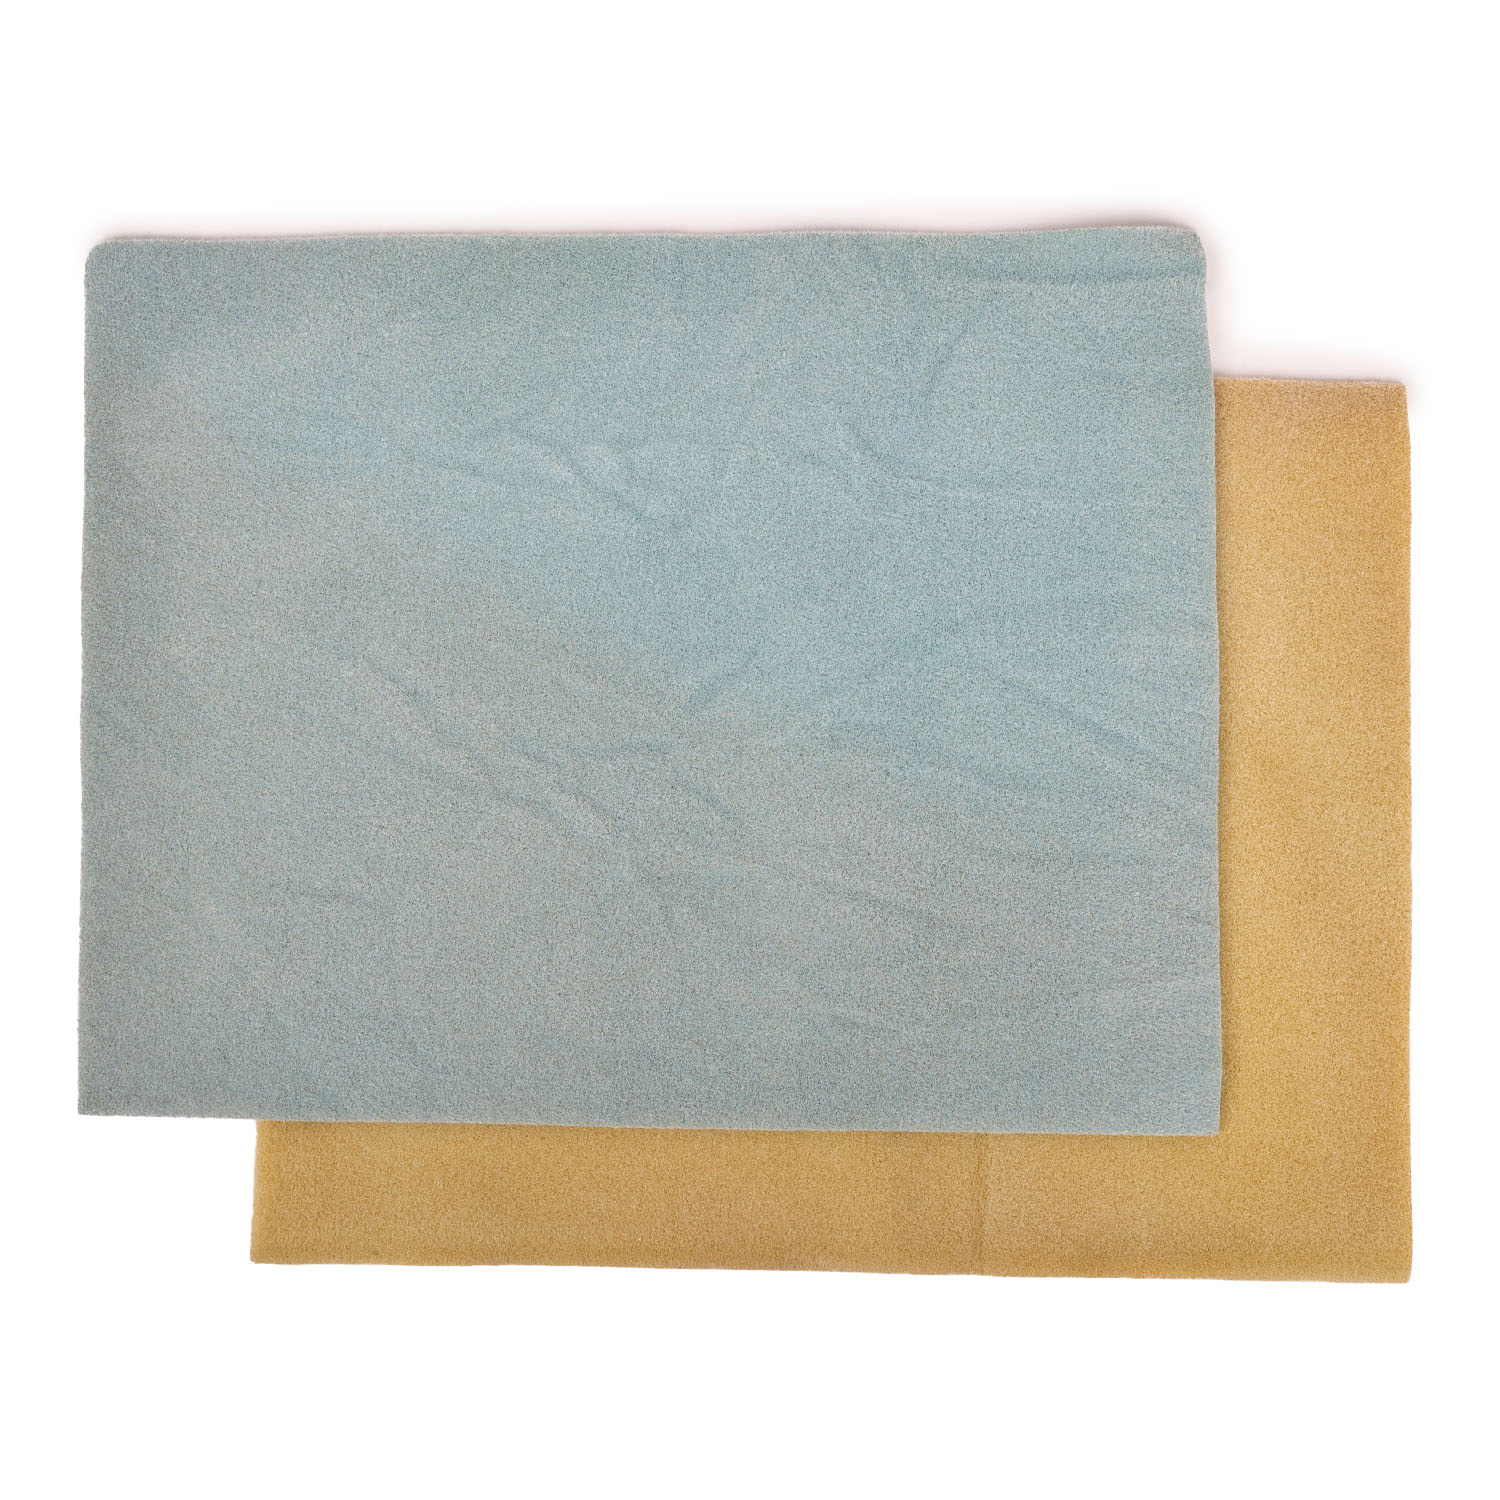
    Beading Mat - Beading Design Mat
    PotomacBeads Pliers - Round Nose Pliers

    Step 6: Choose Your Next Project

    Step 6: Choose Your Next Project

    • Glasgow Rose Embroidered Pendant - DIY Jewelry Making Tutorial by PotomacBeads
    • Glasgow Rose Embroidered Pendant - DIY Jewelry Making Tutorial by PotomacBeads

    Watch Anna Tonnesen as she provides detailed step by step tutorial instructions to learn to embroider with beads. Create the Glasgow Rose pendant or create your own masterpiece of DIY jewelry following this project tutorial. Learn how to lay out your embroidery project, cut and shape your surface, sew on beads, apply the backing and seem the sides of the piece.
    • Comet Earrings - DIY Jewelry Making Tutorial by PotomacBeads
    • Flower Gem Earrings - DIY Jewelry Making Tutorial by PotomacBeads
    • Embroidered Rings - DIY Jewelry Making Tutorial by PotomacBeads

    Join Our Growing Community

    Community profile photo 1
    Community profile photo 2
    Community profile photo 3
    Community profile photo 4

    Our Testimonials

    Only Visible on Admin Mode

    Item Description

    Learn how to create a beautiful "Mommy and Me" bracelet set with this step-by-step beading tutorial by Ally from Toic Beads. Using pink pearls, crystals, and 15/0 seed beads, this DIY jewelry-making project is perfect for beginners and experienced crafters alike. Follow along to make matching bracelets for you and your child, featuring secure infinite knot clasps and charming heart accents. Gather your materials, including size 8 Dragon thread, and start crafting your own personalized bracelet set today!

    Designer's Material List

    The designer's suggested colors & materials:
  • Potomac Pearls - Rose 4mm, ~ 25 Beads
  • Potomac Pearls - Rose 6mm, ~ 25 Beads
  • Potomac Crystal Bicone Beads - Light Rose AB 4mm, ~ 44 Beads
  • Potomac Crystal Bicone Beads - Light Rose AB 2mm, 38 Beads
  • Miyuki Seed Beads - Duracoat Galvanized Gold 15/0, 2 Grams
  • Athenacast Metal Charms Heart | 6x7mm | Real 24k Gold Plated, 2 Pieces
  • Claspgarten Infinity Rings Box Push Clasp | 13x7mm | 1-Strand | Real 23k Gold Plated, 2 Pieces
  • Project Steps

    Gather Materials: Collect all the beads, thread, clasp, and charm. Start with a Stop Bead: Add a stop bead to your Dragon Thread. First Bead Addition: String one 4mm bicone, one 15/0 seed bead, one 6mm pearl, one 15/0 seed bead, and another 4mm bicone. Reverse Thread Direction: Add a 15/0 seed bead, go back through the pearl, and position the beads. Create Floral Pattern: Add a 15/0 seed bead, a 4mm bicone, another 15/0 seed bead, and go through the previous bicone. Repeat to complete the flower. Add Right Angle Weave Unit: Add 15/0 seed beads, a pearl, and more bicones to create the right angle weave. Repeat Pattern: Continue the floral and right angle weave pattern until desired length. Add Clasp and Charm: Attach the clasp and charm using seed beads and reinforce by looping the thread multiple times. Finish and Secure Thread: Tie off the thread with a sewers knot, burn the ends with a thread burner. Final Touches: Ensure all beads are secure and the bracelet fits well