In this video tutorial from PotomacBeads, Allie is making a classic Button Clasp Simple Bracelet. To purchase PotomacBeads products feature in the tutorial, see the links below.
The Button Clasp Simple Bracelet is a strung bracelet that uses a button as the accent piece.
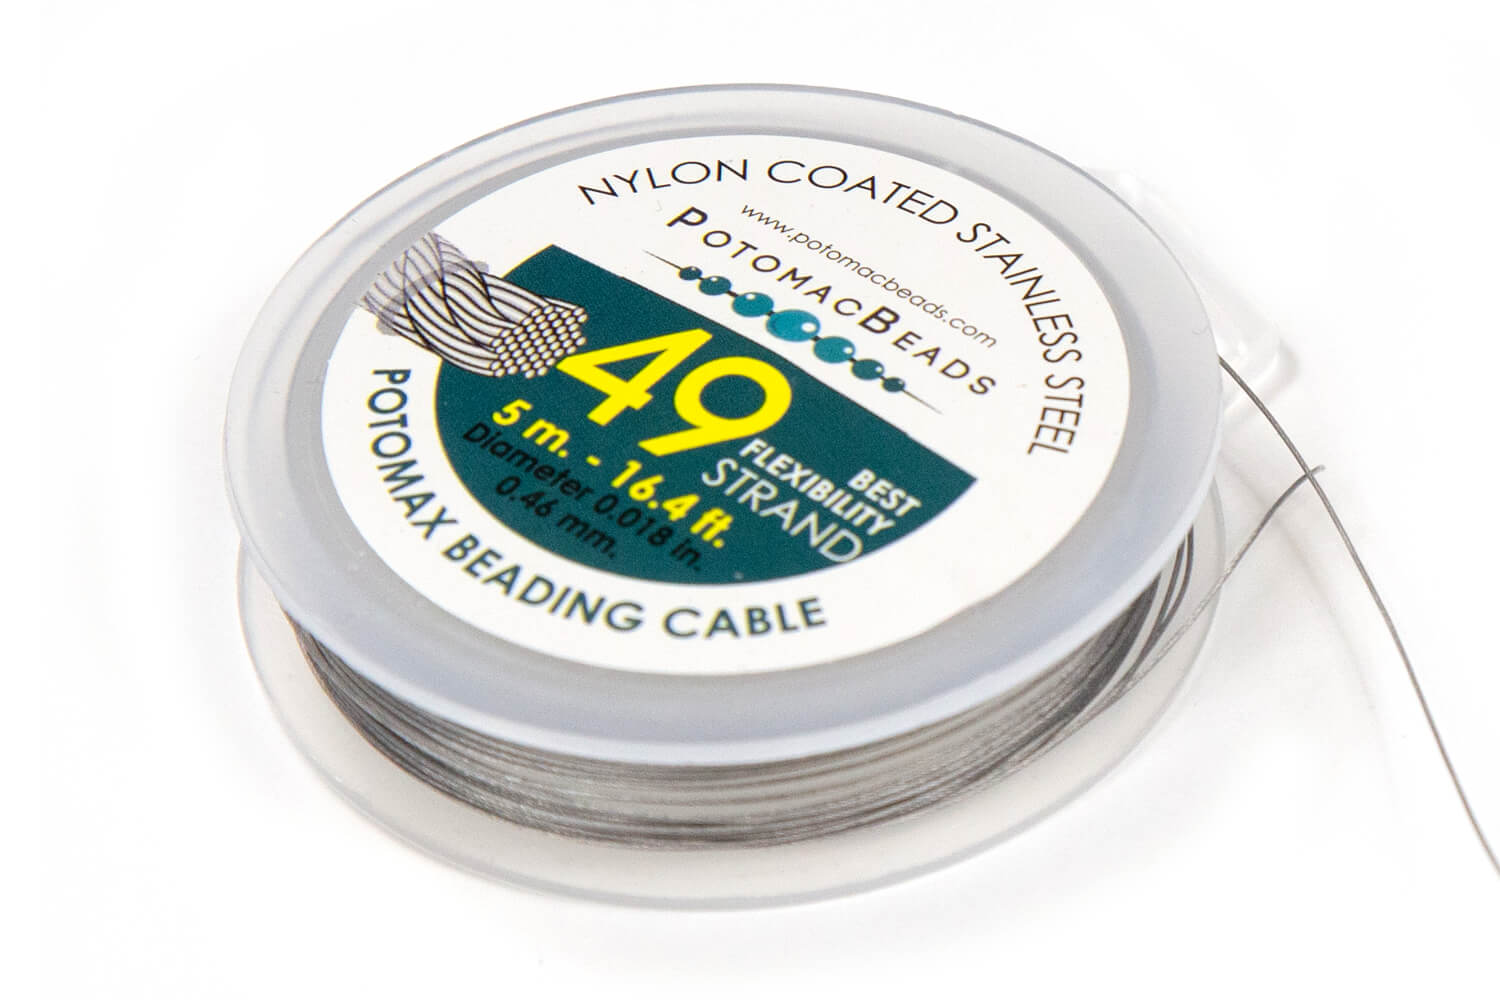
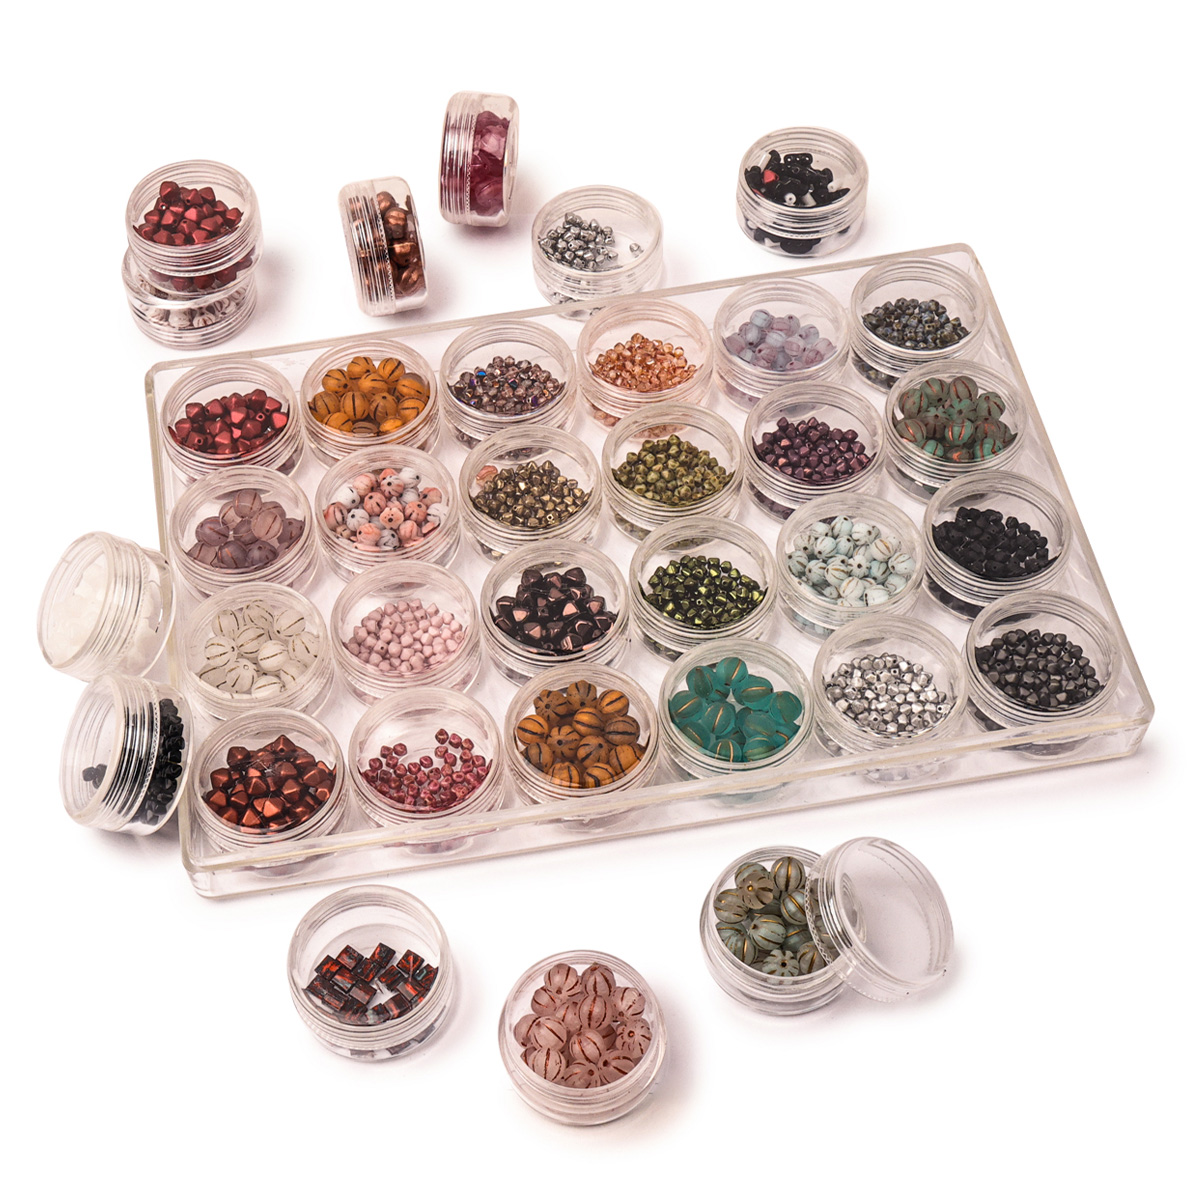
1. Gather up the gemstones, Miyuki seed beads, metal spacers, crimp beads and covers and a cup button. You will be using .018 beading wire so it’s a good idea to have pliers handy.
2. Cut about a foot of wire and add on about 7 inches of beads, each separated by a spacer. Put a crimp bead at the end of the pattern. Thread up through the button and back down through the button and crimp bead. Flatten the crimp bead with the pliers. Put on a crimp cover.
3. Push the beads up to the button. Put the crimp tube first, then add on enough seed beads to make a loop to fit the button. Cut the end of the wire. Put on the crimp cover. Flatten with pliers and your button clasp bracelet is done.
The Button Clasp Simple bracelet is an effortless way to use up extra beads you may have laying around or showcase your favorite buttons. It make a great quick last minute gift.
Bring your Czech glass beads to life with this necklace of dancing and floating flashes of color. All you need is stainless steel beading wire, crimp tubes, a clasp, and any collection of Czech glass beads to make this on beat necklace.
Technique learned:CrimpingBasic Beading
Bring your Czech glass beads to life with this necklace of dancing and floating flashes of color. All you need is stainless steel beading wire, crimp tubes, a clasp, and any collection of Czech glass beads to make this on beat necklace.
Technique learned:
Glasgow Rose Embroidered Pendant - DIY Jewelry Making Tutorial by PotomacBeads
Glasgow Rose Embroidered Pendant - DIY Jewelry Making Tutorial by PotomacBeads
Watch Anna Tonnesen as she provides detailed step by step tutorial instructions to learn to embroider with beads. Create the Glasgow Rose pendant or create your own masterpiece of DIY jewelry following this project tutorial. Learn how to lay out your embroidery project, cut and shape your surface, sew on beads, apply the backing and seem the sides of the piece.
Comet Earrings - DIY Jewelry Making Tutorial by PotomacBeads
Flower Gem Earrings - DIY Jewelry Making Tutorial by PotomacBeads
Embroidered Rings - DIY Jewelry Making Tutorial by PotomacBeads
I wish there was a way to use the balance from my Venmo account and then pay the rest from PayPal. It would have made my purchase a lot easier.
Share
Emmylou G.
04-29-25
easy
Share
Kristine E.
04-29-25
I am amazed at the amount of products that you carry, I am excited to place my next order already.
Share
TRACI N.
04-29-25
website doesn't work correctly on chrome browser. Had to redo my entire shopping cart in a different browser to be able to fill out info forms
Share
Sharlotte D.
04-29-25
Just place an on-line order. Will have a more confident opinion once I receive it.
Share
Darla W.
04-29-25
Would be nice to earn points towards free products.
Share
Becci N.
04-29-25
So easy! Site is easy to navigate and cart is easy to make changes to.
Share
Josey
04-28-25
Always happy with everything and everyone. Won’t order from anyone else.
Share
Chris Y.
04-28-25
Very complicated for a senior dinosaur.
Share
Girolama F.
04-28-25
Love the Beads available here
Share
Loading...
Only Visible on Admin Mode
Item Description
In this video tutorial from PotomacBeads, Allie is making a classic Button Clasp Simple Bracelet. To purchase PotomacBeads products feature in the tutorial, see the links below.
Designer's Material List
The Designer’s suggested colors and materials:
Gemstones - Druzy Agate Plum Iris
Miyuki Seed Beads 11/0 - Labrador Full
Cup Buttons - Etched Crystal Sliperit
Project Steps
The Button Clasp Simple Bracelet is a strung bracelet that uses a button as the accent piece.
1. Gather up the gemstones, Miyuki seed beads, metal spacers, crimp beads and covers and a cup button. You will be using .018 beading wire so it’s a good idea to have pliers handy.
2. Cut about a foot of wire and add on about 7 inches of beads, each separated by a spacer. Put a crimp bead at the end of the pattern. Thread up through the button and back down through the button and crimp bead. Flatten the crimp bead with the pliers. Put on a crimp cover.
3. Push the beads up to the button. Put the crimp tube first, then add on enough seed beads to make a loop to fit the button. Cut the end of the wire. Put on the crimp cover. Flatten with pliers and your button clasp bracelet is done.
The Button Clasp Simple bracelet is an effortless way to use up extra beads you may have laying around or showcase your favorite buttons. It make a great quick last minute gift.
Bullet 1
Bullet 2
Bullet 3
You must be logged in to access the wishlist feature.