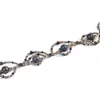
Create a simple collar necklace out of seed beads, gemstones and crystals. Allie's step by step instructions make this is a great introductory project to beading beyond basic stringing and stretch bracelets.
Gather your materials and prepare about five feet of thread.
Start with attaching the wire guard and claspgarten clasp.
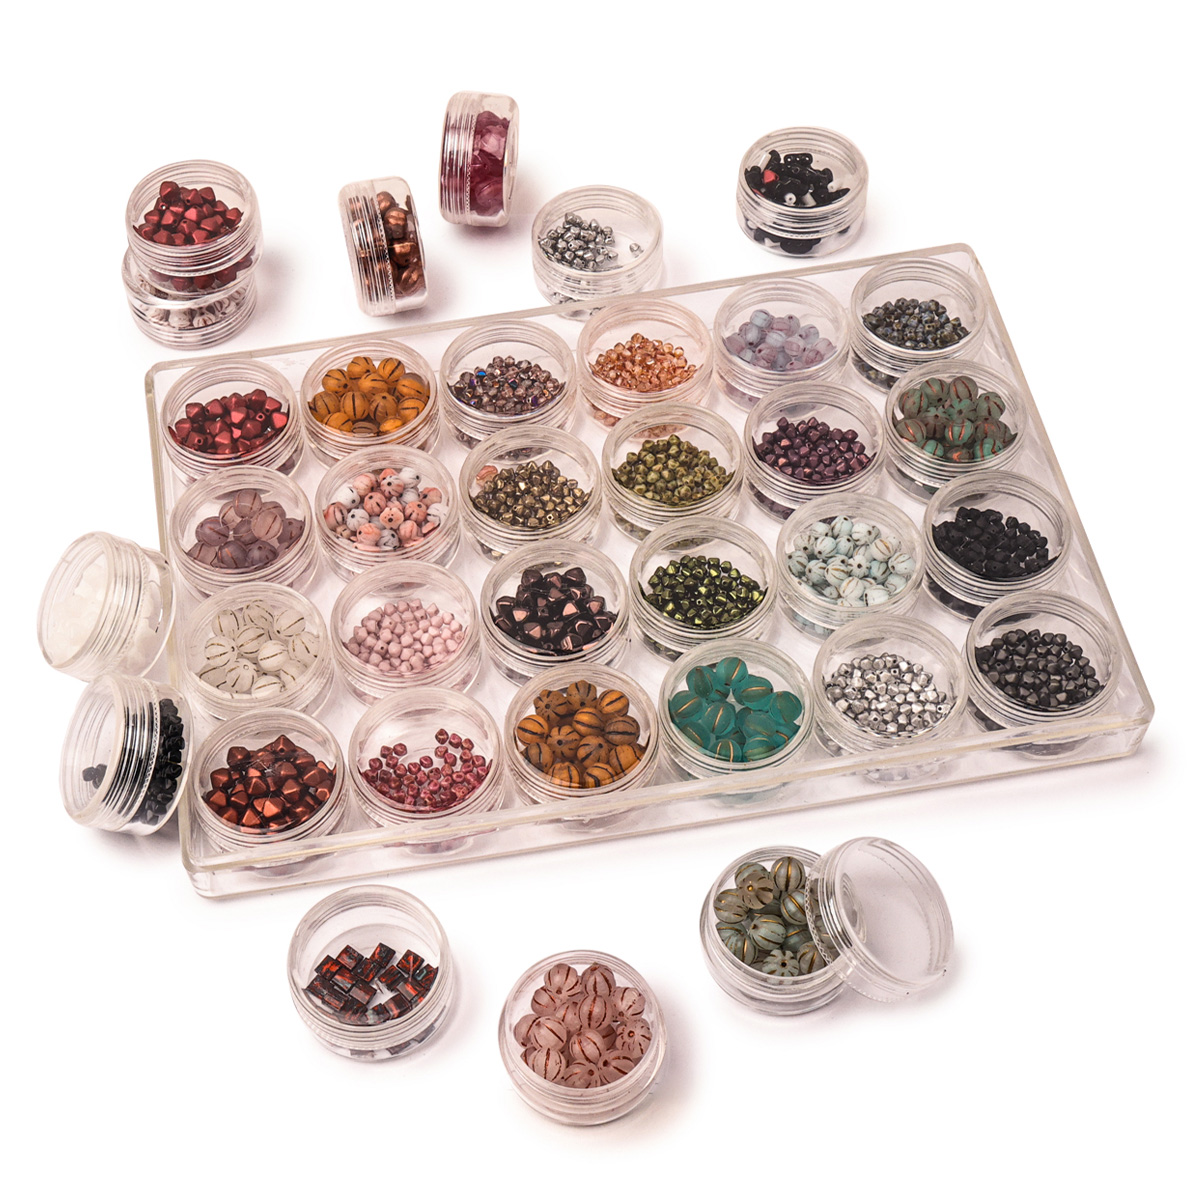
Begin beading by following the pattern for the necklace, using a combination of seed beads, gemstones, and crystals to create the rainbow effect.
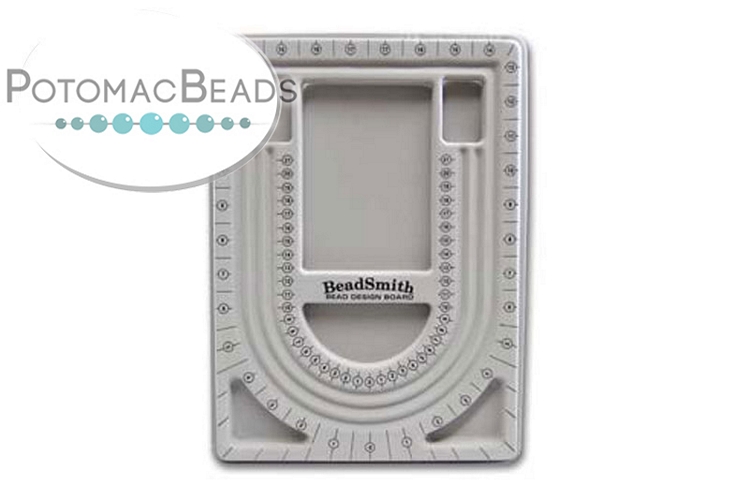
Progress through the pattern, adjusting the length as needed without altering the design.
Secure the pattern and attach the other end of the clasp.
Finalize and reinforce the beading to complete your necklace.
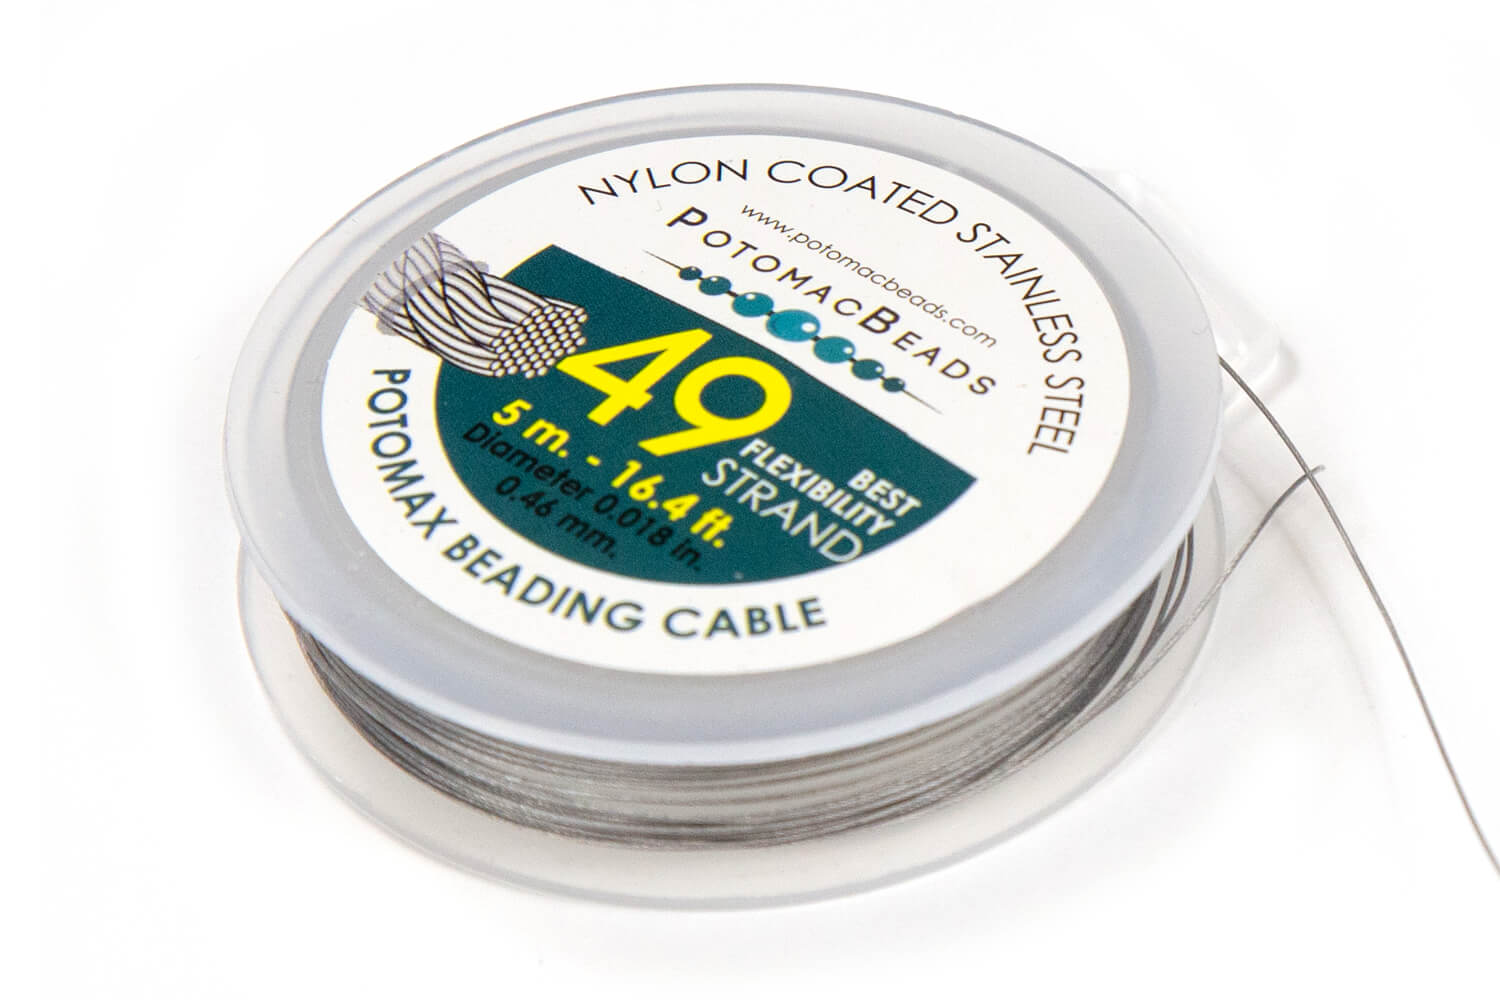
Bring your Czech glass beads to life with this necklace of dancing and floating flashes of color. All you need is stainless steel beading wire, crimp tubes, a clasp, and any collection of Czech glass beads to make this on beat necklace.
Technique learned:CrimpingBasic Beading
Bring your Czech glass beads to life with this necklace of dancing and floating flashes of color. All you need is stainless steel beading wire, crimp tubes, a clasp, and any collection of Czech glass beads to make this on beat necklace.
Technique learned:
Glasgow Rose Embroidered Pendant - DIY Jewelry Making Tutorial by PotomacBeads
Glasgow Rose Embroidered Pendant - DIY Jewelry Making Tutorial by PotomacBeads
Watch Anna Tonnesen as she provides detailed step by step tutorial instructions to learn to embroider with beads. Create the Glasgow Rose pendant or create your own masterpiece of DIY jewelry following this project tutorial. Learn how to lay out your embroidery project, cut and shape your surface, sew on beads, apply the backing and seem the sides of the piece.
Comet Earrings - DIY Jewelry Making Tutorial by PotomacBeads
Flower Gem Earrings - DIY Jewelry Making Tutorial by PotomacBeads
Embroidered Rings - DIY Jewelry Making Tutorial by PotomacBeads
For my first purchase (3 month subscription box), I'm a little disappointed. The instructions are good and the videos (YouTube) are excellent. The beads are very pretty. Unfortunately, I did not receive enough beads to finish one of the projects. Some of the beads also had holes fused shut. I tried reaching out to customer support via the website and haven't heard back yet. I intend to keep trying their products because their designs are so pretty and the videos are so well done. Maybe I just got unlucky with my first project.
It was easy to find what I wanted. Very easy and secure.
Share
Janet M.
04-16-25
A great supply of beautiful beads for their hundreds of lovely patterns!
Share
Erica C.
04-16-25
Great products with helpful videos to make a new to beading crafter feel welcome.
Share
Anne D.
04-16-25
Great beads
Share
Dana P.
04-16-25
Always a great site to shop
Share
Margaret R.
04-16-25
Hi
Share
Rebecca R.
04-16-25
Easy to navigate website and good prices. Hard to find beads are always here and in stock!
Share
Lisa G.
04-16-25
It was a lot of back & forth to find items to make an online pattern
Share
Loading...
Only Visible on Admin Mode
Item Description
Create a simple collar necklace out of seed beads, gemstones and crystals. Allie's step by step instructions make this is a great introductory project to beading beyond basic stringing and stretch bracelets.
Gather your materials and prepare about five feet of thread.
Start with attaching the wire guard and claspgarten clasp.
Begin beading by following the pattern for the necklace, using a combination of seed beads, gemstones, and crystals to create the rainbow effect.
Progress through the pattern, adjusting the length as needed without altering the design.
Secure the pattern and attach the other end of the clasp.
Finalize and reinforce the beading to complete your necklace.
Bullet 1
Bullet 2
Bullet 3
You must be logged in to access the wishlist feature.