In this video tutorial from PotomacBeads, Allie is making the simple, yet stylish "T Wrap" Bracelet". To purchase PotomacBeads products feature in the tutorial, see the links below.
Prepare a size 10 beading needle with .006 Wildfire thread and a stop bead.
Begin by stringing Tee Beads and RounTrio® beads alternately, ensuring RounTrio® beads go through the middle hole.
Reach your desired length (double your wrist size plus a half-inch for clasps), and add two 15/0 seed beads before attaching the wire guard and clasp.
Work your way back, adding 15/0 seed beads atop and beneath the bracelet, ensuring to alternate the direction of Tee Beads for a dynamic look.
Finish by attaching the clasp on the other end and reinforcing your thread path for durability.
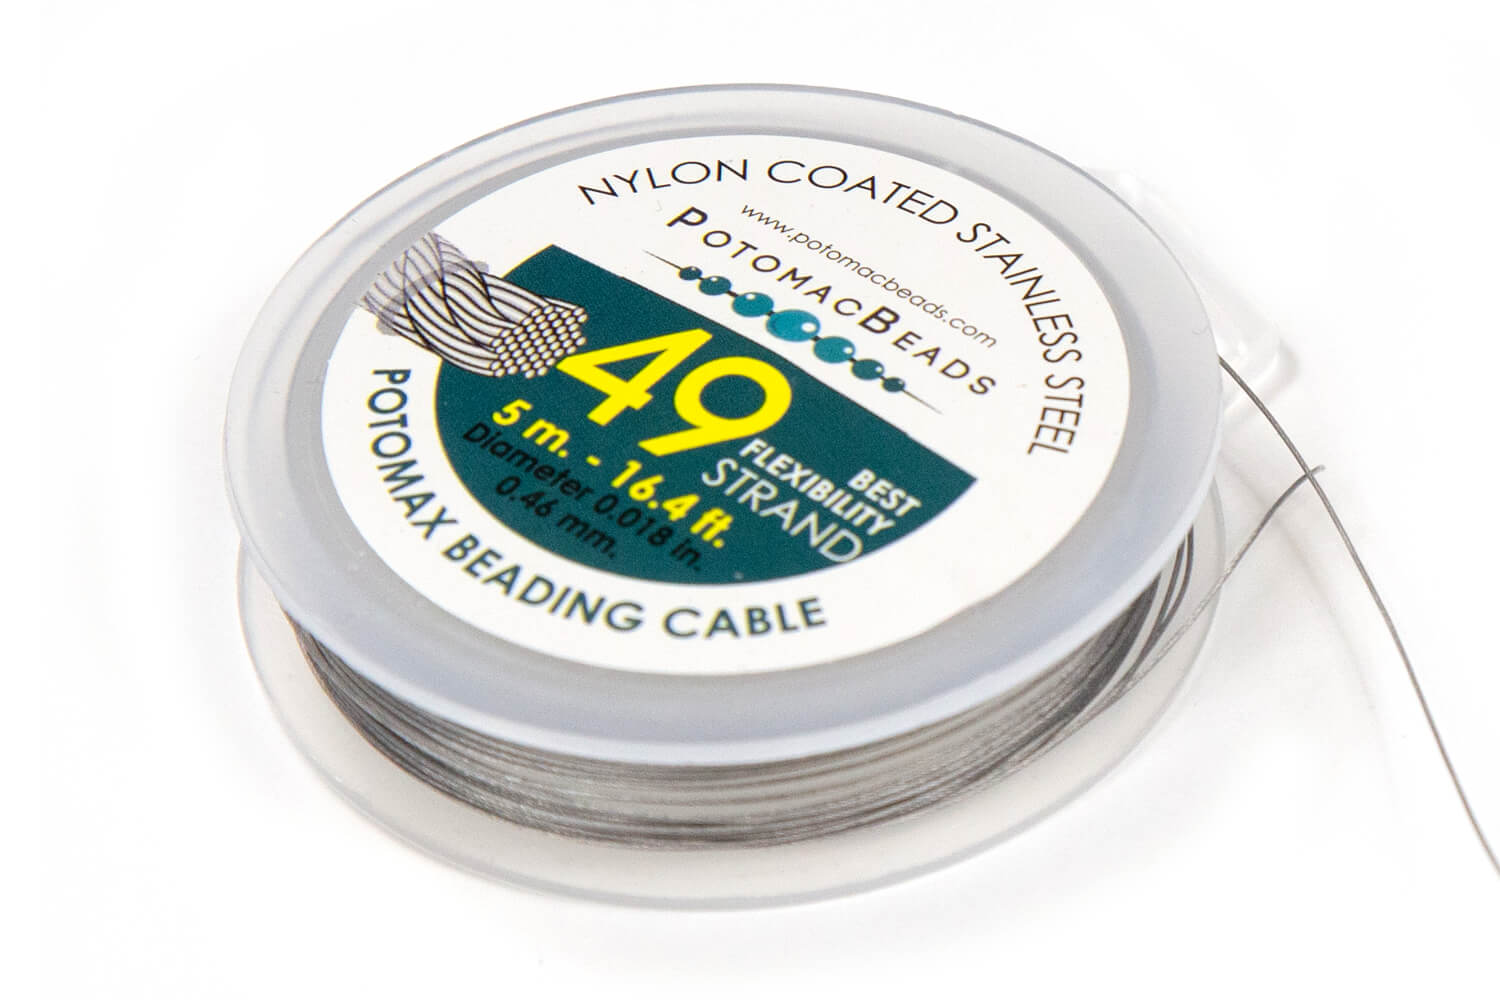
Bring your Czech glass beads to life with this necklace of dancing and floating flashes of color. All you need is stainless steel beading wire, crimp tubes, a clasp, and any collection of Czech glass beads to make this on beat necklace.
Technique learned:CrimpingBasic Beading
Bring your Czech glass beads to life with this necklace of dancing and floating flashes of color. All you need is stainless steel beading wire, crimp tubes, a clasp, and any collection of Czech glass beads to make this on beat necklace.
Technique learned:
Glasgow Rose Embroidered Pendant - DIY Jewelry Making Tutorial by PotomacBeads
Glasgow Rose Embroidered Pendant - DIY Jewelry Making Tutorial by PotomacBeads
Watch Anna Tonnesen as she provides detailed step by step tutorial instructions to learn to embroider with beads. Create the Glasgow Rose pendant or create your own masterpiece of DIY jewelry following this project tutorial. Learn how to lay out your embroidery project, cut and shape your surface, sew on beads, apply the backing and seem the sides of the piece.
Comet Earrings - DIY Jewelry Making Tutorial by PotomacBeads
Flower Gem Earrings - DIY Jewelry Making Tutorial by PotomacBeads
Embroidered Rings - DIY Jewelry Making Tutorial by PotomacBeads
I didn't like a;; the ads when I was trying to check out
Share
Hope S.
05-13-25
Shopping the site is easy. Choose as you go and then easy to add or delete as needed.
Share
Teresa H.
05-13-25
I would have liked more information about the subscription process and how to cancel the membership if desired. Also wanted specific details about what the kit includes. New to Potomac Beads and your website.
Share
KalliJ
05-13-25
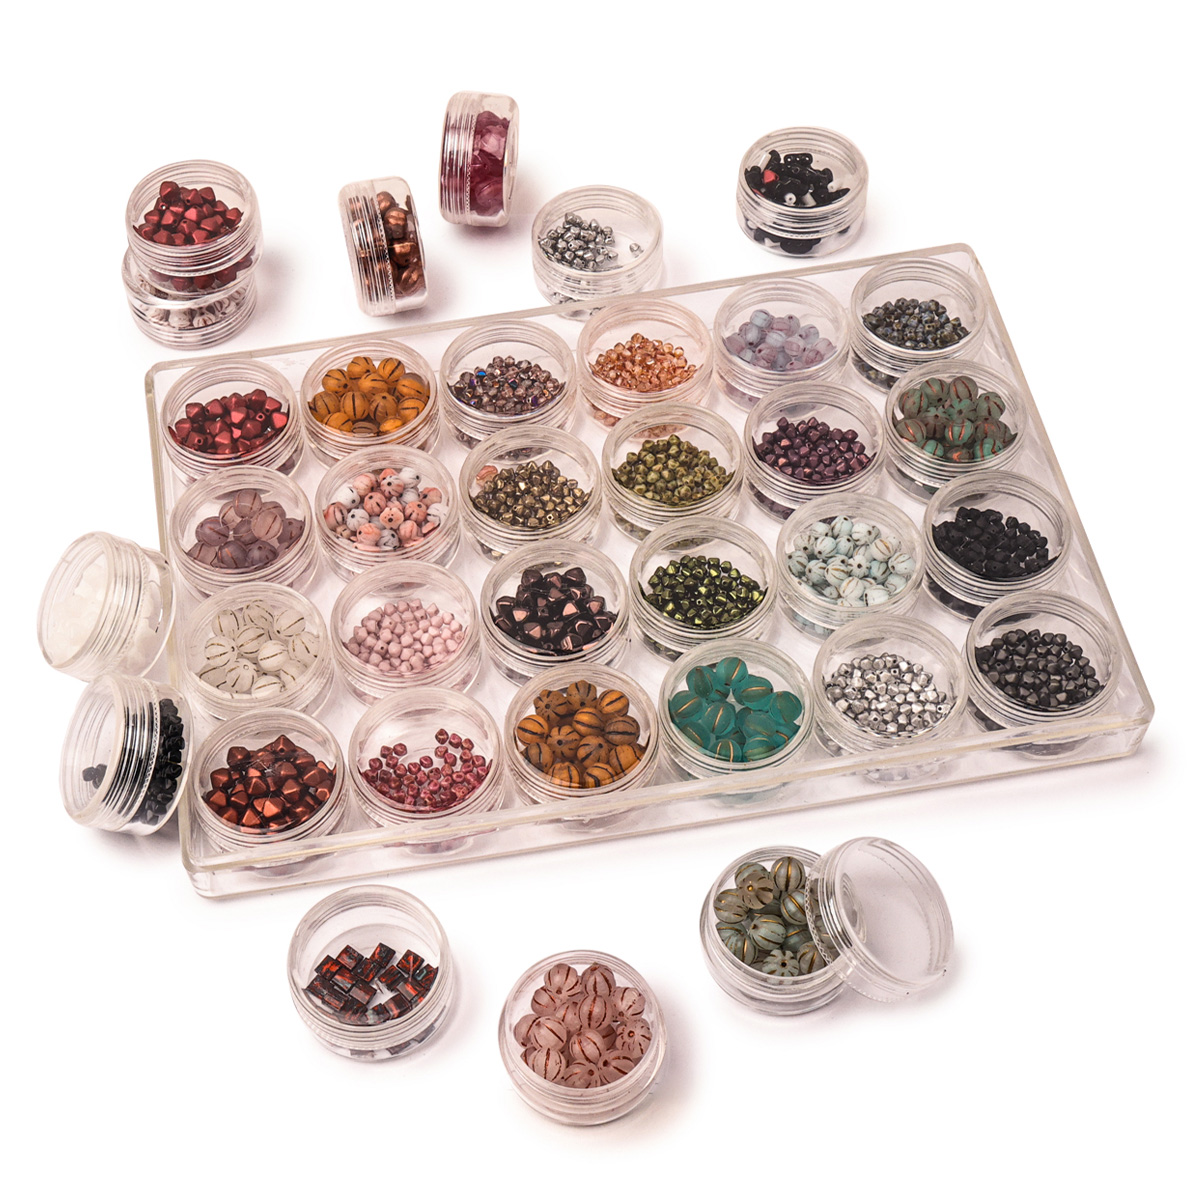
The website is easily navigable and I like the option to omit out-of-stock items from turning up in searches. My orders are always processed promptly and well packaged for shipping. On the rare occasions that I receive an incorrect item I have always been fully satisfied by its resolution. Potomac has long been one of my favorite vendors and they often have things I can't get anywhere else. One thing I wish they would do is put the manufacturer item code (like TR-08-999 or DP-401FR) on the label, since sometimes name of a finish will get changed; it would make it easier to find the same color again since the color code stays the same.
Super easy with just what I was looking for with extra choices that were unexpected.
Share
Janet J.
05-13-25
I spent half an hour trying to login, my password didn’t work and yet the software wouldn’t let me change my password. I couldn’t even set up a new account. Frustrating 10!
Share
Gail B.
05-13-25
Lots of shopping options. Good experience!
Share
Loading...
Only Visible on Admin Mode
Item Description
In this video tutorial from PotomacBeads, Allie is making the simple, yet stylish "T Wrap" Bracelet". To purchase PotomacBeads products feature in the tutorial, see the links below.
Prepare a size 10 beading needle with .006 Wildfire thread and a stop bead.
Begin by stringing Tee Beads and RounTrio® beads alternately, ensuring RounTrio® beads go through the middle hole.
Reach your desired length (double your wrist size plus a half-inch for clasps), and add two 15/0 seed beads before attaching the wire guard and clasp.
Work your way back, adding 15/0 seed beads atop and beneath the bracelet, ensuring to alternate the direction of Tee Beads for a dynamic look.
Finish by attaching the clasp on the other end and reinforcing your thread path for durability.
Bullet 1
Bullet 2
Bullet 3
You must be logged in to access the wishlist feature.