Design Jewelry with Confidence!
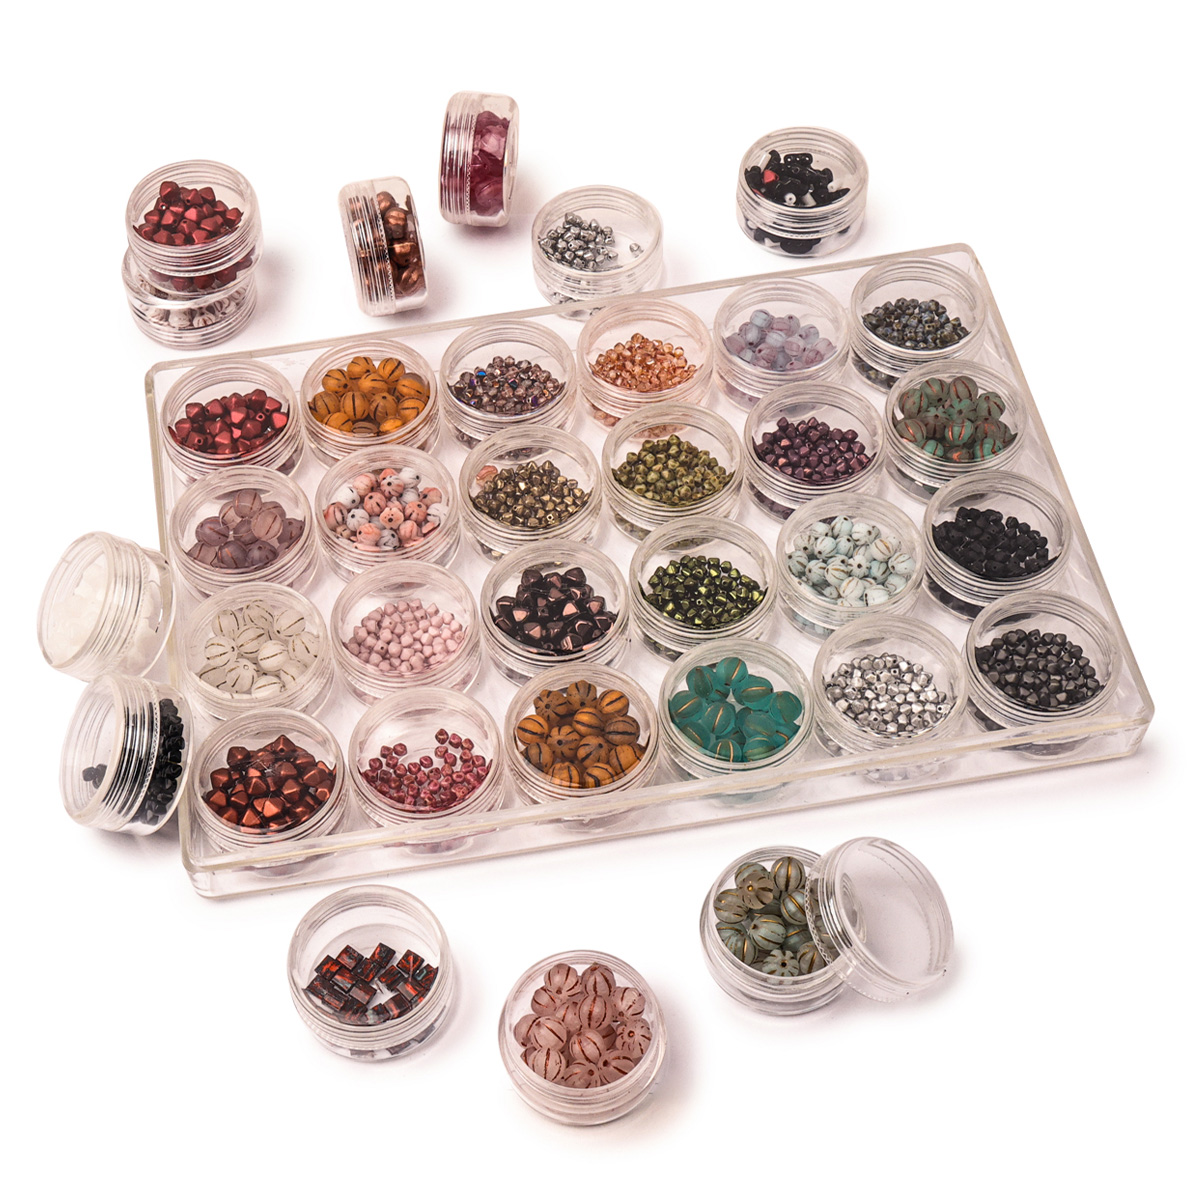
Seed Beads
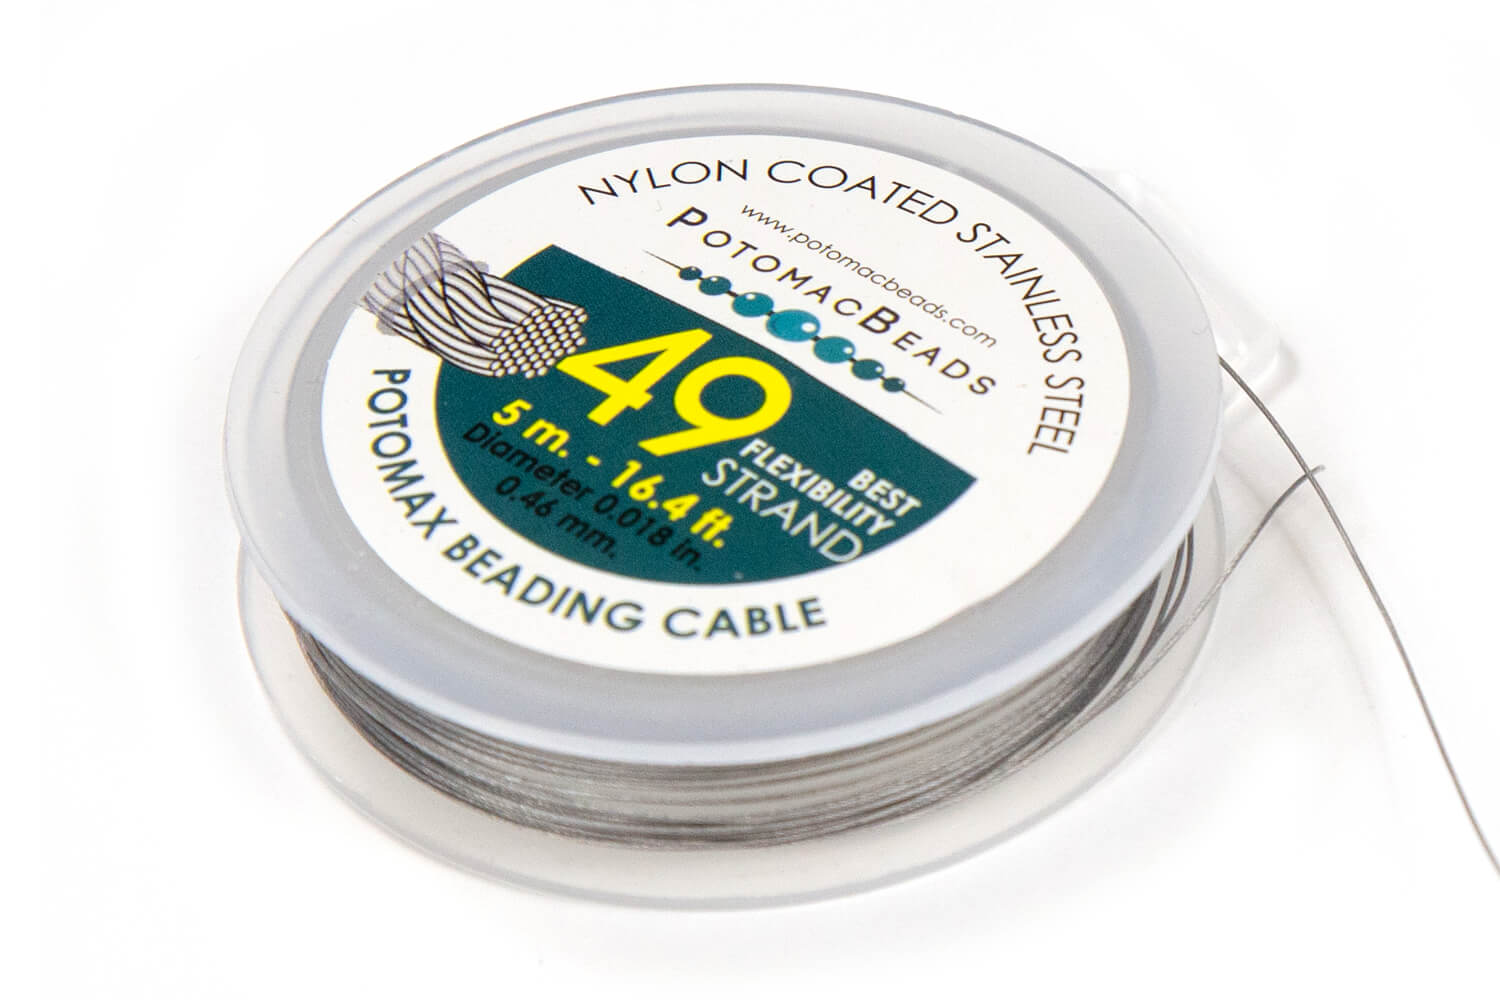
Thread, Wire, & Stringing Materials
Athenacast Findings & Components
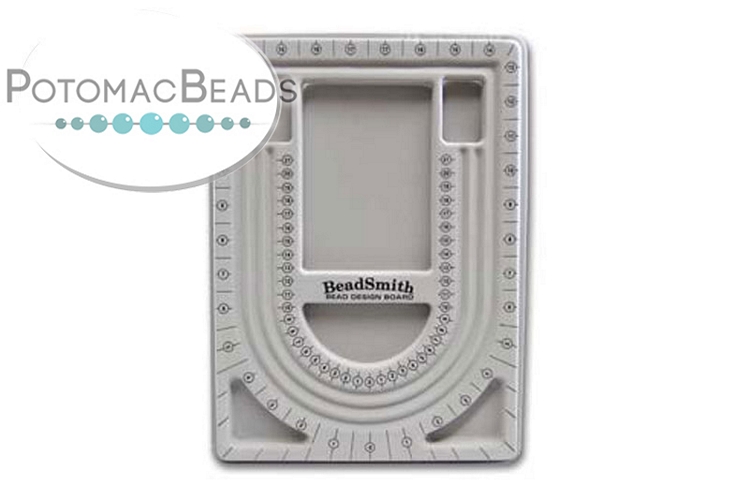
Everything Else
Assemble Your World
Kits & Collections
Want monthly Beading Happiness?
Subscriptions
Want to learn more?
Explore Today's Promotions!
Seed Beads
Thread, Wire, & Stringing Materials
Findings & Components
Everything Else
Kits & Collections
Subscriptions


Step 1: Choose Your Materials
Step 2: Watch the
Video Tutorial
Step 3: Need More Help? Follow these Steps

Quick Project Steps
Step 4: Pick Your Own Colors
Step 5: Need Any Extra Materials?

Step 5: Need Any Extra Materials?
Step 6: Choose Your Next Project
Step 6: Choose Your Next Project
Join Our Growing Community


Our Testimonials
Of the items I have received, they are well made. The offer of free patterns to subscribe has not panned out, as I have never received them. I have emailed, but have not received a reply. Their ordering system does not work right for these "free" patterns, and I ended up paying for one of them. The "continue to checkout" will only work with the billing address and not the shipping address, so there they all sit, in my orders tab, with just ship to United States on them. They have not even been shipped. There is no way to correct this, and they do not answer my emails.
Loading...
Only Visible on Admin Mode
Item Description
Designer's Material List
Project Steps
Highest Quality
Products
100% Money
Back Guarantee
Fast
Shipping
Best Teaching &
Customer Service
You'll want these emails...
Get Free Projects & Inspiration

240 N Prospect St. Hagerstown, MD 21740

(301) 393-4667

hello@potomacbeads.com


Copyright © PotomacBeads