Show off your pearly whites - that is your Pearly Whites Bracelet, of course, that can be strung together with practically any materials! In yet another one of Allie's basic beading tutorials, she uses a multi-strand clasp along with simple stringing techniques to create a multilayer design. Have fun making the Pearly Whites Bracelet or any color you want in this multistrand tube clasp project!
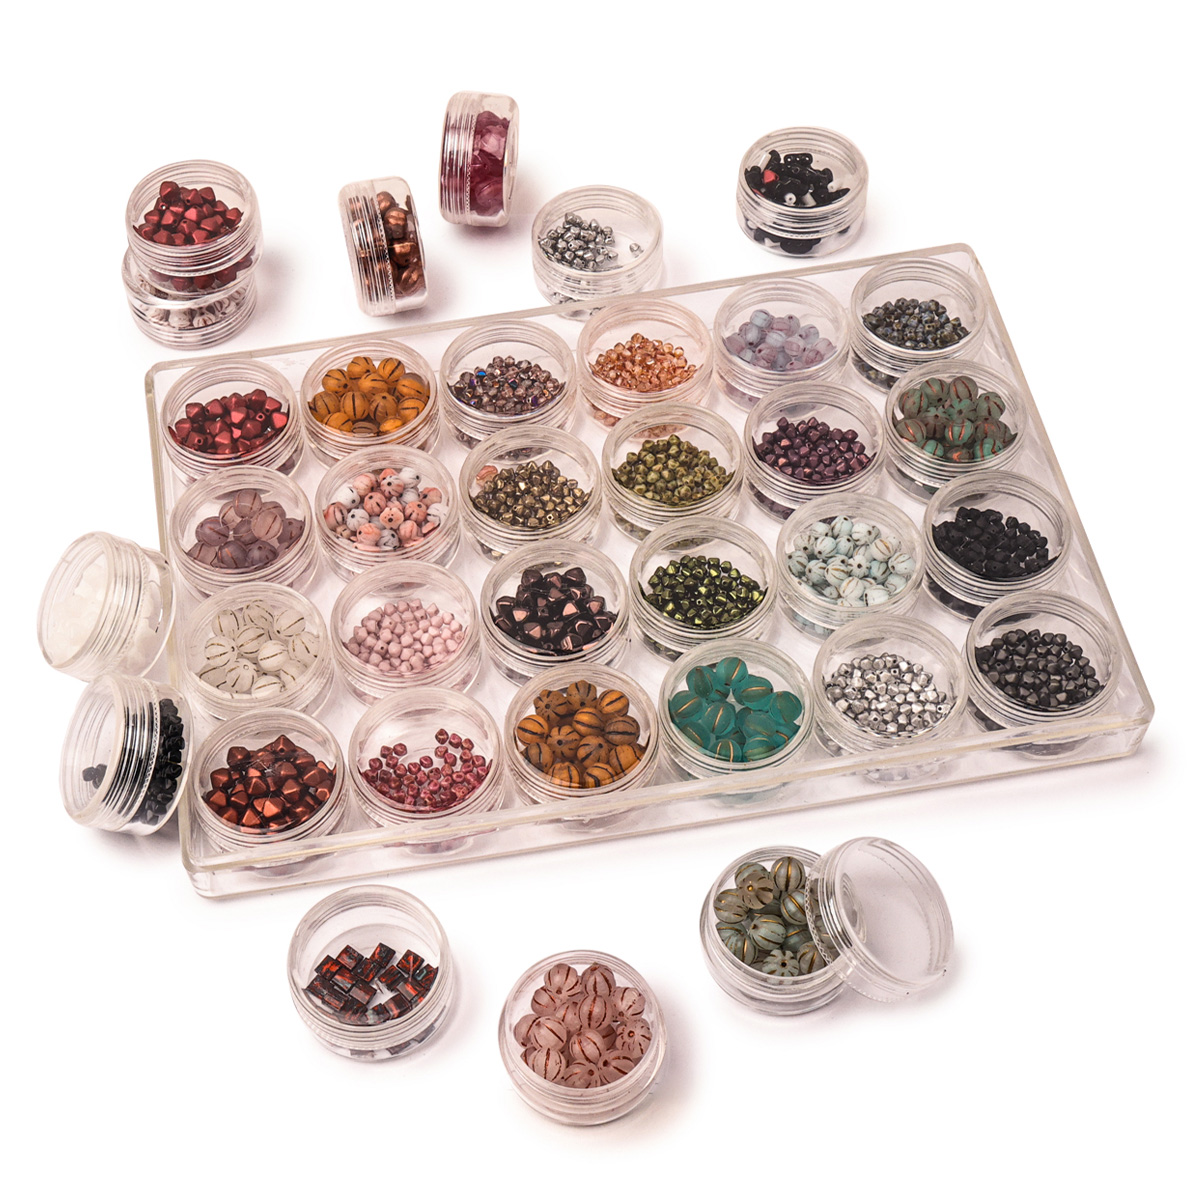
Prepare Your Materials: Gather all beads, the tube clasp, and crimp tubes as listed.
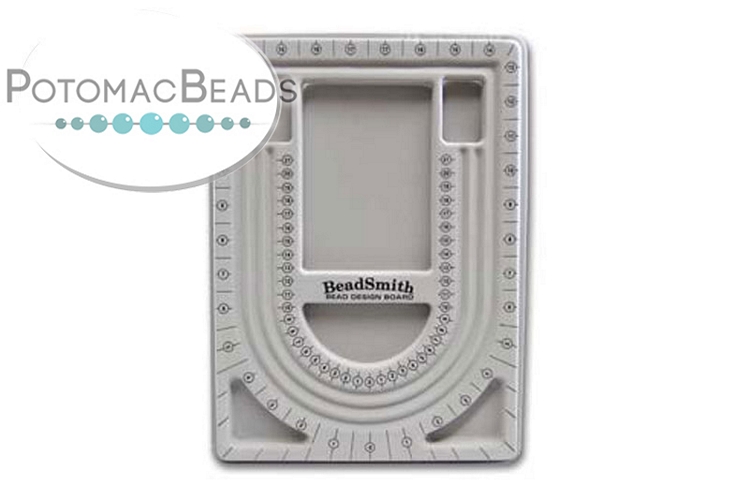
Strand Preparation: Begin with the focal strand (middle), using 8mm Czech pearls, and design your pattern. Use smaller beads towards the ends to prevent clustering at the clasp.
Stringing Beads: Follow your pattern, alternating between Czech pearls, crystal rondelles, and Miyuki seed beads. Ensure the focal strand is pearl-heavy.
Attaching to Clasp: Start with the middle strand for crimping to the tube clasp, ensuring an even length across all strands. Repeat the process for the remaining strands.
Adjusting Lengths: Ensure all strands are of equal length for a balanced finish. Adjust by adding or removing beads as necessary.
Final Crimping: Secure all strands to both ends of the clasp with crimp tubes. Ensure no extra wire is showing for a neat finish.
Customization: Feel encouraged to vary the beads and colors to make the bracelet uniquely yours.
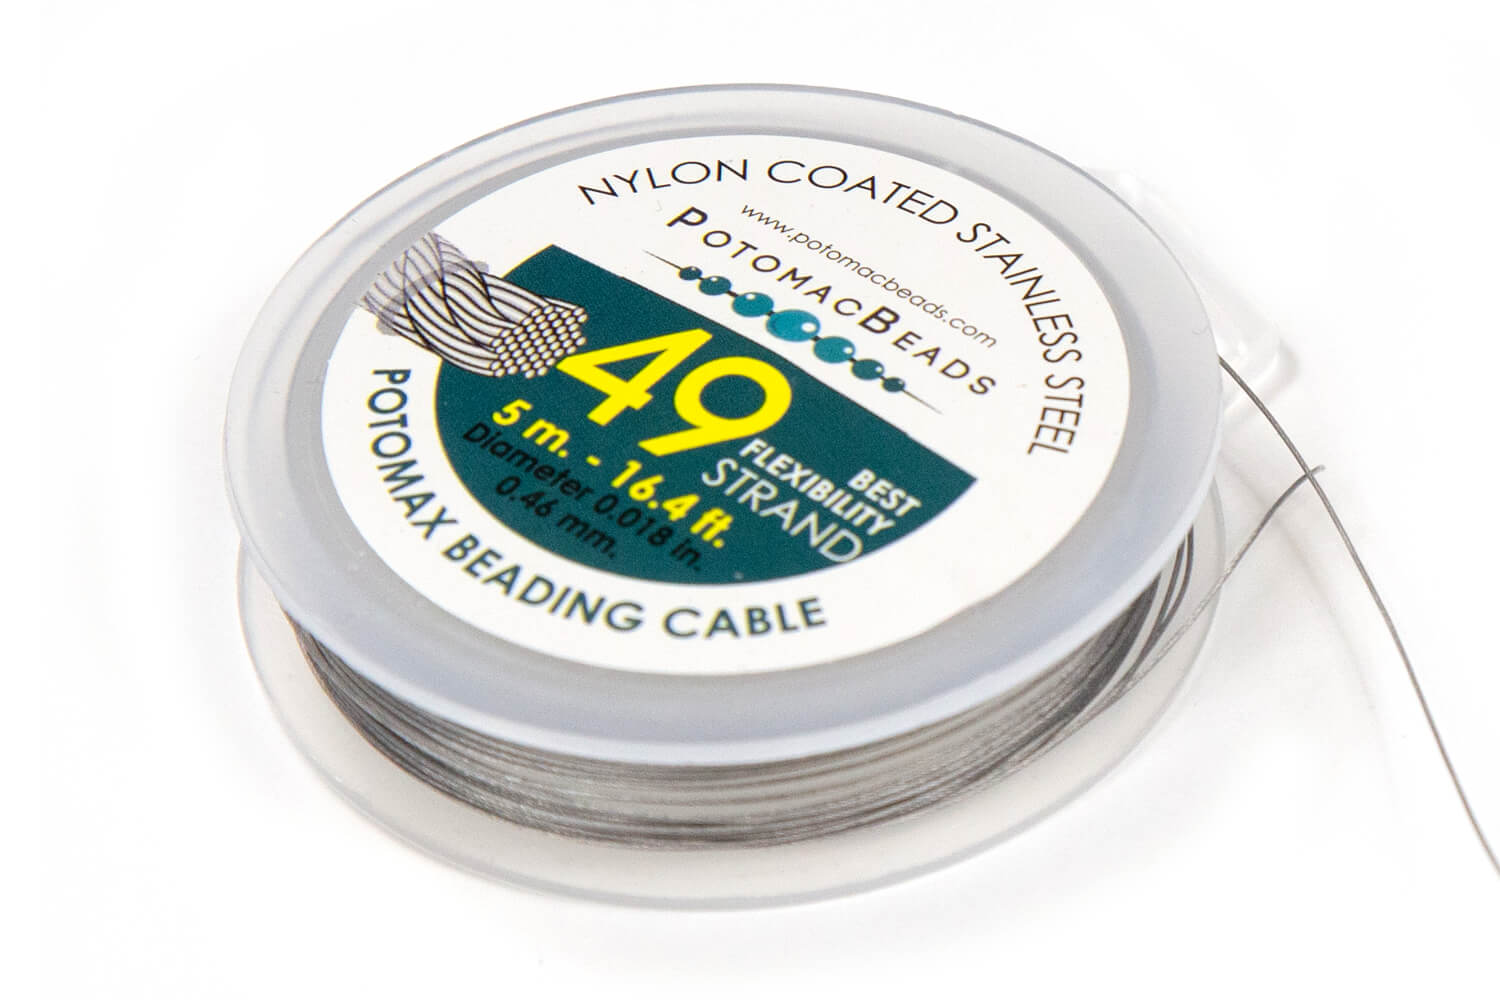
Bring your Czech glass beads to life with this necklace of dancing and floating flashes of color. All you need is stainless steel beading wire, crimp tubes, a clasp, and any collection of Czech glass beads to make this on beat necklace.
Technique learned:CrimpingBasic Beading
Bring your Czech glass beads to life with this necklace of dancing and floating flashes of color. All you need is stainless steel beading wire, crimp tubes, a clasp, and any collection of Czech glass beads to make this on beat necklace.
Technique learned:
Glasgow Rose Embroidered Pendant - DIY Jewelry Making Tutorial by PotomacBeads
Glasgow Rose Embroidered Pendant - DIY Jewelry Making Tutorial by PotomacBeads
Watch Anna Tonnesen as she provides detailed step by step tutorial instructions to learn to embroider with beads. Create the Glasgow Rose pendant or create your own masterpiece of DIY jewelry following this project tutorial. Learn how to lay out your embroidery project, cut and shape your surface, sew on beads, apply the backing and seem the sides of the piece.
Comet Earrings - DIY Jewelry Making Tutorial by PotomacBeads
Flower Gem Earrings - DIY Jewelry Making Tutorial by PotomacBeads
Embroidered Rings - DIY Jewelry Making Tutorial by PotomacBeads
Free item on website did not credit as zero in my cart with qualified purchase
Share
Alison M.
04-10-25
I love you guys!! You make shopping for beads easy!
Share
Heather S.
04-10-25
I have always been happy with the selection and order and shipping process
Share
Elizabeth W.
04-10-25
Nice selection and good prices
Share
Jill M.
04-10-25
Everything was fine, except that you were out of a kit that I wanted.
Share
Anne P.
04-10-25
Great products
Share
Sandra G.
04-10-25
Easy shopping
Share
Paige W.
04-10-25
I always have a great shopping experience with Potomac Beads. I needed to do a return and they were very helpful in getting things set up for my return. I am happy to support Potomac Beads when I need to stock up on beads. It's my way to say thank you for all the great beading videos, I have learned a lot from those!rt
Show off your pearly whites - that is your Pearly Whites Bracelet, of course, that can be strung together with practically any materials! In yet another one of Allie's basic beading tutorials, she uses a multi-strand clasp along with simple stringing techniques to create a multilayer design. Have fun making the Pearly Whites Bracelet or any color you want in this multistrand tube clasp project!
Designer's Material List
The designer's suggested colors & materials for ~7.5-inch (19cm) wrist:
Prepare Your Materials: Gather all beads, the tube clasp, and crimp tubes as listed.
Strand Preparation: Begin with the focal strand (middle), using 8mm Czech pearls, and design your pattern. Use smaller beads towards the ends to prevent clustering at the clasp.
Stringing Beads: Follow your pattern, alternating between Czech pearls, crystal rondelles, and Miyuki seed beads. Ensure the focal strand is pearl-heavy.
Attaching to Clasp: Start with the middle strand for crimping to the tube clasp, ensuring an even length across all strands. Repeat the process for the remaining strands.
Adjusting Lengths: Ensure all strands are of equal length for a balanced finish. Adjust by adding or removing beads as necessary.
Final Crimping: Secure all strands to both ends of the clasp with crimp tubes. Ensure no extra wire is showing for a neat finish.
Customization: Feel encouraged to vary the beads and colors to make the bracelet uniquely yours.
Bullet 1
Bullet 2
Bullet 3
You must be logged in to access the wishlist feature.