Combine chain and crystal bicone beads in this DIY chain and bead necklace. Let Allie instruct you on the proper way to connect the crystals to the chain using beadweaving, thread, and needle techniques. Technique learned:
Basic Beading
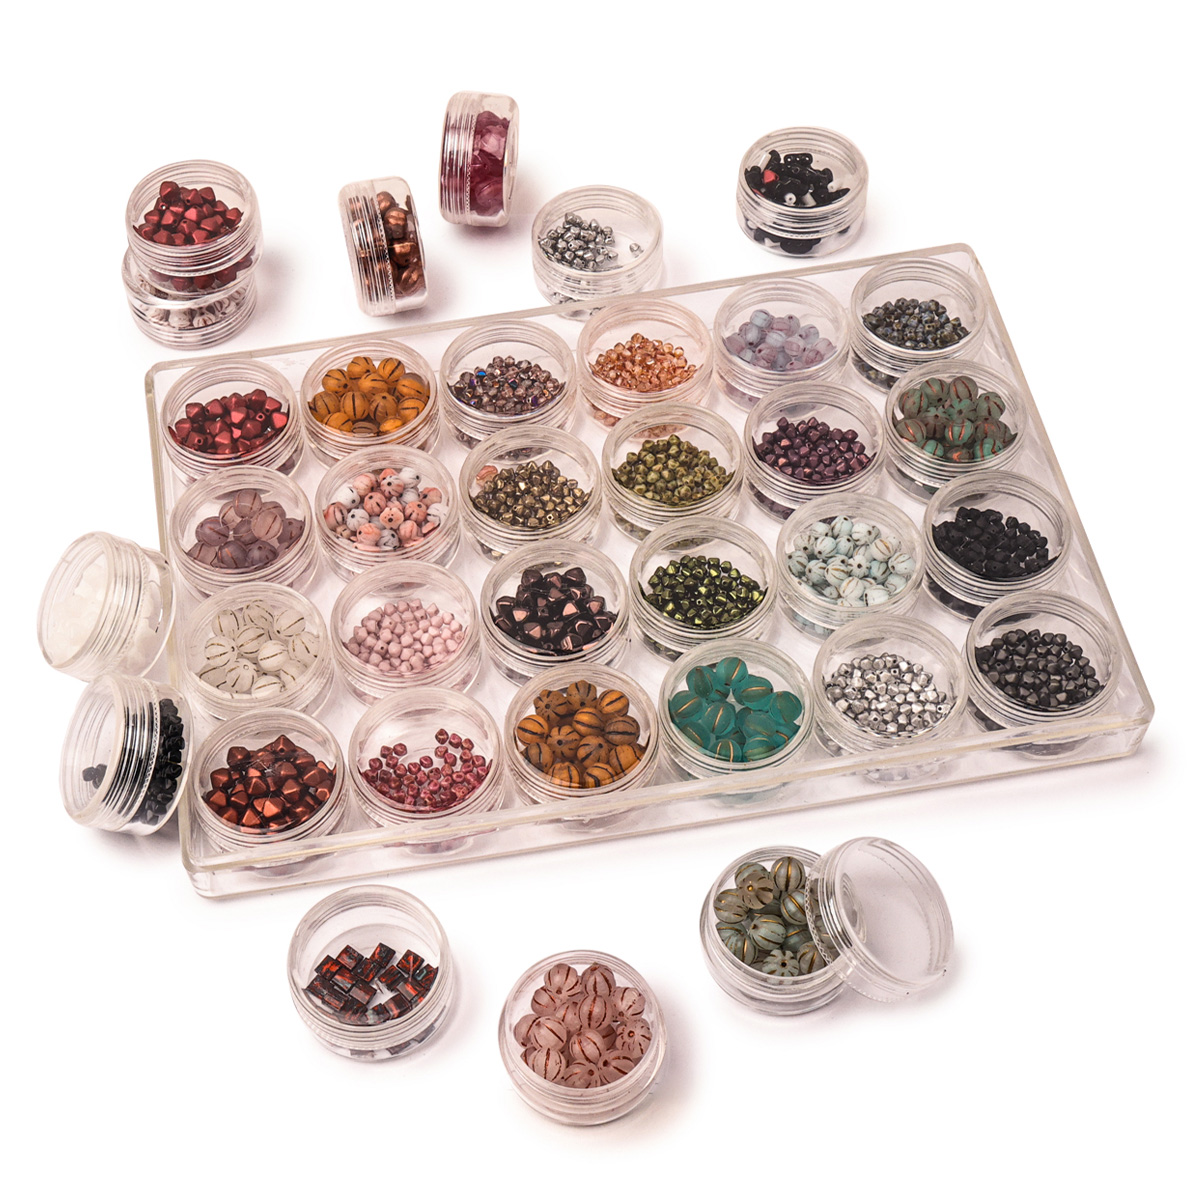
The designer's suggested colors & materials:
This PotomacBeads tutorial shows you how to create this choker style August necklace using a simple bead weaving technique. The Potomac crystal bicones give a great cascading effect that hangs down the neck beautifully. 1. Use a size 10 needle along with 5 feet of size 6 Dragonthread. Begin the design on the end of the 16” of Potomax curb chain by threading through the first loop of the chain, pulling through until the stop bead sits in the link. Pick up a 15/0, a 2mm crystal and another 15/0, bring the needle down the next link in the chain. Repeat the pattern through the next 10 links. 2. Watch the August necklace tutorial to follow along with Allie’s step-by-step directions to create the choker necklace with fringes. 3. Add wire guards to each end of the chain, connecting the clasp to the wire guard and threading through two more times to reinforce. String down through a couple of the beads. Tie into a knot using the bridge thread and burn down the end. This August necklace is nice and light on the neck. It would be easy to customize this necklace for a gift by using the recipient’s birth stone.
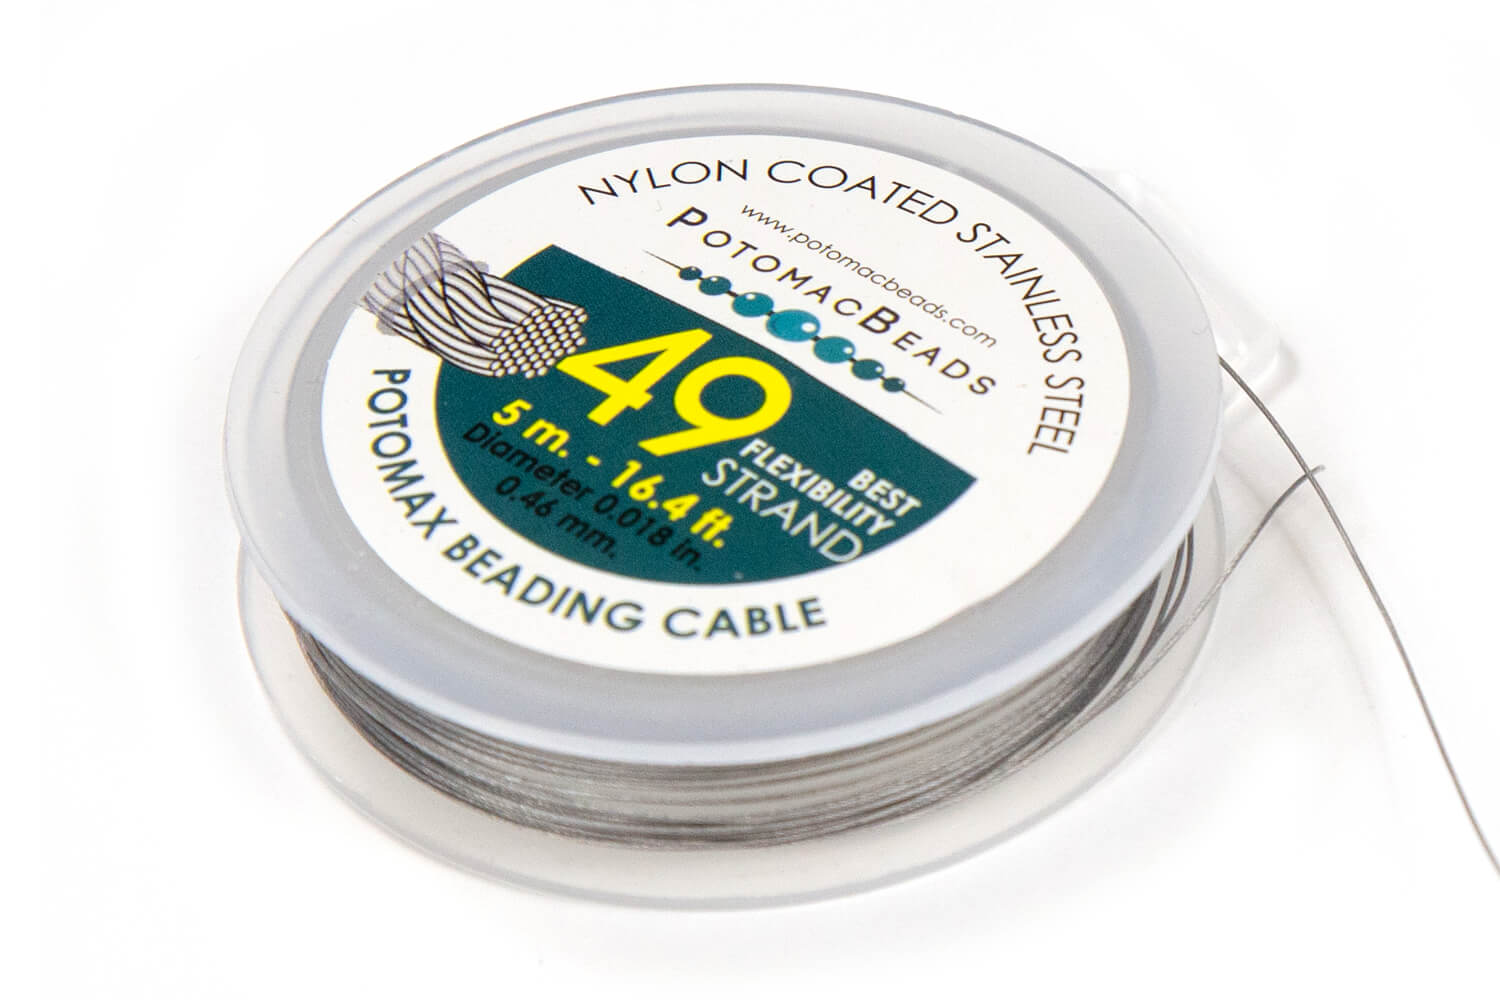
Bring your Czech glass beads to life with this necklace of dancing and floating flashes of color. All you need is stainless steel beading wire, crimp tubes, a clasp, and any collection of Czech glass beads to make this on beat necklace.
Technique learned:CrimpingBasic Beading
Bring your Czech glass beads to life with this necklace of dancing and floating flashes of color. All you need is stainless steel beading wire, crimp tubes, a clasp, and any collection of Czech glass beads to make this on beat necklace.
Technique learned:
Glasgow Rose Embroidered Pendant - DIY Jewelry Making Tutorial by PotomacBeads
Glasgow Rose Embroidered Pendant - DIY Jewelry Making Tutorial by PotomacBeads
Watch Anna Tonnesen as she provides detailed step by step tutorial instructions to learn to embroider with beads. Create the Glasgow Rose pendant or create your own masterpiece of DIY jewelry following this project tutorial. Learn how to lay out your embroidery project, cut and shape your surface, sew on beads, apply the backing and seem the sides of the piece.
Comet Earrings - DIY Jewelry Making Tutorial by PotomacBeads
Flower Gem Earrings - DIY Jewelry Making Tutorial by PotomacBeads
Embroidered Rings - DIY Jewelry Making Tutorial by PotomacBeads
Potomac's site is so easy to navigate and find what you are looking for.
Share
David J.
05-05-25
Good
Share
Linda J.
05-05-25
Easy to follow what I wanted
Share
Jay B.
05-05-25
Huge inventory. Site easy to navigate. Quality selections.
Share
Linda D.
05-05-25
Good service, quick fulfillment.
Share
Cynthia N.
05-05-25
Fast shipping and excellent quality beads
Share
Patricia W.
05-05-25
Fast shipping, good quality
Share
Jacklyn F.
05-05-25
Very easy
Share
Marilou A.
05-04-25
Love the selections and the video lessons. It gives me confidence to try harder patterns
Share
Wendy S.
05-04-25
Very beautiful website.
Share
Loading...
Only Visible on Admin Mode
Item Description
Combine chain and crystal bicone beads in this DIY chain and bead necklace. Let Allie instruct you on the proper way to connect the crystals to the chain using beadweaving, thread, and needle techniques. Technique learned:
Basic Beading
The designer's suggested colors & materials:
This PotomacBeads tutorial shows you how to create this choker style August necklace using a simple bead weaving technique. The Potomac crystal bicones give a great cascading effect that hangs down the neck beautifully. 1. Use a size 10 needle along with 5 feet of size 6 Dragonthread. Begin the design on the end of the 16” of Potomax curb chain by threading through the first loop of the chain, pulling through until the stop bead sits in the link. Pick up a 15/0, a 2mm crystal and another 15/0, bring the needle down the next link in the chain. Repeat the pattern through the next 10 links. 2. Watch the August necklace tutorial to follow along with Allie’s step-by-step directions to create the choker necklace with fringes. 3. Add wire guards to each end of the chain, connecting the clasp to the wire guard and threading through two more times to reinforce. String down through a couple of the beads. Tie into a knot using the bridge thread and burn down the end. This August necklace is nice and light on the neck. It would be easy to customize this necklace for a gift by using the recipient’s birth stone.
Bullet 1
Bullet 2
Bullet 3
You must be logged in to access the wishlist feature.