Learn Basic Stringing
Design Jewelry with Confidence!
Seed Beads
Thread, Wire, & Stringing Materials
Athenacast Findings & Components
Everything Else
Assemble Your World
Kits & Collections
Want monthly Beading Happiness?
Subscriptions
Want to learn more?
Explore Today's Promotions!
Seed Beads
Thread, Wire, & Stringing Materials
Findings & Components
Everything Else
Kits & Collections
Subscriptions
Learn Basic Stringing
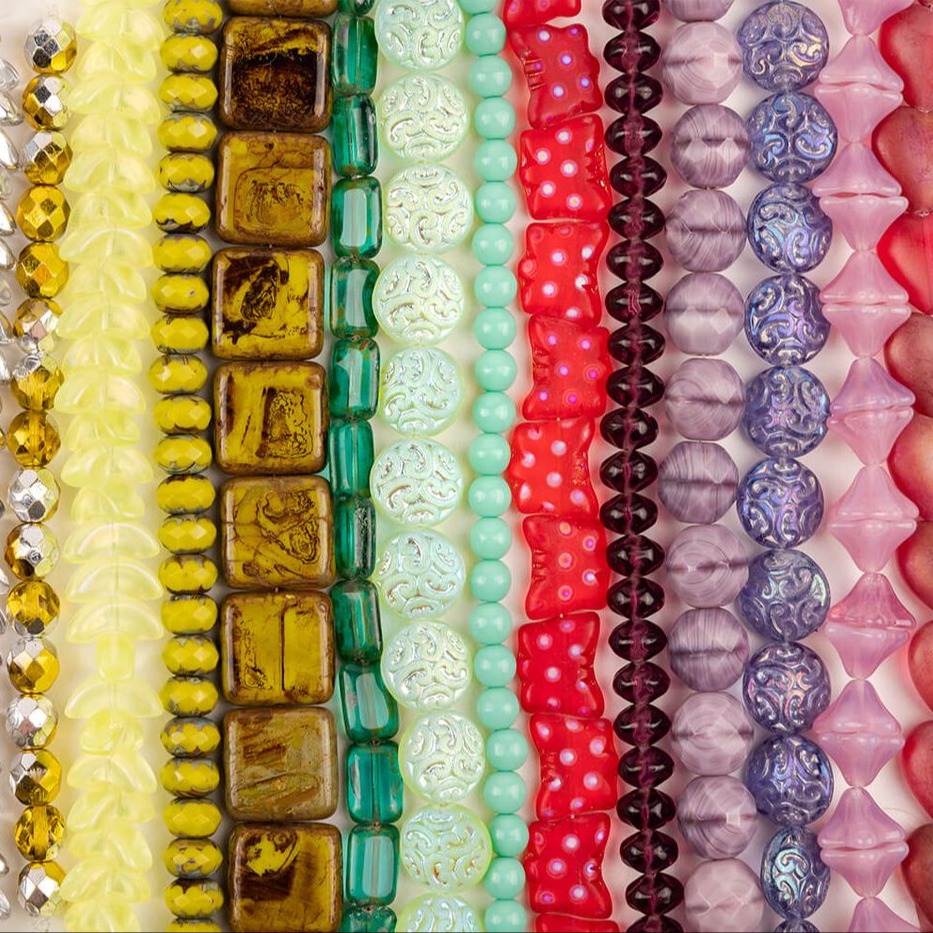
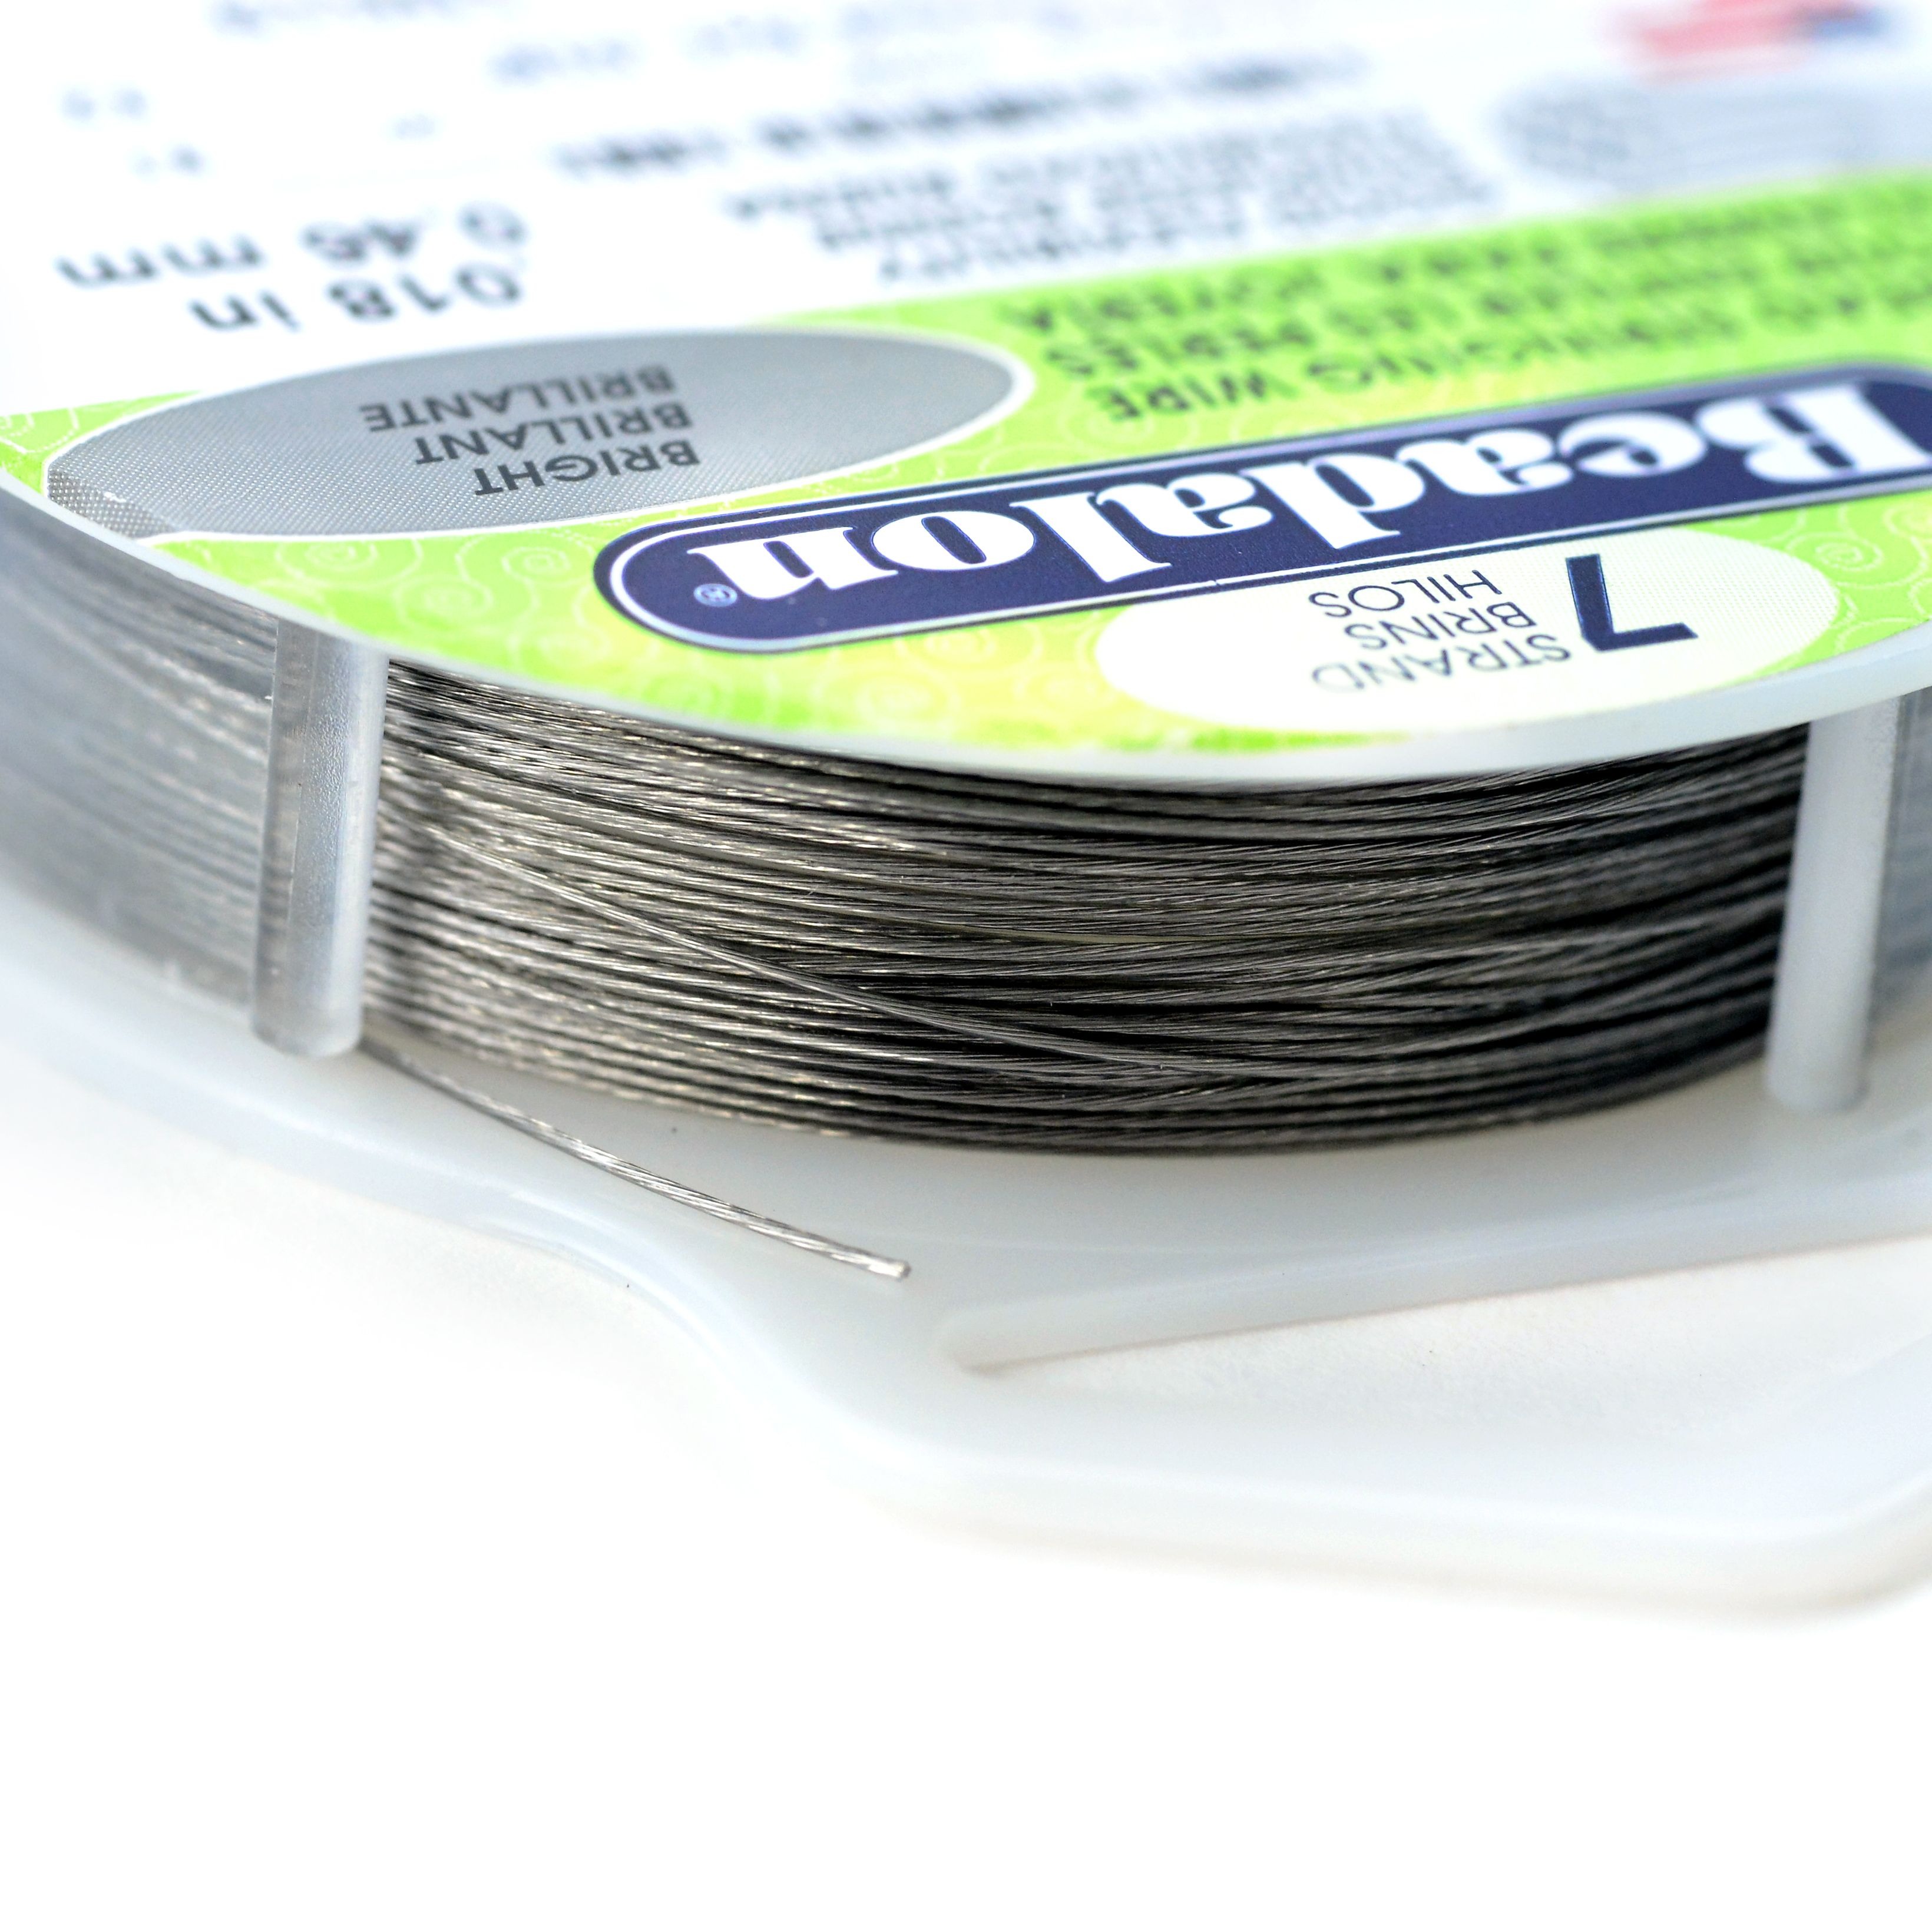
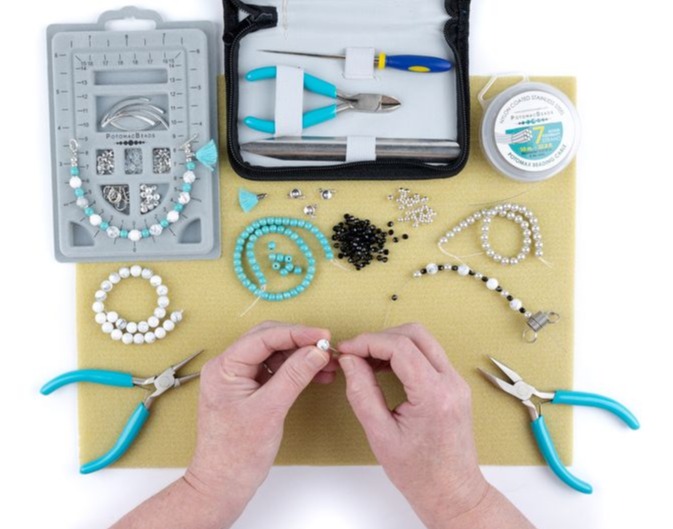
If you're new to jewelry making or simply looking to refine your skills, this is the perfect place to start. Bead stringing is a versatile and beginner-friendly technique, ideal for crafting everything from elegant necklaces to playful bracelets. On this page, you’ll find step-by-step instructions for creating a basic single-strand piece, using beads, stringing wire, and a few essential tools.
Ready to dive deeper? Explore our curated collection of additional stringing projects to inspire your creativity. Plus, don’t miss our links to patterns that build on these techniques—perfect for taking your designs to the next level. Whether you’re creating for yourself or as a heartfelt gift, bead stringing is a rewarding way to turn your vision into a beautiful reality. Let’s get stringing!
The first step in starting a new jewelry project is to gather your supplies! For a basic strung necklace you will need single-hole beads, beading cable, a clasp, crimp tubes, flat nose pliers, and a bead stopper!
If you don't want to purchase supplies individually, the Beginner Stringing Kit is a great option if you're just getting started! It also makes an excellent gift for a crafty person in your life! It contains all the necessary supplies for a basic project along with bead storage, a rulers, a bead scoop, and more.
Lovely beads are included in the Beginner Stringing Kit, but you can use any single-hole beads from your collection!
You can accomplish this by using a bead board (included in the Beginner Stringing Kit) or wrapping the stringing material around your wrist to the desired length and snipping with wire cutters.
You can choose to follow a specific pattern or mix it up with freeform that follows no order. You're the artist, you choose!
After stringing your last bead, you'll need to sting on a crimp tube and a clasp. After these have been added, you will string the wire back, down through the crimp tube and two to three beads and pull to shorten the wire. When you have pulled down (not too tight), snip the wire as close as you can to the bead that it is exiting. Using flat nosed pliers, flatten the crimp tube, making sure the wires are not overlapping.
Before finishing off the opposite end of the bracelet or necklace, be sure to check the length. If too long, you can remove a few beads and if too short, you can add. Remember that the clasp will add some length!
If you are using a toggle as a clasp, there will be two components included. If you choose to use a lobster clasp, you can use a jump ring or split ring on the opposite end to finish. You will follow the same steps on this end as it step 4. Add crimp tube, add clasp, pull wire back down through crimp tube and a few beads, snip. Flatten the crimp tube.
Follow Along with a Video Tutorial
Do you prefer to learn by watching? Follow along with Allie has she provides detailed instructions on how to make a basic single-strand bracelet or necklace. She will highlight the necessary tools and supplies you will need as well as step by step instructions for the project.
Additional Stringing Projects and Tutorials
Become a Better Beader!
The Better Beader episodes from Potomac Bead Company are your go-to resource for mastering beading stitches and choosing the right materials for your projects. Explore essential beading stitch patterns like peyote, herringbone, and brick stitch, while learning how to select the best threads for strength and flexibility.
These episodes also offer expert tips on threading needles, determining how much thread to use, and replacing worn tools. Whether you’re a beginner or an experienced beader, Better Beader provides practical techniques and creative solutions to help you perfect your craft. Start your journey today!
Search our full line of products
Jewelry Making Tips and Tricks
Practice Basic Techniques
Start with simple projects to practice basic techniques before moving on to more complex designs.
Experiment with Color and Texture
Jewelry is a great way to express your personal style, so don’t be afraid to experiment with different colors, textures, and materials. Check out this excellent blog entry to help guide you in choosing colors - 6 Color Theory Tips to Enhance Your Beading Designs!
Stay Organized
Keep your workspace organized by using a bead mat or tray to keep your beads from rolling away and keeping your tools within reach.
Plan Your Design
Before you start creating your jewelry, sketch out your design and gather your materials. This will help you stay organized and ensure you have all the materials you need.
Take Breaks
Jewelry making can be time-consuming and requires a lot of focus. Take frequent breaks to avoid eye strain and hand fatigue.
Don't Be Afraid to Make Mistakes
Making mistakes is part of the learning process. If you make a mistake, don’t be discouraged, take it as an opportunity to learn and improve your skills.
Share Your Creations
Share your creations with others by wearing your jewelry, giving it as gifts, or selling it online. It’s a great way to get feedback and improve your skills.
Potomac Bead is host to a Beading and Jewelry making group of over 80 thousand members of all skill levels. Share projects and ideas, get advice and inspiration from fellow artisans, and see what others are making. Creating is better with friends!
Highest Quality
Products
100% Money
Back Guarantee
Fast
Shipping
Best Teaching &
Customer Service
You'll want these emails...
Get Free Projects & Inspiration
Copyright © PotomacBeads