- Jewelry-Making Supplies ▾
Design Jewelry with Confidence!
Seed Beads
Thread, Wire, & Stringing Materials
Athenacast Findings & Components
Everything Else
- Kits & Collections ▾
Assemble Your World
Kits & Collections
- Subscriptions ▾
Want monthly Beading Happiness?
Subscriptions
- Learn to Make ▾
Want to learn more?
- Discounts & Deals ▾
Explore Today's Promotions!
- Jewelry-Making Supplies
- Kits & Collections
- Subscriptions
- Learn to Make
- Discounts & Deals
-
Seed Beads
Thread, Wire, & Stringing Materials
Findings & Components
Everything Else
-
Kits & Collections
-
Subscriptions
- Home
- How to Make Jewelry
- Better Beader Episodes
- Peyote Stitch: Tips and Tricks
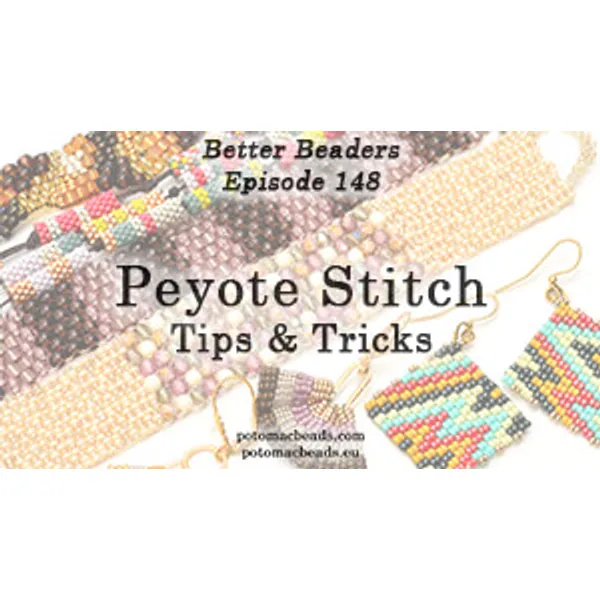
Peyote Stitch: Tips and Tricks

Watch the Video Tutorial
Watch the Video Tutorial
Need Any Extra Materials?
Need Any Extra Materials?
Need Any Extra Materials?
Need Any Extra Materials?
Episode Transcript
Episode Transcript
Introduction
Peyote stitch is a versatile beading technique that allows you to create stunning, textured designs with a beautiful woven appearance. In this Better Beader episode from Potomac Beads, we'll explore some tips and tricks to help you master this popular stitch and create a gorgeous bracelet project. Whether you're a beginner or an experienced beader, this step-by-step guide will walk you through the process and provide inspiration for customizing your own unique piece.
Materials Needed
- Size 11/0 Miyuki Delica beads in two colors (A and B)
- Beading thread (Fireline or Wildfire)
- Size 11 or 12 beading needle
- Scissors
- Beading mat
- Bead stopper or tape
- Clasp of your choice (toggle, lobster, or magnetic)
- Jump rings
- Chain nose pliers
Step-by-Step Tutorial
- Begin by cutting a comfortable length of beading thread and threading your needle. Secure the tail end with a bead stopper or tape.
- Pick up 1A, 1B, 1A, and 1B. Slide them down to the end of the thread, leaving a short tail.
- Go back through the first A bead, creating a circle. Tie a half-hitch knot to secure the beads in place.
- Pick up 1A and skip the next bead (B). Go through the following bead (A).
- Pick up 1B and skip the next bead (B). Go through the following bead (A).
- Continue this pattern, alternating between A and B beads, until you reach your desired length.
- To step up for the next row, pick up 1A and go through the first A bead added in the previous row.
- For the second row, pick up 1B and go through the next A bead. Pick up 1A and go through the next B bead. Repeat this pattern until the end of the row.
- Continue alternating rows, stepping up at the end of each row, until you reach your desired width.
- To finish, weave in your thread ends and trim any excess.
- Attach your clasp using jump rings and chain nose pliers.
Tip: Keep your tension consistent throughout the project for an even, professional look. If you find your beadwork is too tight or too loose, try adjusting the amount of thread you use or the way you hold your work.
Customization Ideas & Inspiration
One of the great things about peyote stitch is its versatility. Here are a few ideas to make this bracelet design your own:
- Experiment with different color combinations or gradients for a unique look.
- Try using different bead sizes or shapes to create interesting textures.
- Incorporate a word or phrase using letter beads for a personalized touch.
- Create a wider band for a statement cuff bracelet, or a narrower band for a delicate layering piece.
Conclusion
With these tips and tricks, you're ready to create a stunning peyote stitch bracelet of your own. Remember to take your time, stay consistent with your tension, and don't be afraid to experiment with different colors and designs. We'd love to see your finished creations, so feel free to share them with us in the comments below or on social media. Happy beading!
For more beading inspiration and tutorials, be sure to check out our other Better Beader episodes and explore the wide range of beading supplies available at Potomac Beads.
Join Our Growing Community
Join Our Growing Community


Our Testimonials
Our Testimonials
- 55863 (83.8%)
- 4798 (11.4%)
- 3287 (4.1%)
- 228 (0.4%)
- 124 (0.3%)
- Favorite Reviews
- Highest to Lowest
- Newest to Oldest
- All Ratings
- 5 ★ Reviews
- 4 ★ Reviews
- 3 ★ Reviews
- 2 ★ Reviews
- 1 ★ Reviews
Loading...
Only Visible on Admin Mode
Item Description
Designer's Material List
Project Steps
Use a stop bead to start your work, ensuring it's not part of your project.
Start with an even number of beads for an even count Peyote.
Alternate two colors for clarity in following the pattern.
Add a bead, skip a bead, and go through the next, maintaining even tension.
To manage bead waving, alternate the direction of sewing every row.
Use a second needle to keep the work flat and assist with tension.
Progress to smaller beads (11/0) for detailing and finishing edges.
Explore variations like two-drop Peyote for more complex patterns.
Highest Quality
Products
100% Money
Back Guarantee
Fast
Shipping
Best Teaching &
Customer Service
You'll want these emails...
Get Free Projects & Inspiration
Get Free Projects & Inspiration
- Bullet 1
- Bullet 2
- Bullet 3
Copyright © PotomacBeads


