- Jewelry-Making Supplies ▾
Design Jewelry with Confidence!
Seed Beads
Thread, Wire, & Stringing Materials
Athenacast Findings & Components
Everything Else
- Kits & Collections ▾
Assemble Your World
Kits & Collections
- Subscriptions ▾
Want monthly Beading Happiness?
Subscriptions
- Learn to Make ▾
Want to learn more?
- Discounts & Deals ▾
Explore Today's Promotions!
- Jewelry-Making Supplies
- Kits & Collections
- Subscriptions
- Learn to Make
- Discounts & Deals
-
Seed Beads
Thread, Wire, & Stringing Materials
Findings & Components
Everything Else
-
Kits & Collections
-
Subscriptions
- Home
- _dev
- Bracelet Projects
- Railway Bracelet Tutorial
Railway Bracelet Tutorial
ONLY VISIBLE ON EDIT MODE *
videos
- Railway Bracelet - DIY Jewelry Making Tutorial by PotomacBeads
Create two rows of embellished right angle weave with Potomac Crystal Bicones and pearls, joined together will a row of alternating colors of Czech Glass Tubelet beads. Let Allie walk you though this DIY jewerly making tutorial and show you the informative way to connect bead weaving stitched to one another.
Create two rows of embellished right angle weave with Potomac Crystal Bicones and pearls, joined together will a row of alternating colors of Czech Glass Tubelet beads. Let Allie walk you though this DIY jewerly making tutorial and show you the informative way to connect bead weaving stitched to one another.
PPBW2116
Materials Used To make The Project
Materials Used To make The Project
- Potomac Crystal Bicone Beads - Light Siam AB 4mm | Pack of 120$8.99
- Tubelet Beads - White Lila Luster | Pack of 95$7.99
- Tubelet Beads - Lava Red | Pack of 95$6.99
- $6.99
- $6.99
-
- Potomac Pearls - Rose 3mm$6.99
- Potomac Crystal Bicone Beads - Light Rose AB 3mm | Pack of 120$8.99
- $7.99
- $9.99
-
- Claspgarten Infinite Customizable Box Push Clasp for Rivoli Size 14mm | 15mm | 2-Strand | Real 23k Gold Plated$18.99
- Potomac Crystal Rivolis - Pink Opal 14mm | Pack of 2$3.99
- Miyuki Seed Beads - Duracoat Galvanized Gold 11/0$8.29
- $5.99
- $7.99
-
- Miyuki Seed Beads - Silver Lined Smoky Amethyst 11/0$3.69
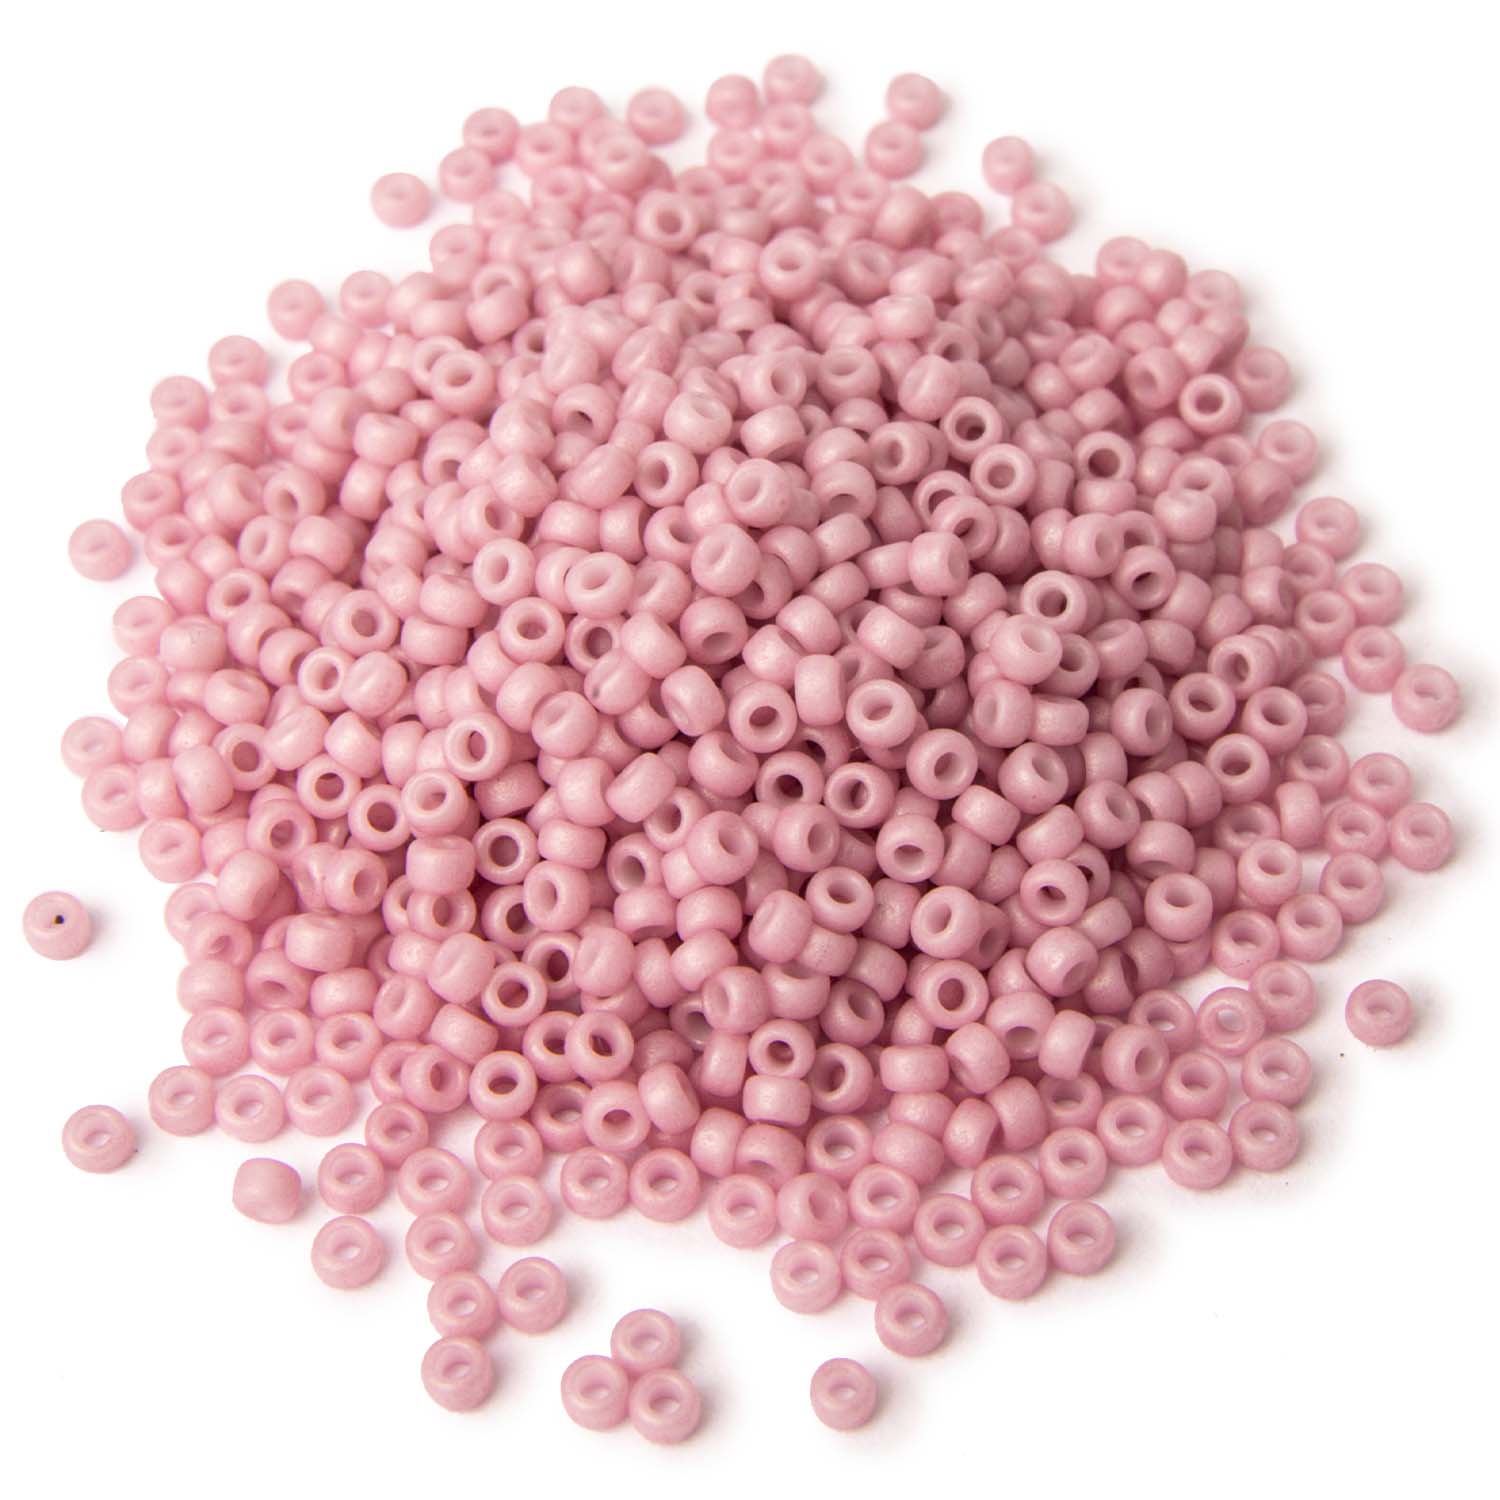
- Miyuki Seed Beads - Matte Opaque Dusty Orchid 15/0$6.99
Designer's Material List
The designer's suggested colors & materials: Tubelet Beads - Lava Red, 152 beads Potomac Pearls - Rose 3mm, 50 beads Potomac Crystal Bicone Beads - Light Rose AB 3mm, 48 beads Tubelet Beads - White Lila Luster, 12 beads Tubelet Beads - Lava Red, 13 beads Miyuki Seed Beads - Duracoat Galvanized Gold 11/0, 2 Gram Miyuki Seed Beads - Silver Lined Smoky Amethyst 11/0, 1 Gram Miyuki Seed Beads - Matte Opaque Dusty Orchid 15/0, 1 Gram Claspgarten Infinite Customizable Box Push Clasp for Rivoli Size 14mm | 15mm | Real 23k Gold Plated, 1 piece Potomac Crystal Rivolis - Pink Opal 14mm, 1 piece
Quick Project Steps
Prepare Materials: Gather Potomac Crystal Bicones, pearls, Czech Glass Tubelet beads, Miyuki Seed Beads in sizes 11/0 and 15/0, and clasps.
Begin Right Angle Weave: Start with crystal bicones to create the first row of right angle weave.
Add Pearls: Continue the weave, incorporating pearls into the design.
Attach Clasp: Secure the clasp to the bracelet, starting the embellishment process.
Embellish Edges: Add a row of crystals along the outer edge for extra flair.
Create Second Row: Repeat the right angle weave technique to form a second row.
Connect Rows: Use Tubelet beads to connect the two rows, creating a cohesive design.
Final Touches: Add final embellishments for a polished look.
Related Projects
Related Projects
Highest Quality
Products
100% Money
Back Guarantee
Fast
Shipping
Best Teaching &
Customer Service
You'll want these emails...
Get Free Projects & Inspiration
Get Free Projects & Inspiration
Sorry, please correct the following errors:
- Bullet 1
- Bullet 2
- Bullet 3
Thank you for subscribing, can't wait to help you become a better beader!
Copyright © PotomacBeads


